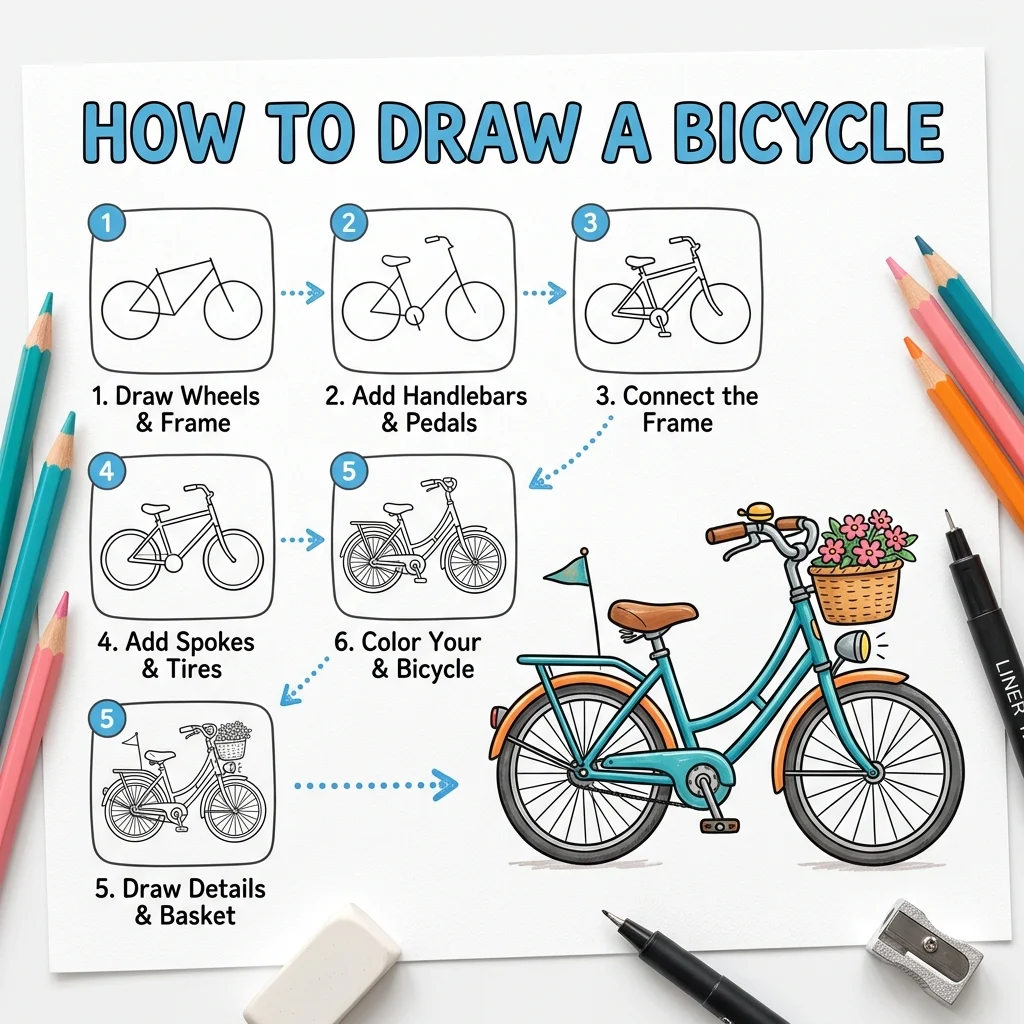
How to Draw a Bicycle: Easy Step-by-Step Drawing Tutorial for Kids
Let’s draw something you can ride! In this tutorial, we are going to learn how to draw a cool bicycle step-by-step in 9 simple, easy-to-follow steps.
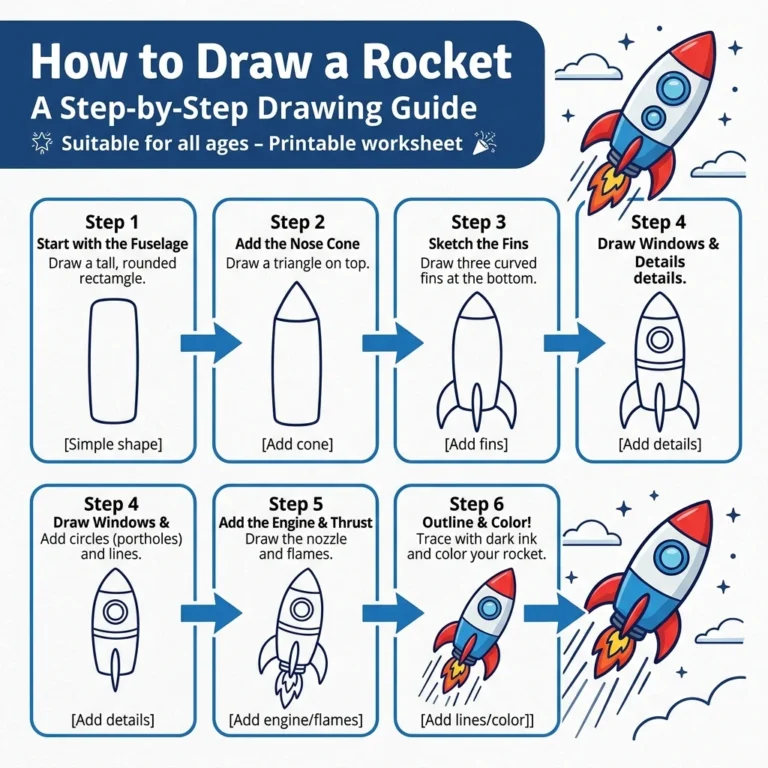
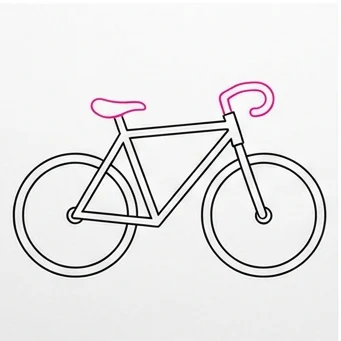
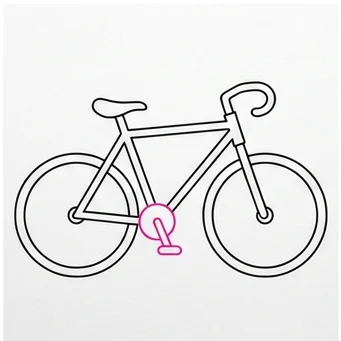
Every new line is highlighted in pink so you never get lost. Notice how we draw the bike by adding pieces onto the frame, ensuring we never have to erase any messy construction shapes! Ready for a faster ride? Our Rocket tutorial takes things all the way to space.
Materials You’ll Need
Step-by-Step Easy Bicycle Tutorial
Start by drawing two large circles spaced apart from each other for the front and back tires.
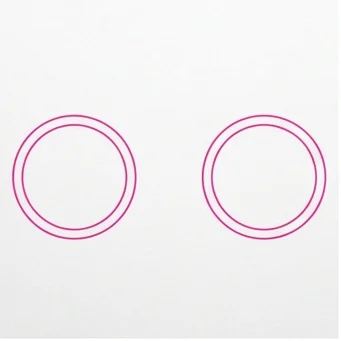
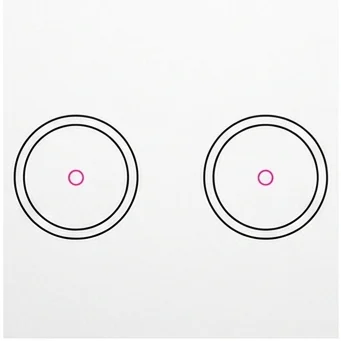
Draw a tiny circle exactly in the center of each wheel for the hubs (where the wheels attach to the bike).
Draw a large triangle connecting the back wheel hub to the empty space between the wheels.
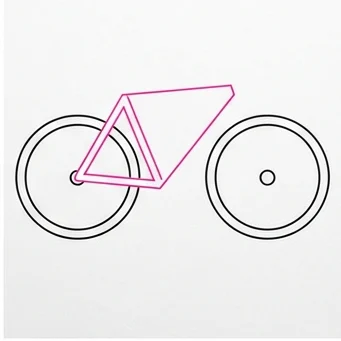
Draw a second triangle connected to the front of the first one to finish the main diamond frame of the bike.
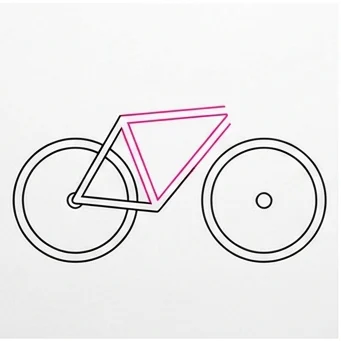
Draw a straight line slanting down from the top of the frame to connect to the front wheel hub.
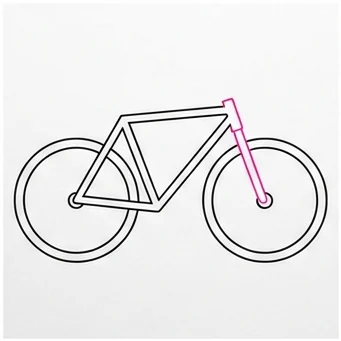
Draw a small, curved seat resting right on top of the back triangle.
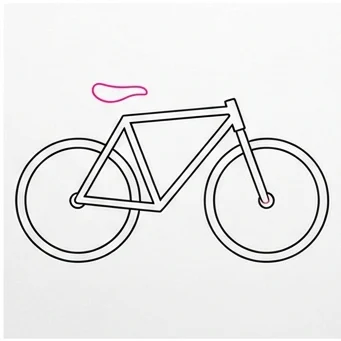
Draw curved handlebars attached to the top of the front fork line.
Draw a small circle where the two triangles meet for the gear, and add a simple pedal sticking out.
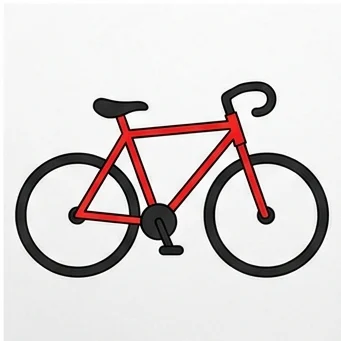
Color your bike frame red (or any color you like!) and make the tires thick and black!
Diamond Frame: The two connected triangles forming a diamond shape is the classic bicycle frame structure — keep the angles consistent!
Straight Fork: A ruler helps keep the front fork line perfectly straight, giving your bike a sturdy, realistic look.
Love drawing everyday items and vehicles? Try these next!