How to Draw a Parrot: Easy Step-by-Step Drawing Tutorial for Kids
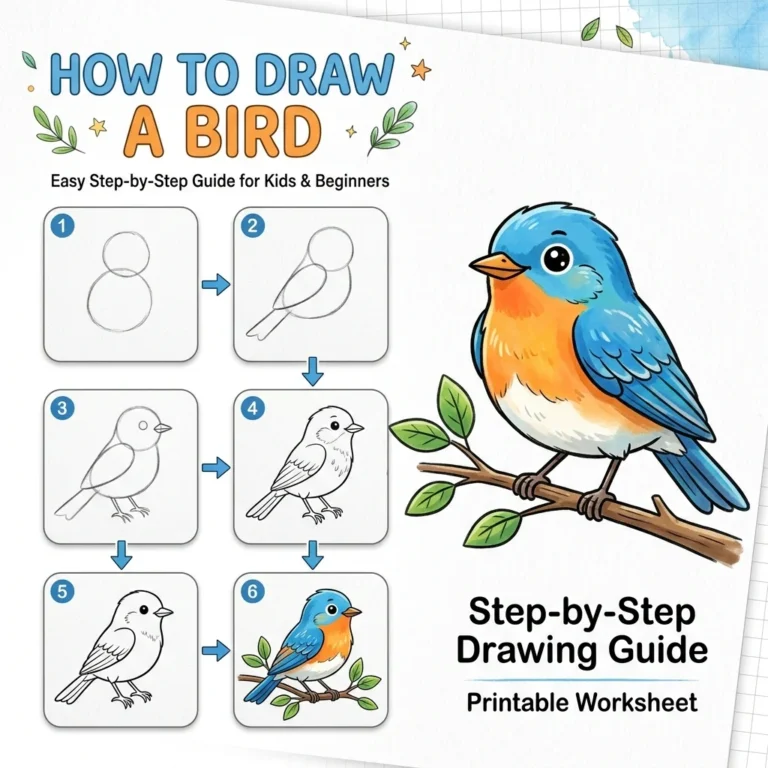
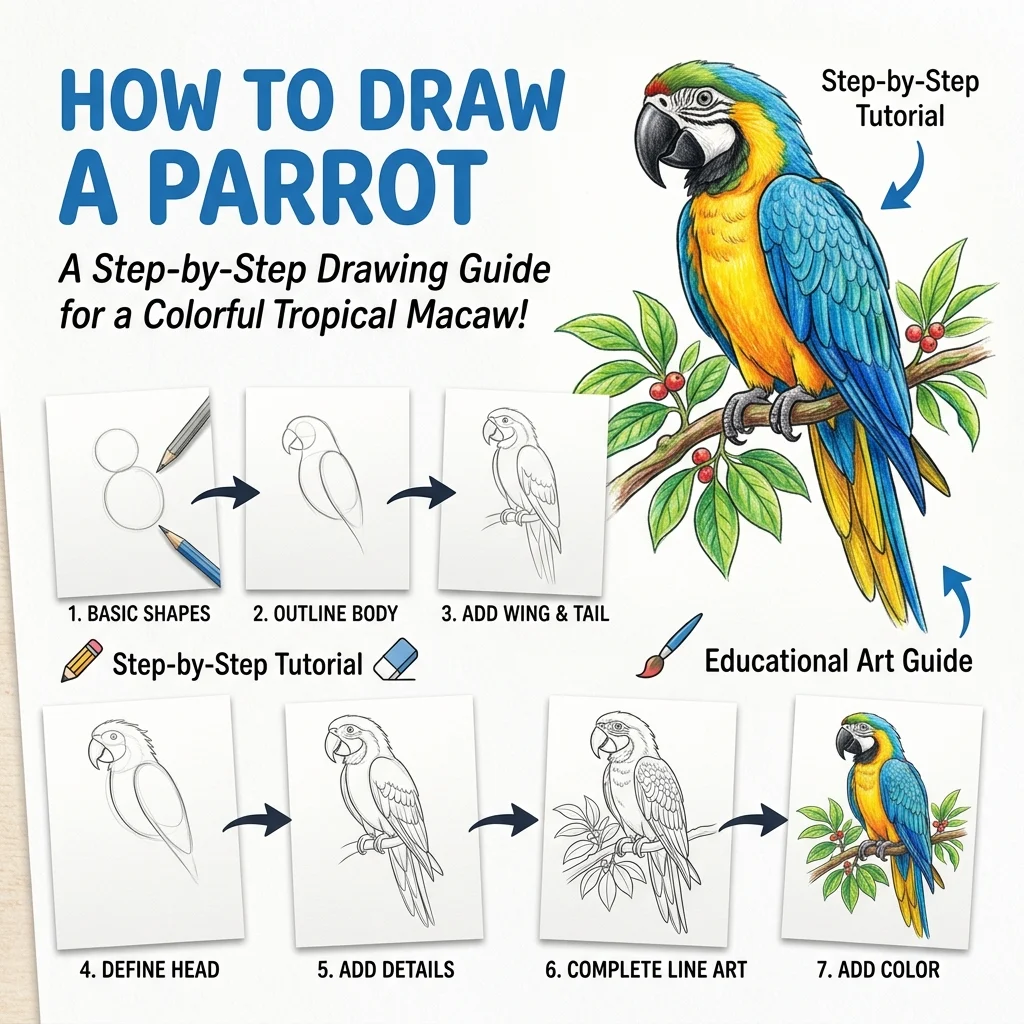
Let’s draw a colorful tropical bird! In this tutorial, we are going to learn how to draw a beautiful Macaw Parrot step-by-step in 9 simple, easy-to-follow steps.
Notice how we draw the parrot piece by piece along the outside edges, so you never have to erase any messy shapes!
Materials You’ll Need
Step-by-Step Easy Parrot Tutorial
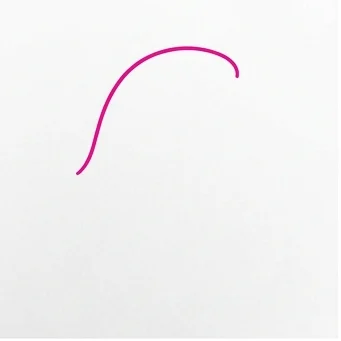
Start by drawing a curved line for the top of the head that sweeps down to form the back of the neck.
Draw a large curved hook shape attached to the front of the face for the sharp top beak, and close the head outline.
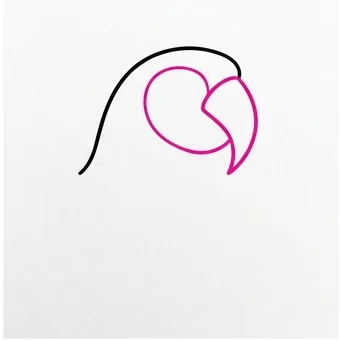
Draw a smaller curved triangle for the bottom beak, and drop a long line straight down for the front of the chest.
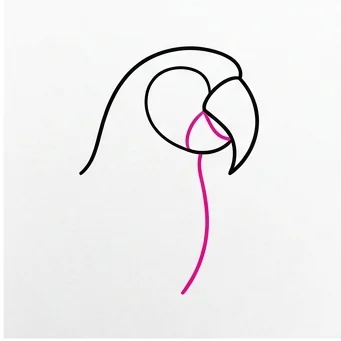
Draw a long sweeping teardrop curve on the side of the body for the large folded wing.
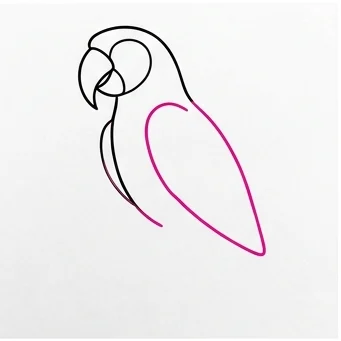
Draw a curved line connecting the chest to the wing for the belly, and add a long straight tail feather dropping down from the back.
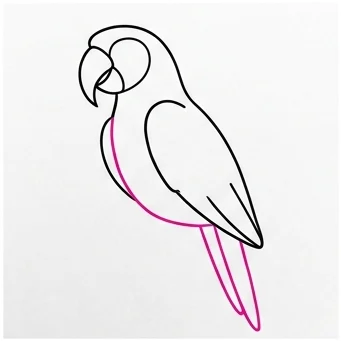
Draw two short legs with sharp claws grabbing onto two horizontal straight lines for a tree branch.
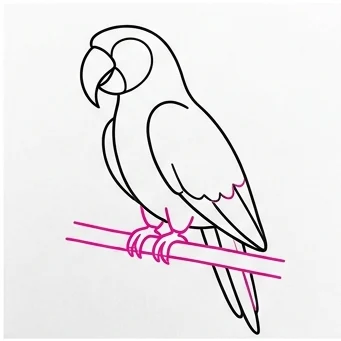
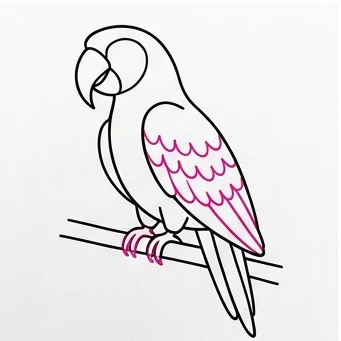
Draw rows of scalloped curved lines on the wing to create layers of beautiful feathers.
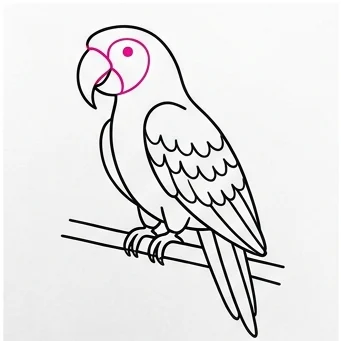
Draw a dot eye inside a circle, and add a curved line separating the beak from the white face patch.
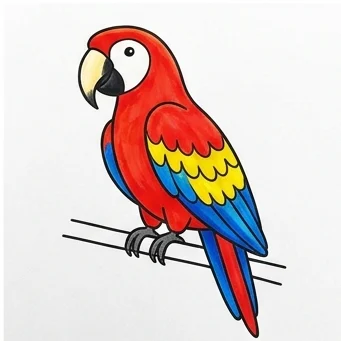
Color your parrot bright tropical red with blue and yellow wing feathers just like a real Macaw!
Layered Feathers: Scalloped, overlapping curves on the wing read as feathers far better than straight lines.
Hooked Beak: Keep the top beak curve nice and sharp — that hook shape is what makes it unmistakably a parrot.
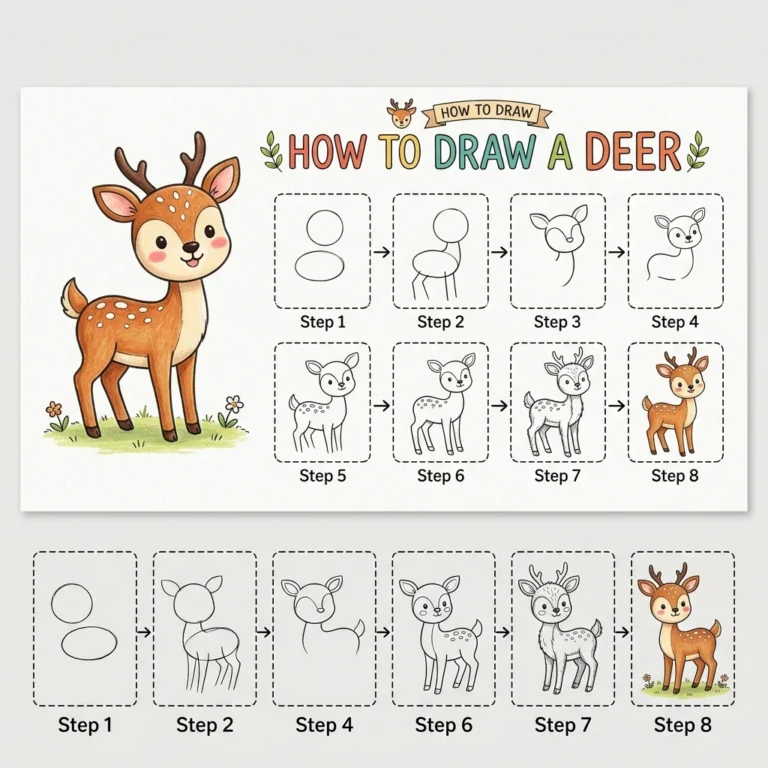
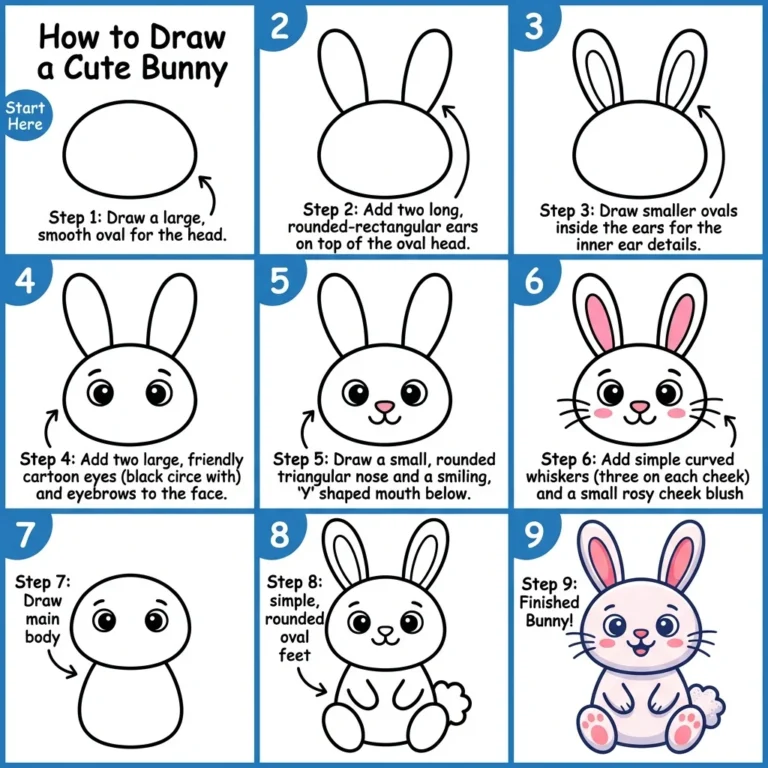
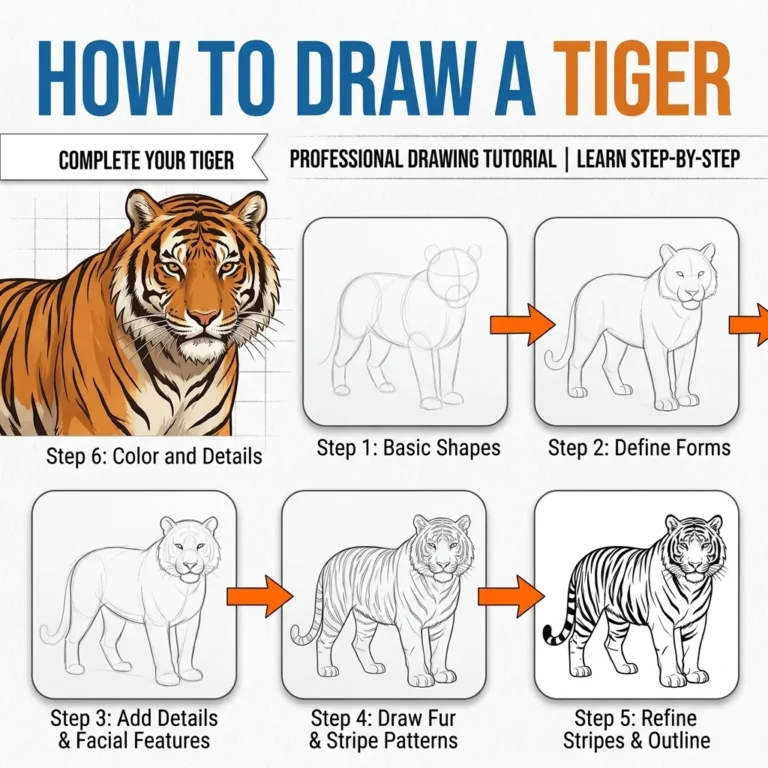
Love drawing cute animals? Try these next!