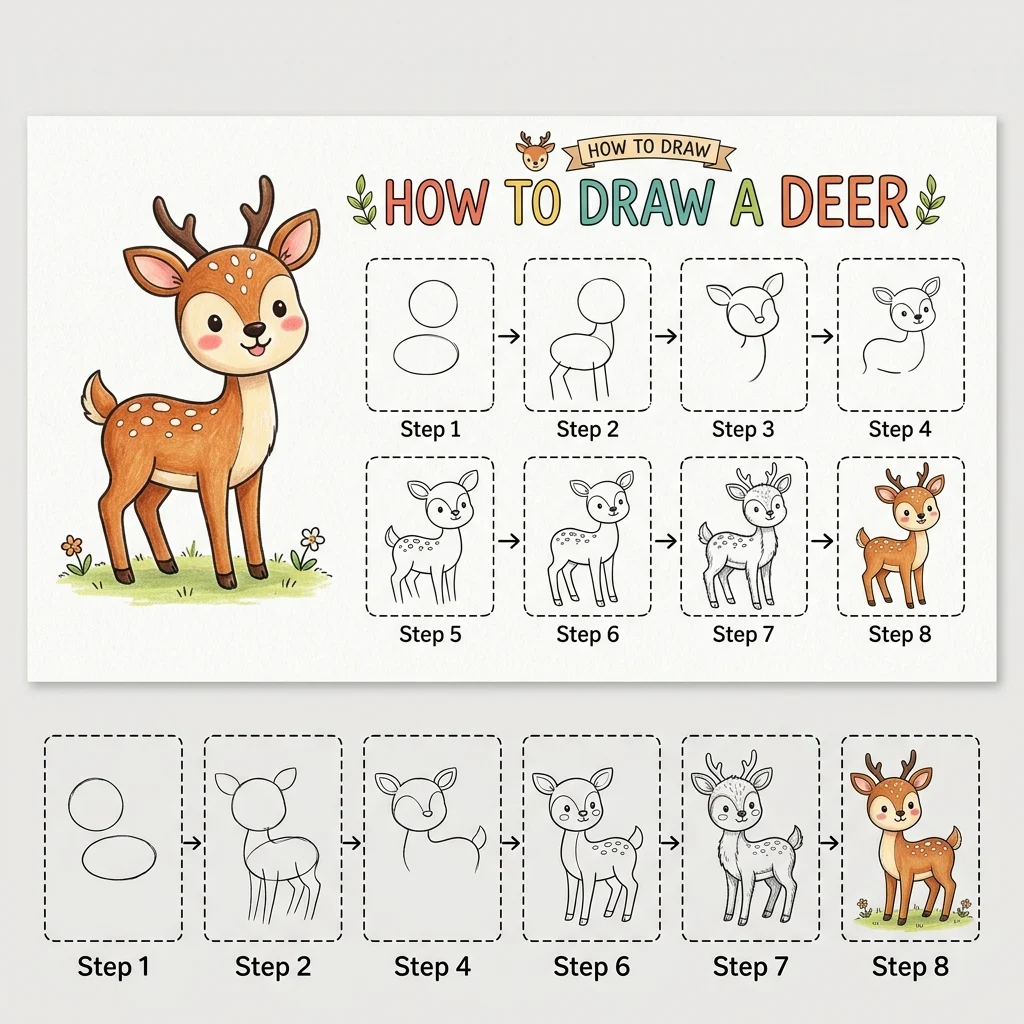
How to Draw a Deer: Easy Step-by-Step Drawing Tutorial for Kids
Let’s draw a gentle young forest animal! In this tutorial, we are going to learn how to draw a delicate Deer (a fawn) step-by-step in 9 simple, easy-to-follow steps.
Notice how we draw the deer piece by piece along the outside edges, so you never have to erase any messy construction shapes!
Materials You’ll Need
Step-by-Step Easy Deer Tutorial
Start by drawing a smooth curved line forming the top of the head and dipping down into a delicate snout.
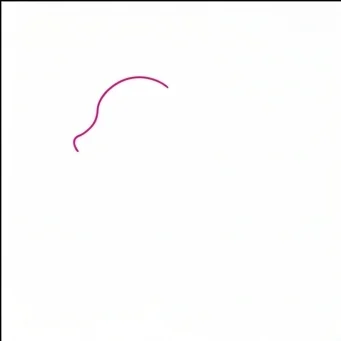
Draw a curved line under the snout to form the lower jaw, and drop it straight down to form the slender front neck.
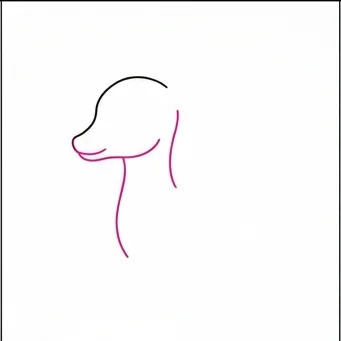
Draw a curved line dropping down from the back of the head, sweeping all the way around to form the back and rounded belly.
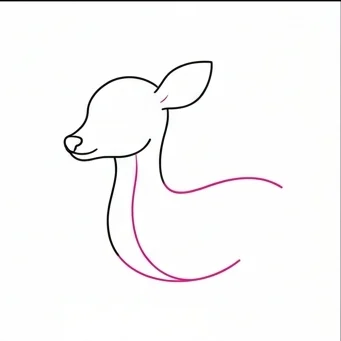
Draw two large, teardrop-shaped ears pointing outward from the top of the head.
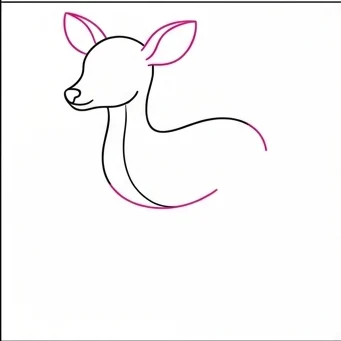
Draw two long, thin front legs dropping straight down from the chest.
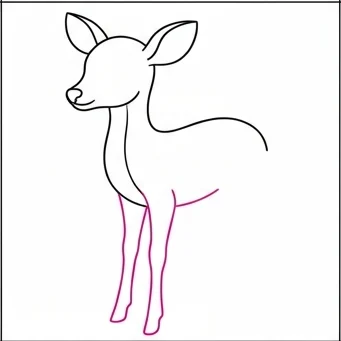
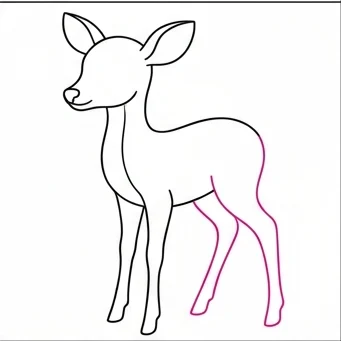
Draw two long back legs dropping down from the back of the belly. Notice how they bend slightly in the middle!
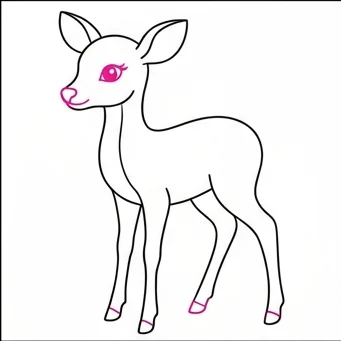
Draw a large eye with pretty eyelashes, a small nose tip, and add little hooves at the bottom of the legs.
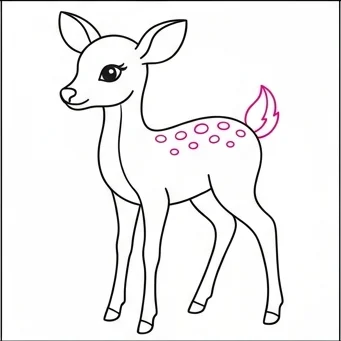
Draw a short, fluffy tail pointing up at the back, and several small circles for the fawn’s spots!
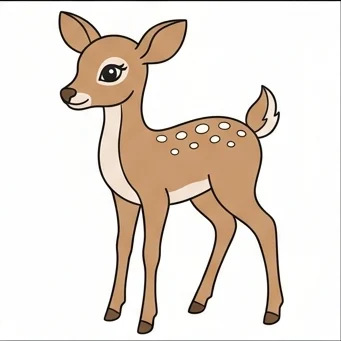
Color your deer a soft light brown, leaving the spots and belly white! Excellent work!
One Flowing Line: Try to draw the back, belly, and tail curl as one smooth continuous line — it makes the fawn’s body look graceful instead of choppy.
Bendy Legs: A slight bend in the back legs makes the deer look like it’s standing naturally instead of stiff and straight.
Love drawing cute animals? Try these next!