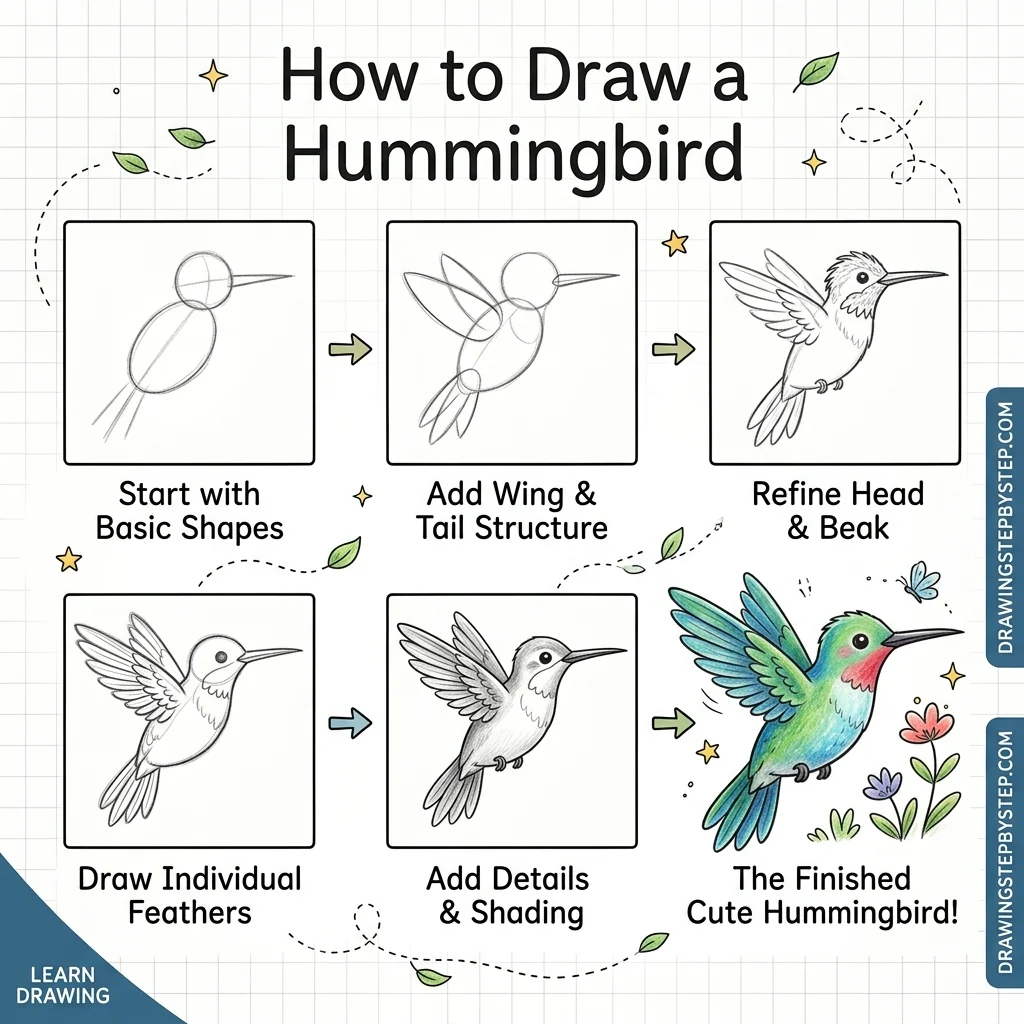
How to Draw a Hummingbird: Easy Step-by-Step Drawing Tutorial for Kids
Let’s draw a fast flyer! In this tutorial, we are going to learn how to draw a fast, fluttering hummingbird using a very clean contour drawing method in 9 simple, easy-to-follow steps.
Every new line is highlighted in pink so you never get lost. Notice how we draw the outside lines of the bird piece by piece so we never have to erase any messy construction shapes! Not every flying creature comes out during the day — check out our Bat tutorial for one that prefers the night.
Materials You’ll Need
Step-by-Step Easy Hummingbird Tutorial
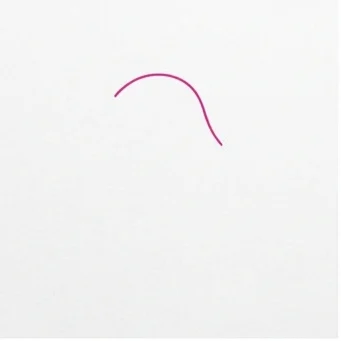
Start by drawing a gently curved line sweeping downwards to form the top of the head and the back of the bird.
Draw a very long, thin, pointy beak sticking straight out from the front of the face.
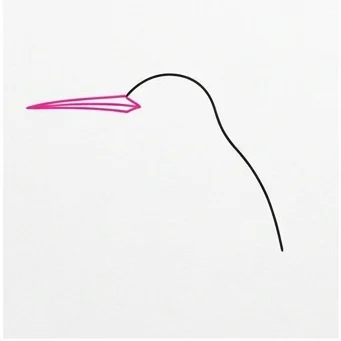
Draw a long, sweeping line curving down from under the beak to form the bird’s belly.
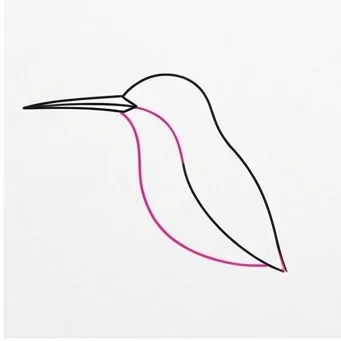
Draw two long, pointed tail feathers sticking straight down and backward from the belly.
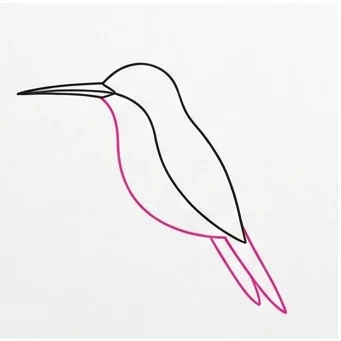
Draw a large, pointy wing stretching high up and pointing backward.
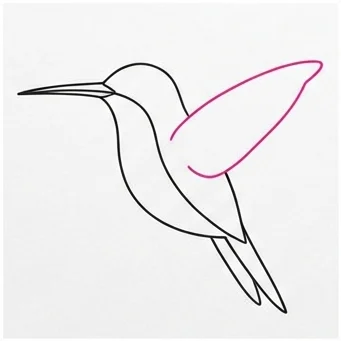
Draw a second wing peeking out from behind the first one.
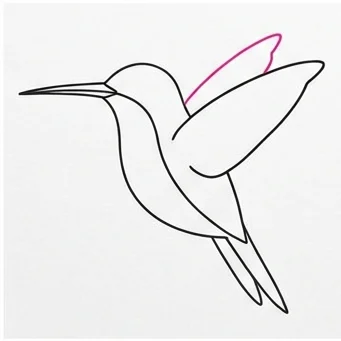
Add some scalloped lines inside the wings to give them beautiful feather details.
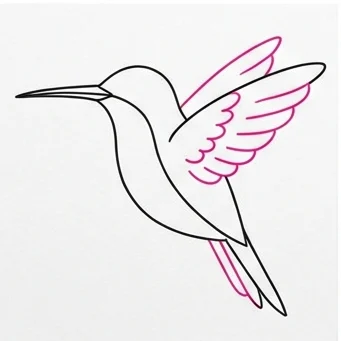
Draw a small dot for the eye, and two tiny curled feet tucked close under the belly.
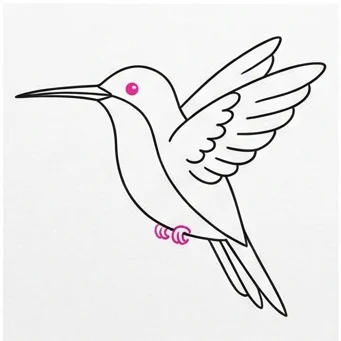
Color your amazing drawing with bright greens, blues, and a ruby red throat!
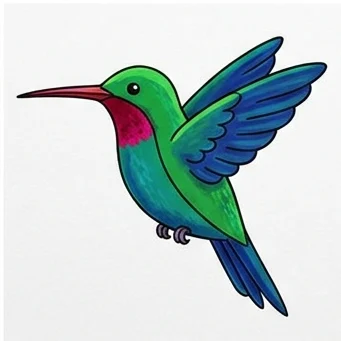
Needle Beak: Keep the beak long, thin, and perfectly straight — that’s the most distinctive feature of a hummingbird!
Layered Wings: Drawing the second wing peeking out from behind the first gives a sense of fast, fluttering motion.
Love drawing birds and animals? Try these next!