How to Draw a Ladybug: Easy Step-by-Step Drawing Tutorial for Kids
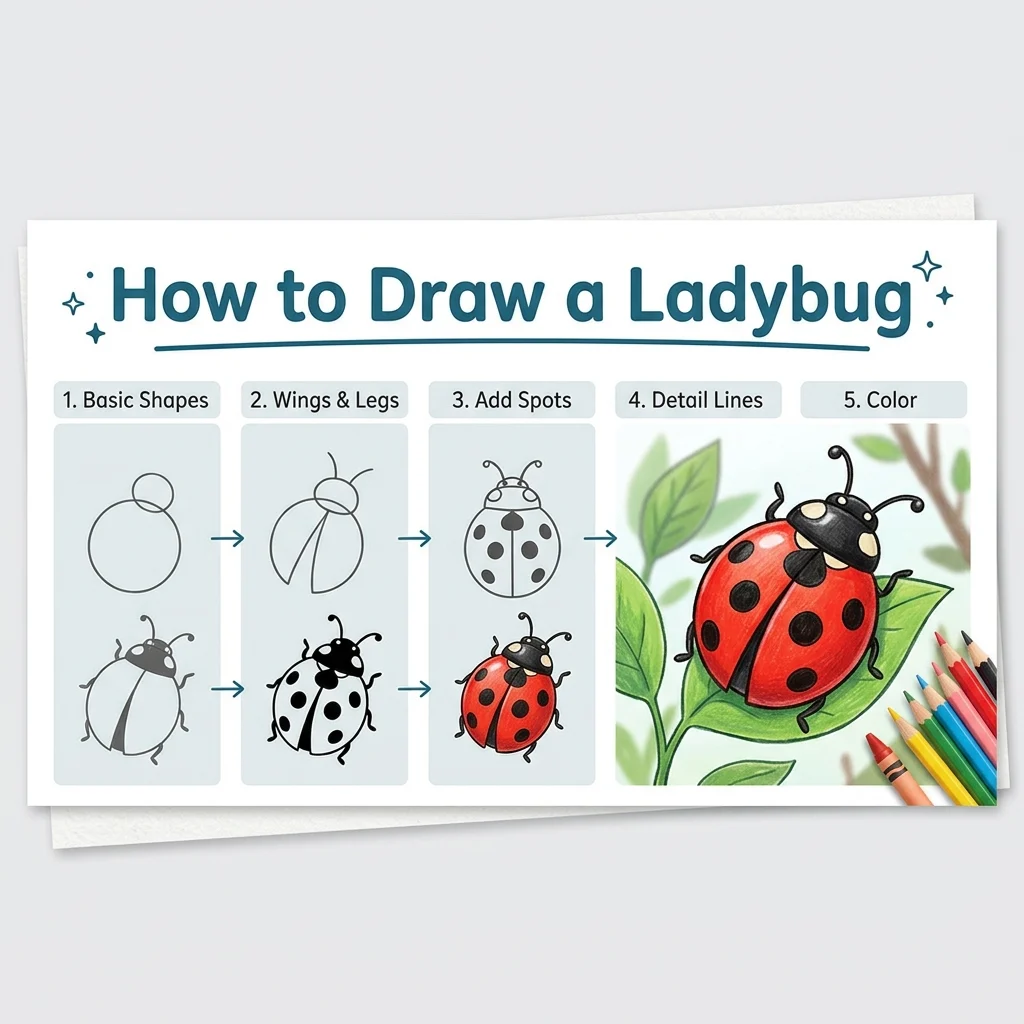
Let’s draw a lucky bug! In this tutorial, we are going to learn how to draw a cute, spotted ladybug in 9 simple, easy-to-follow steps.
Every new line is highlighted in pink so you never get lost. A fun and colorful garden bug project!
Materials You’ll Need
Step-by-Step Easy Ladybug Tutorial
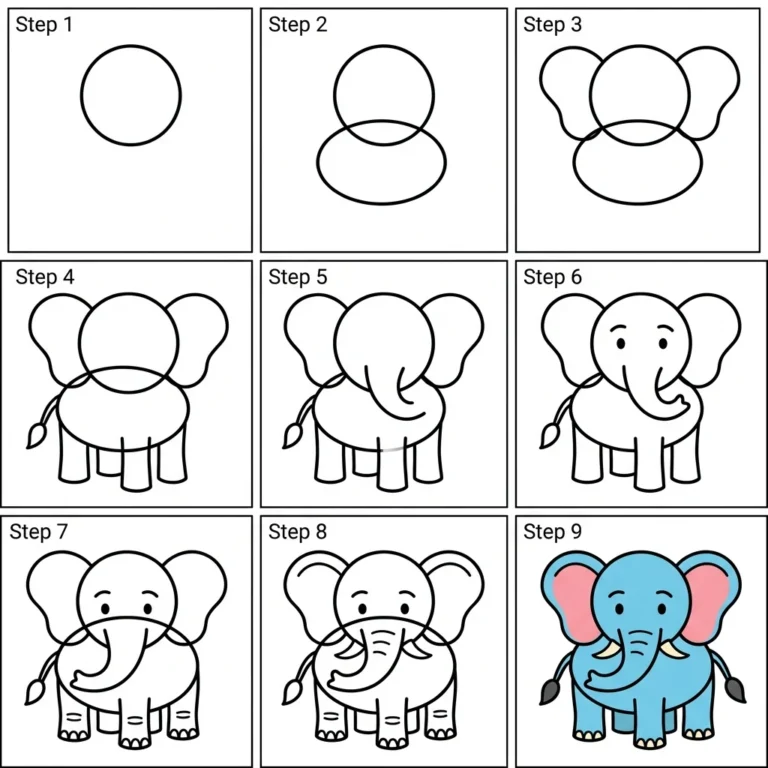
Start by drawing a large, perfect circle right in the center of your page to form the ladybug’s round body.
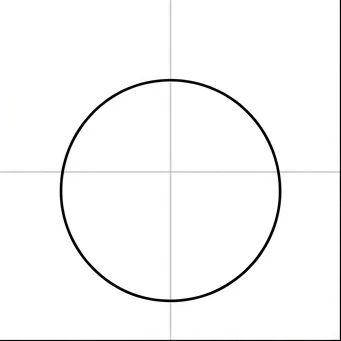
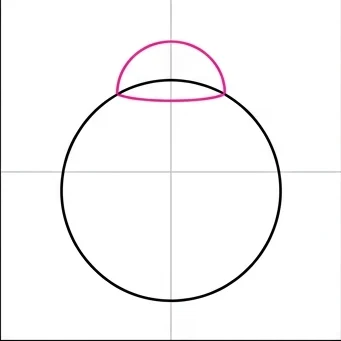
Draw a half-circle resting right on top of the body to create the head.
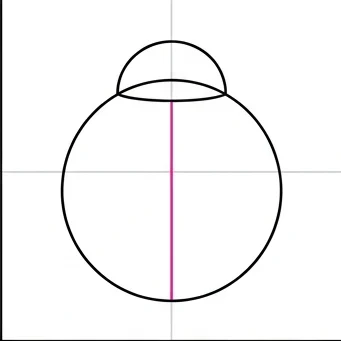
Draw a straight vertical line going right down the middle of the body. This separates the ladybug’s shell into two wings!
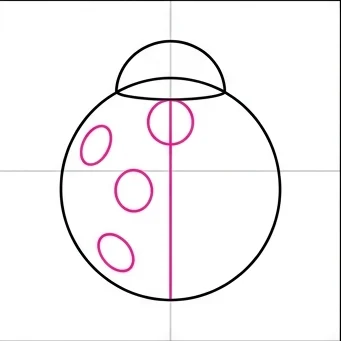
Draw a few spots (circles) on the left wing. You can even draw a half-circle spot touching the center line!
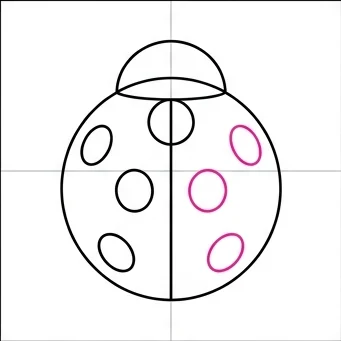
Now, draw more spots on the right wing. Try to make them balance out the spots you drew on the left side.
Draw two cute antennae curving upwards from the top of the head, with little balls on the ends.
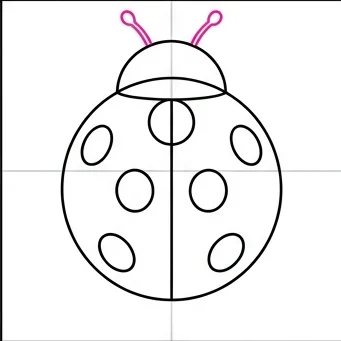
Draw three bent legs sticking out from the left side of the ladybug’s body.
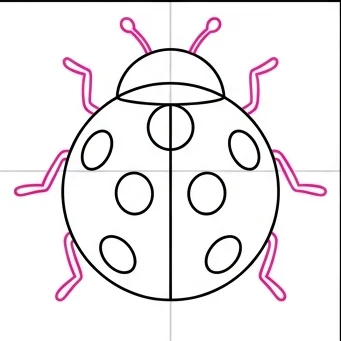
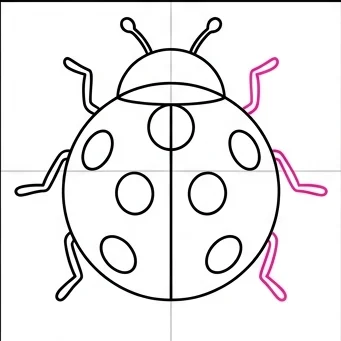
Draw three more bent legs sticking out from the right side.
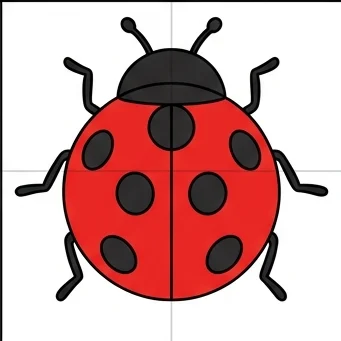
Color the main body bright red. Then, color the spots, the head, the antennae, and the legs black.
Spot Balance: Try to place spots symmetrically on each wing so your ladybug looks neat and balanced!
Simple Shapes: This tutorial is almost entirely circles — a great confidence-builder for kids just starting to draw bugs.
Love drawing garden creatures? Try these next!