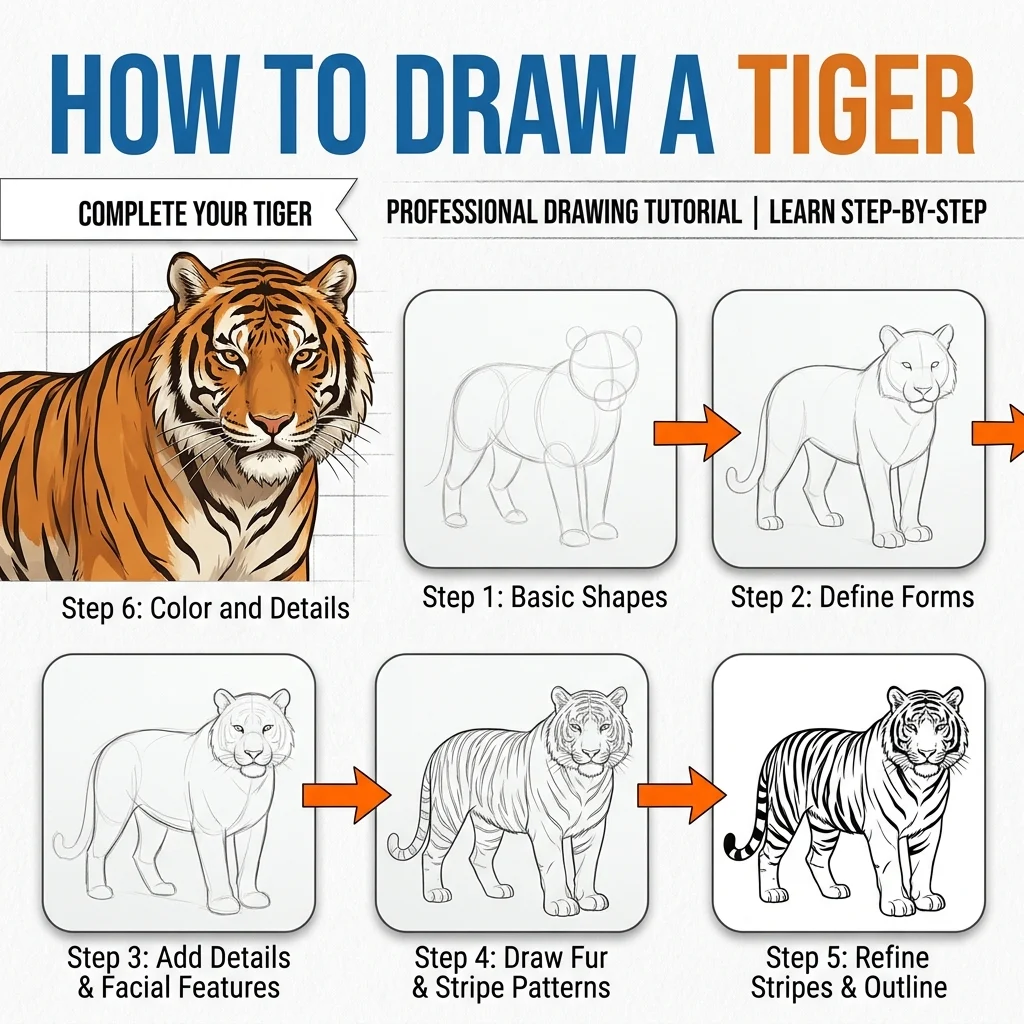
How to Draw a Tiger: Easy Step-by-Step Drawing Tutorial for Kids
In this tutorial, we are going to learn how to draw a fierce but cute tiger in 9 simple, easy-to-follow steps.
Every new line is highlighted in pink so you never get lost. Remember to let your shapes overlap without erasing! For another fierce, powerful creature, our T-Rex tutorial is just as roar-some.
Materials You’ll Need
Step-by-Step Easy Tiger Tutorial
Start by drawing a large circle near the top of your page for the tiger’s head.

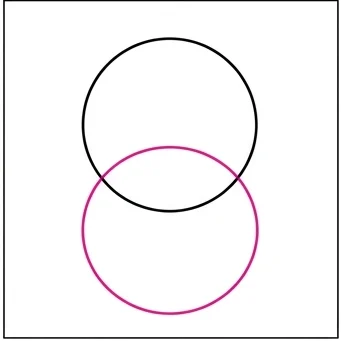
Draw a circle right below the head. Let the top of the body circle go inside the head circle. Don’t erase the head line!
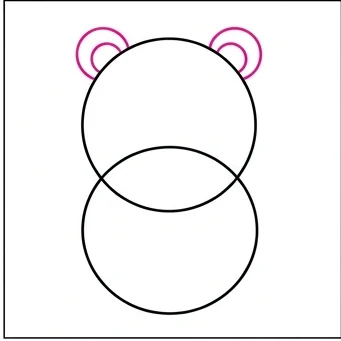
Draw two small half-circles right on top of the head for the tiger’s ears.
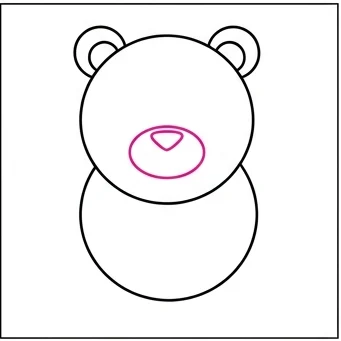
Draw an oval inside the lower half of the head, and add a small triangle for a nose.
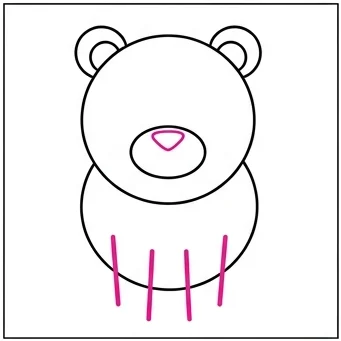
Draw two thick vertical lines sticking out from the bottom of the body circle for the front legs.
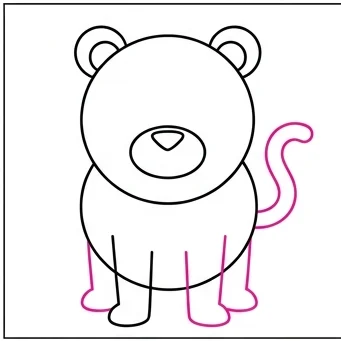
Draw two more legs in the back, and draw a long, swooping tail sticking out the side.
Draw small, pointy triangles sticking inward along the edge of the body circle. These are the tiger’s stripes!
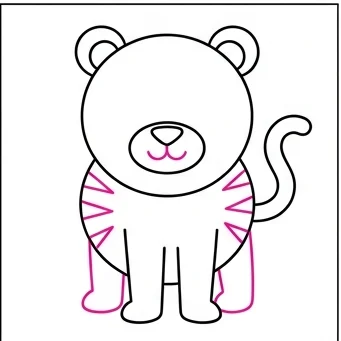
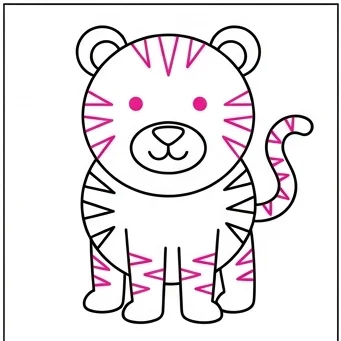
Draw more small triangle stripes around the edge of the head. Then, draw two small dot eyes.
Color your tiger bright orange with white on the snout and belly. Fill in all those triangle stripes with black.
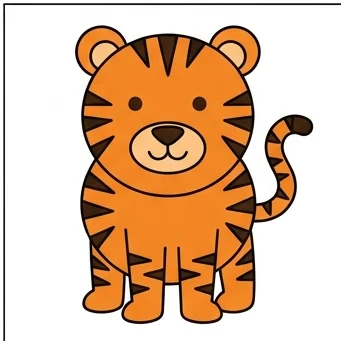
Overlapping Circles: Letting the body circle overlap the head without erasing keeps the drawing loose and gives it a natural pose!
Stripe Placement: Keep the triangle stripes pointing inward and evenly spaced around the edges for a classic tiger pattern.
Love drawing wild animals? Try these next!