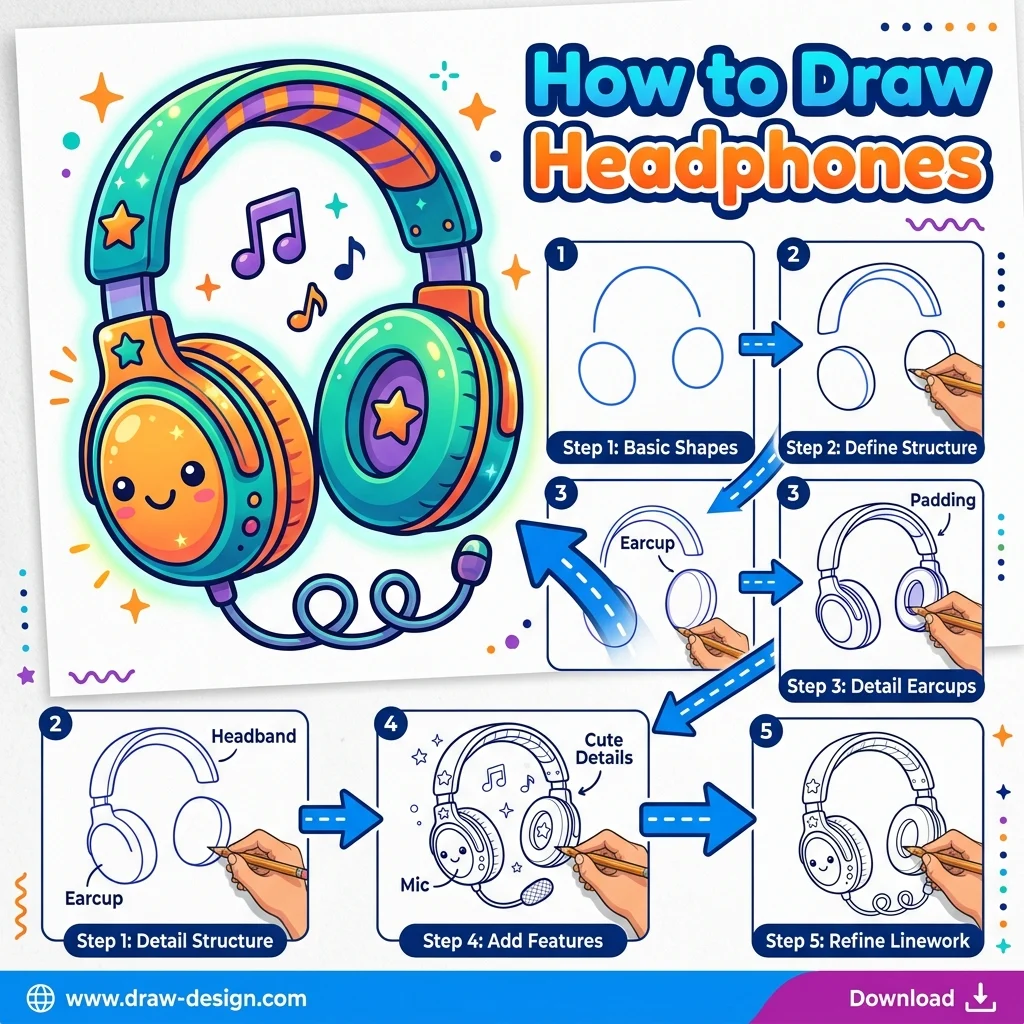
How to Draw Headphones: Easy Step-by-Step Drawing Tutorial for Kids
Let’s draw something every music lover needs! In this tutorial, we are going to learn how to draw a sleek pair of headphones step-by-step in 9 simple, easy-to-follow steps.
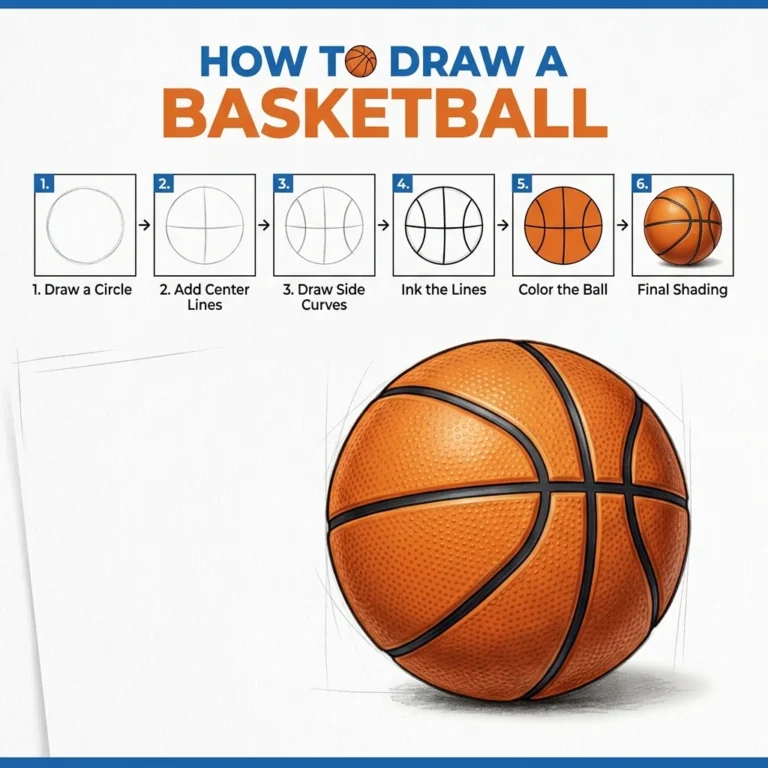
Notice how we build the headband and ear cups piece by piece, so you never have to erase any messy construction shapes! Great tunes make everything better — even shooting hoops in our Basketball tutorial.
Materials You’ll Need
Step-by-Step Easy Headphones Tutorial
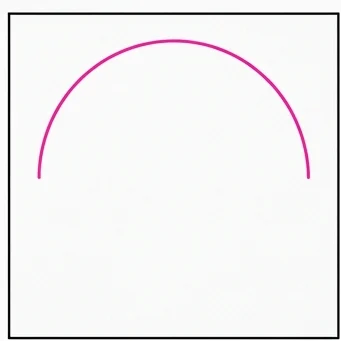
Start by drawing a large, smooth curved arc (like a rainbow shape) for the headband at the top.
Draw a second, slightly smaller arc inside the first one to give the headband its thickness.
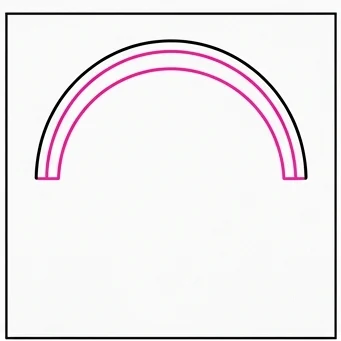
Draw two short vertical lines dropping straight down from each end of the headband.
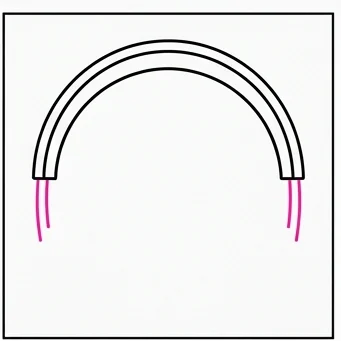
Draw a large oval on the left side attached to the bottom of the left arm for the ear cup.
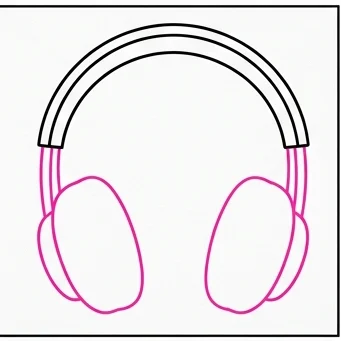
Draw a matching large oval on the right side for the other ear cup.
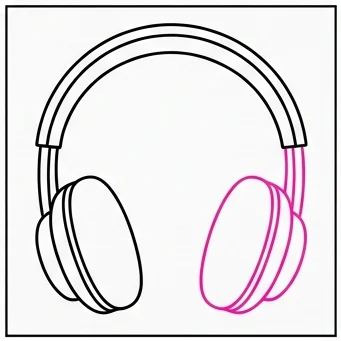
Draw thick cushion pads inside each ear cup — these are the soft parts that press against your ears!
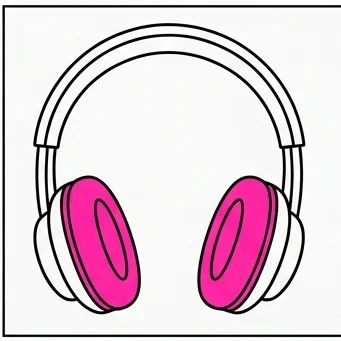
Draw a small circle detail in the center of each ear cup for the speaker grille.
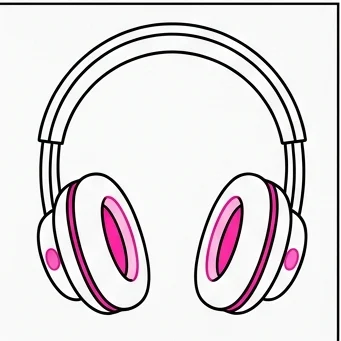
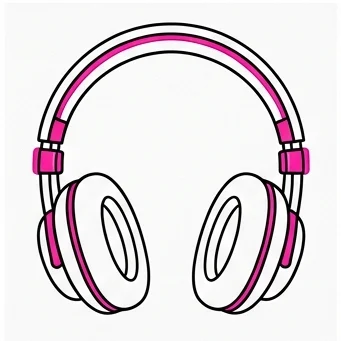
Draw a thin line along the inside of the headband for the padding, and small adjustment sliders on each side.
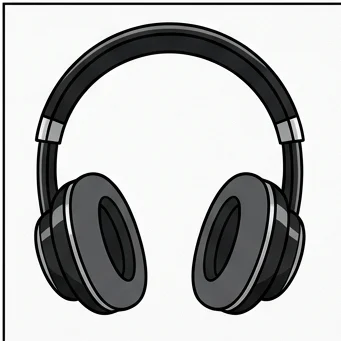
Color your headphones sleek black and dark grey with silver accents. They look amazing!
Matching Ovals: Draw the left ear cup first, then use it as a size guide so the right one matches exactly — mismatched cups are the most common mistake.
Smooth Arc: A steady hand (or a curved object to trace) keeps the headband arc smooth instead of bumpy.
Love drawing everyday items? Try these next!