How to Draw a Basketball: Easy Step-by-Step Drawing Tutorial for Kids
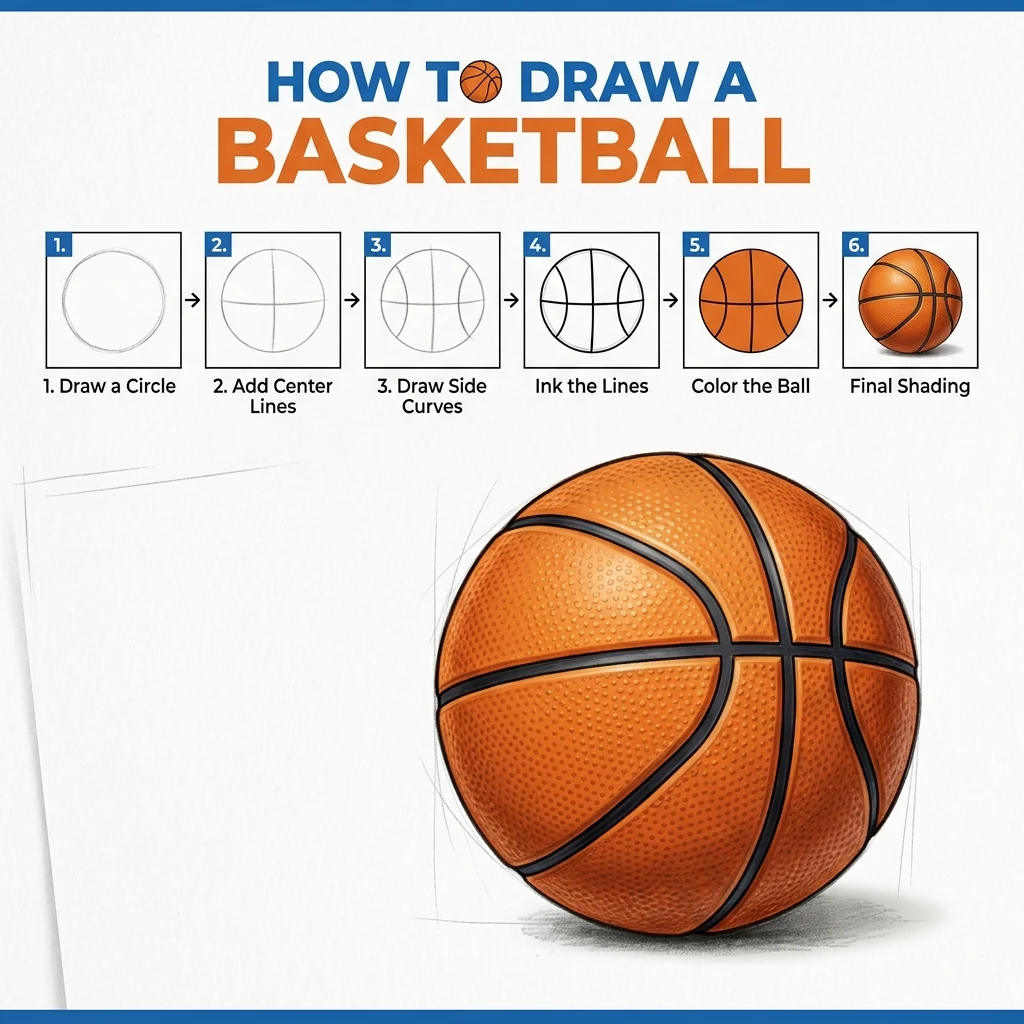
Let’s draw something every hoops fan loves! In this tutorial, we are going to learn how to draw a perfect basketball step-by-step in 9 simple, easy-to-follow steps.
We build the basketball line by line, so you never have to erase any mistakes!
Materials You’ll Need
Step-by-Step Easy Basketball Tutorial
Start by drawing a large, round circle for the outside of the basketball.
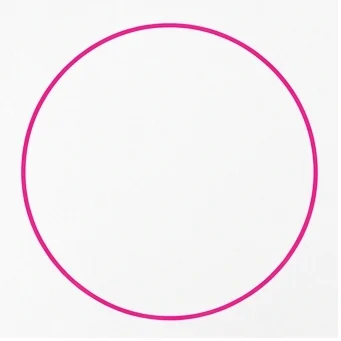
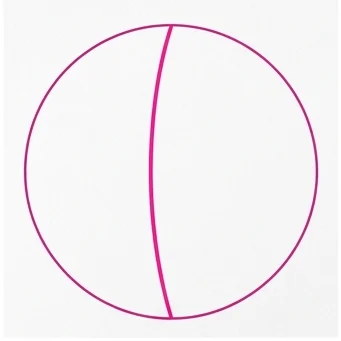
Draw a vertical line going straight down the middle of the circle, curving very slightly to the left to show the round shape of the ball.
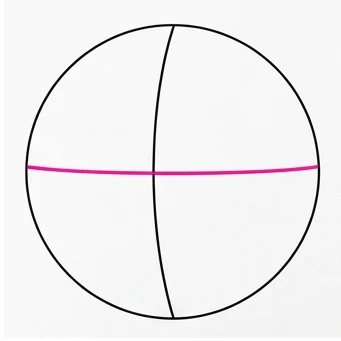
Draw a horizontal line going straight across the middle of the circle, curving slightly downward.
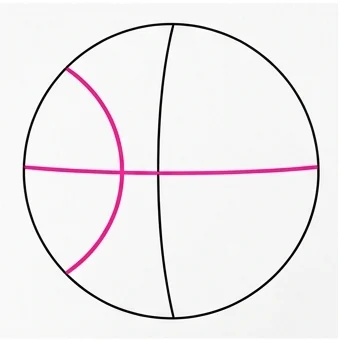
Draw a large C-shaped curve on the left side, bowing inward towards the middle vertical line.
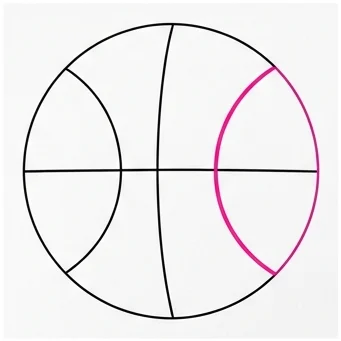
Draw a large backward C-shaped curve on the right side, bowing inward to match the left curve.
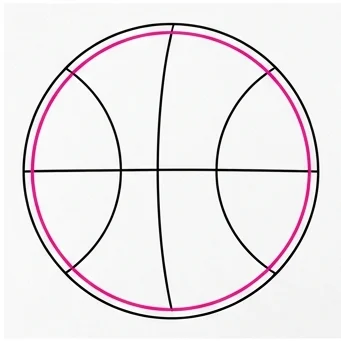
Draw a second, slightly thinner circle right inside the outer edge to give the basketball a thick, bold outline.
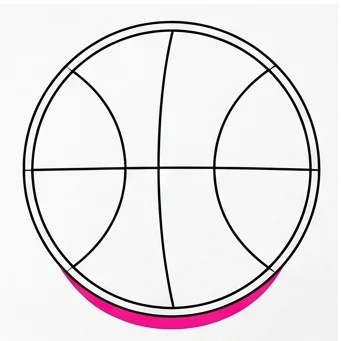
Draw a small curved shape along the bottom edge of the ball. This will be the shadow area.
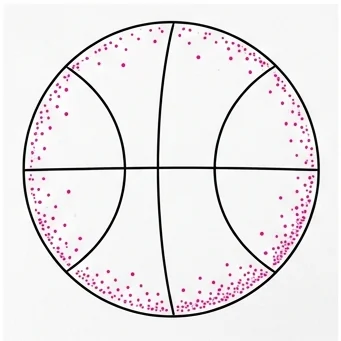
Draw small dots (stippling) inside the shadow areas and near the edges to give the ball a bumpy rubber texture.
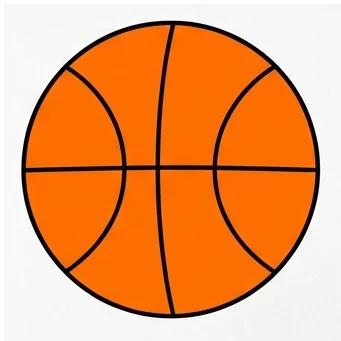
Color the basketball bright orange, and leave all those cool intersecting lines thick and black! Swoosh!
Curved Not Straight: Keep every line slightly curved instead of perfectly straight — that’s what makes the flat lines look like they’re wrapping around a round ball.
Bold Outline: A thick double-line outline is what gives basketball drawings that classic, punchy look.
Love drawing everyday items? Try these next!