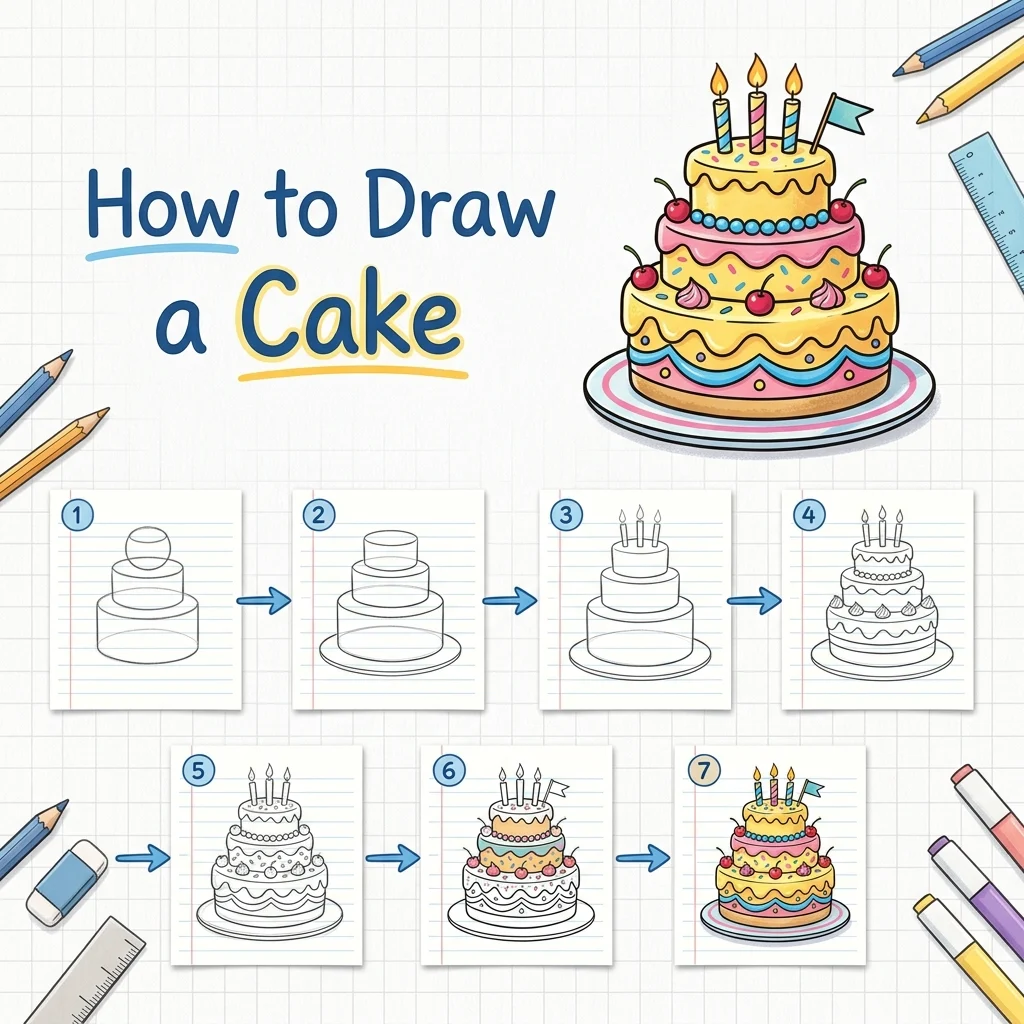
How to Draw a Cake: Easy Step-by-Step Drawing Tutorial for Kids
Happy birthday! In this fun tutorial, we are going to learn how to draw a delicious birthday cake with dripping frosting, candles, and piped icing using the progressive drawing method.
Every new line is highlighted in red so you never get lost. Let’s bake up some art! Every great cake needs a finishing touch — learn to draw the Cherries that go right on top.
Materials You’ll Need
Step-by-Step Easy Cake Tutorial
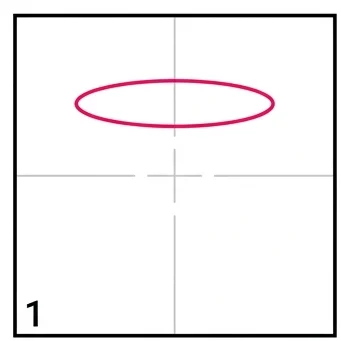
Start by drawing light gray crosshairs. Then, draw a large flat oval for the top of the cake.
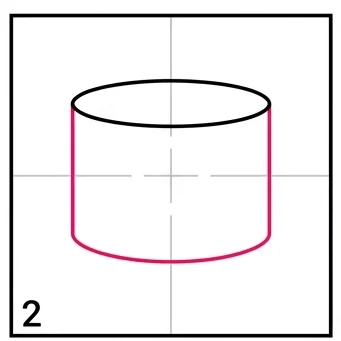
Draw two vertical lines going down from the oval, and connect them at the bottom with a curved line to create a cylinder.
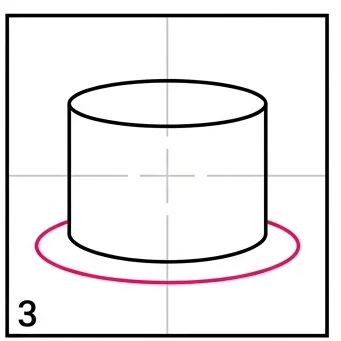
Draw a large curved oval around the bottom of the cake to create a fancy serving plate.
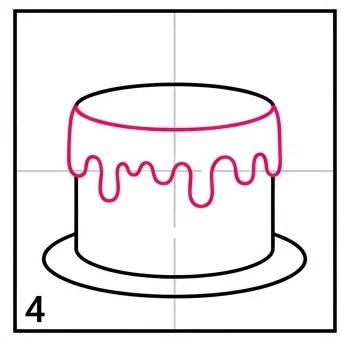
Draw a wavy, dripping line going all the way across the side of the cake to look like melted frosting.
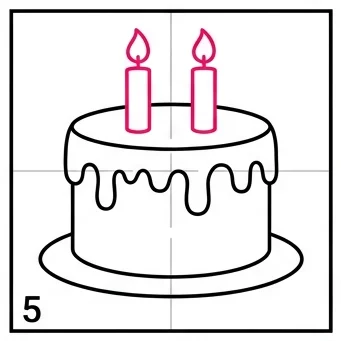
Draw two bright, burning birthday candles sticking out of the top of the cake.
Erase any overlapping construction lines behind the dripping icing so the frosting sits on top.
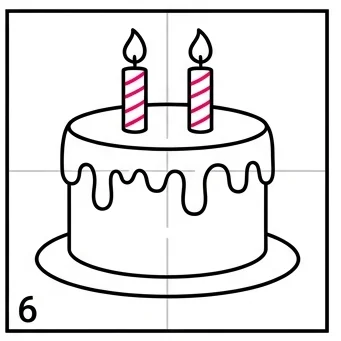
Draw small round piping circles all along the bottom edge, and add diagonal stripes to the candles.
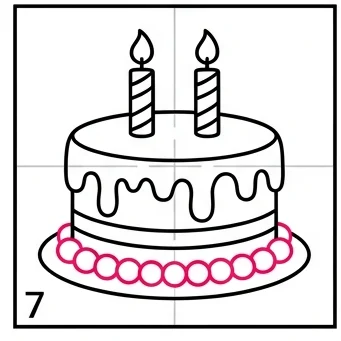
Thicken your final outlines to give your cake a clean, professional, cartoon look.
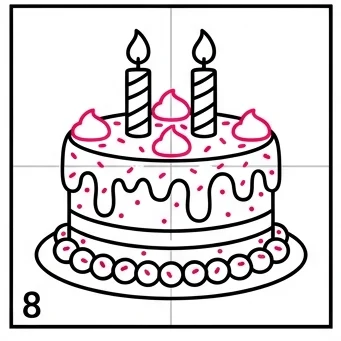
Color the cake brown for chocolate, the icing and piping pink for strawberry, and the plate blue! Yum!
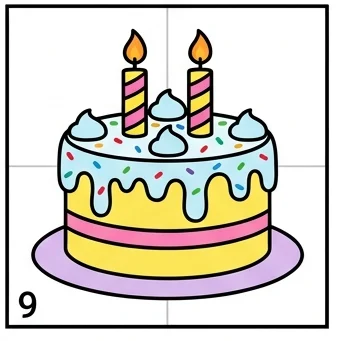
Drip Effect: Make the icing drips different lengths for a more natural, delicious look!
Candle Flames: Color the flames yellow at the base and orange at the tip for a realistic glow!
Love drawing fun objects? Try these next!
Frequently Asked Questions
People Also Ask
Absolutely! Add as many candles as you want — one for each year of the birthday person’s age!
The colors tell the flavor! Brown = chocolate, pink = strawberry, yellow = vanilla, red = red velvet.
Yes! This cake drawing is perfect for handmade birthday cards, party invitations, and classroom crafts.