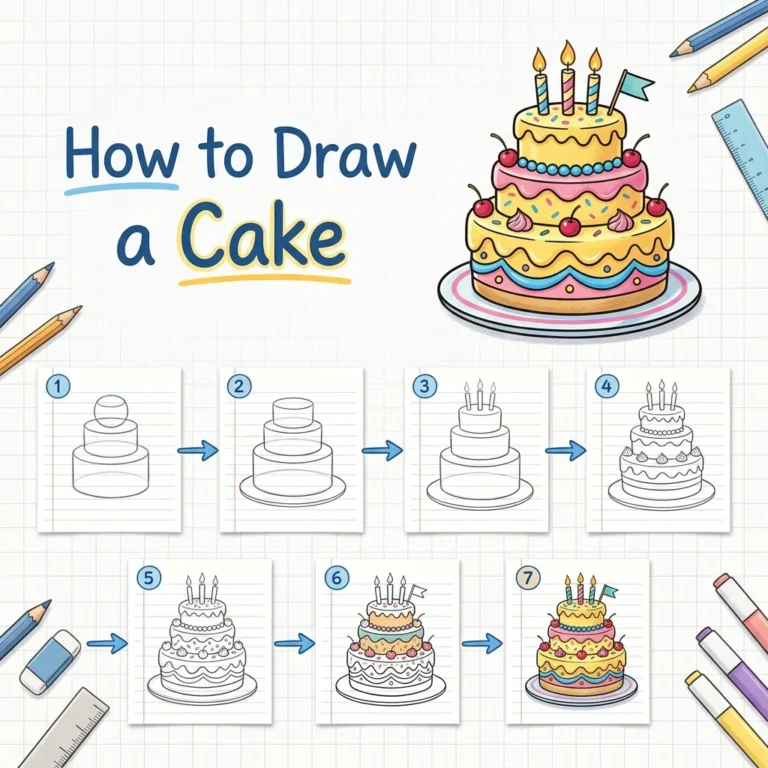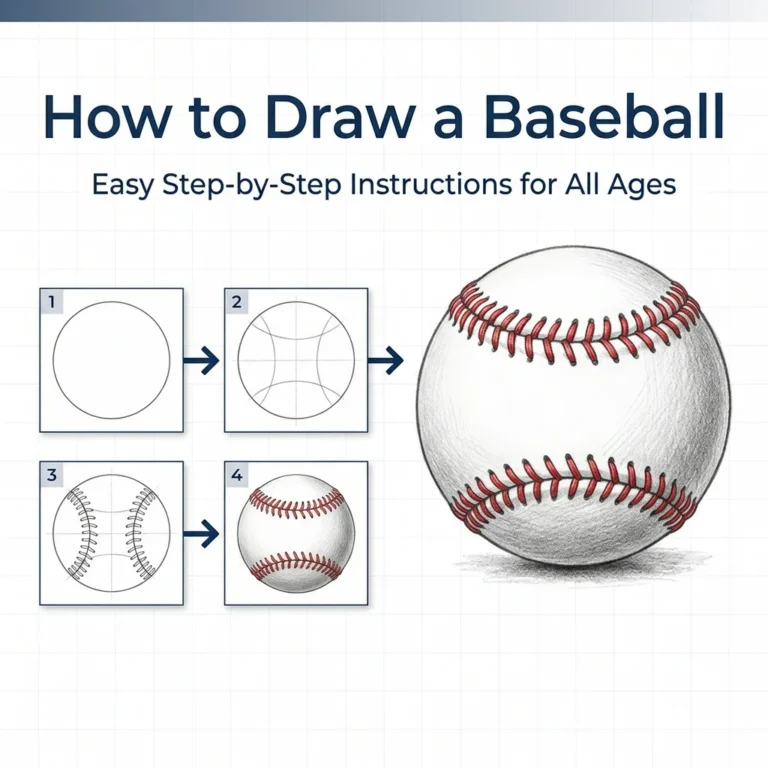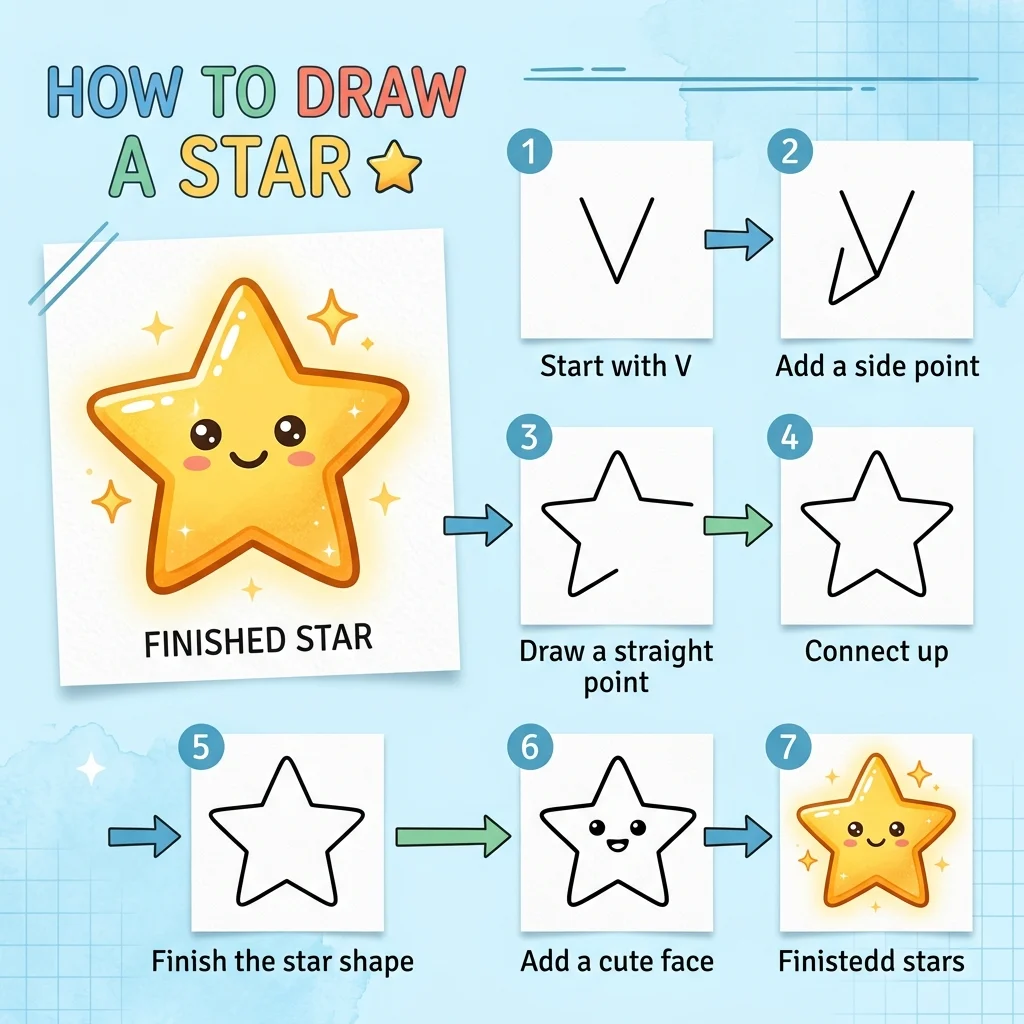
How to Draw a Star: Easy Step-by-Step Drawing Tutorial for Kids
Let’s draw a perfect, happy star! In this tutorial, we are going to learn how to draw a 5-point star with a cute face in 9 simple steps.
Every new line is highlighted in red so you never get lost. This is a great first shape-drawing project for young artists! Stars aren’t just for wishing on — they light the way for our Astronaut tutorial too.
Materials You’ll Need
Step-by-Step Easy Star Tutorial
Start by drawing a straight horizontal line across the center of your page.
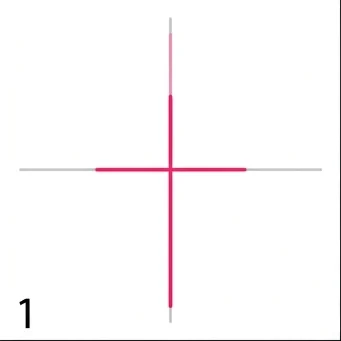
Draw a straight vertical line extending downward from the center, crossing the first line to make a cross shape.

Draw an upside-down V shape starting from the top of the vertical line, making the top point of the star.

Draw zig-zagging lines extending outwards to form the left point of the star.
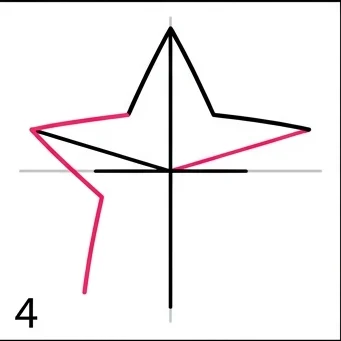
Draw more zig-zagging lines to form the remaining points of the star on the right and bottom.
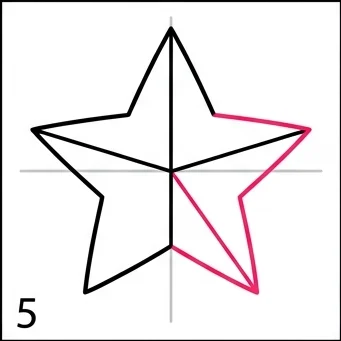
Draw straight lines connecting the outer tips of the star to form a pentagon shape outline.
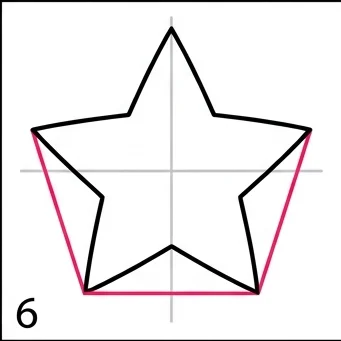
Erase your guidelines! Then, draw two eyes and a cute curved smile in the middle of the star.
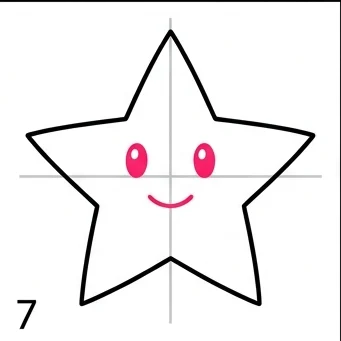
Add an open mouth and round, rosy cheeks to give your star character a super happy expression.
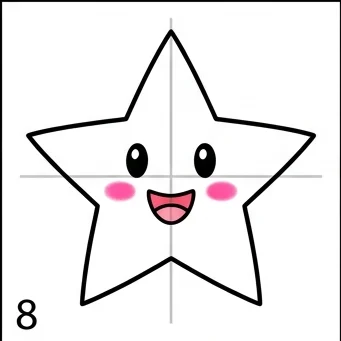
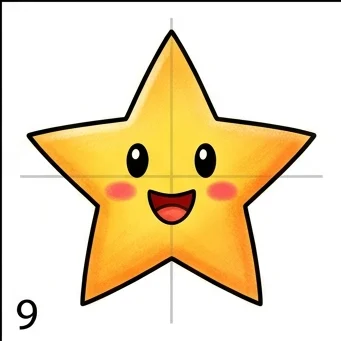
Color your star with a bright, sunny yellow and use orange for the edges to make it glow.
Guideline Trick: The cross-shaped guidelines make it much easier to get all 5 points evenly spaced!
Glow Effect: Add a few small orange lines radiating outward from the points for a sparkly glow effect.
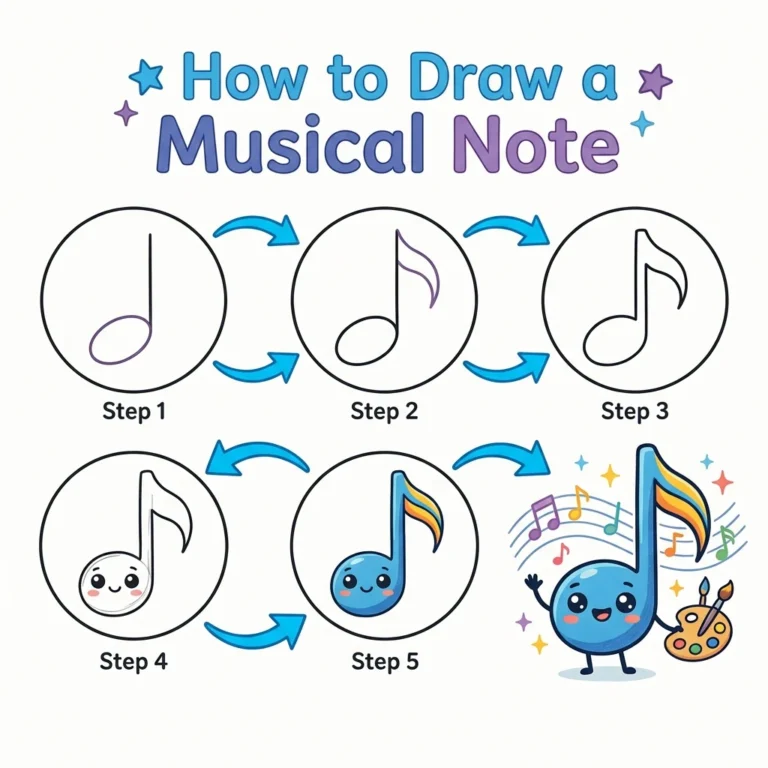
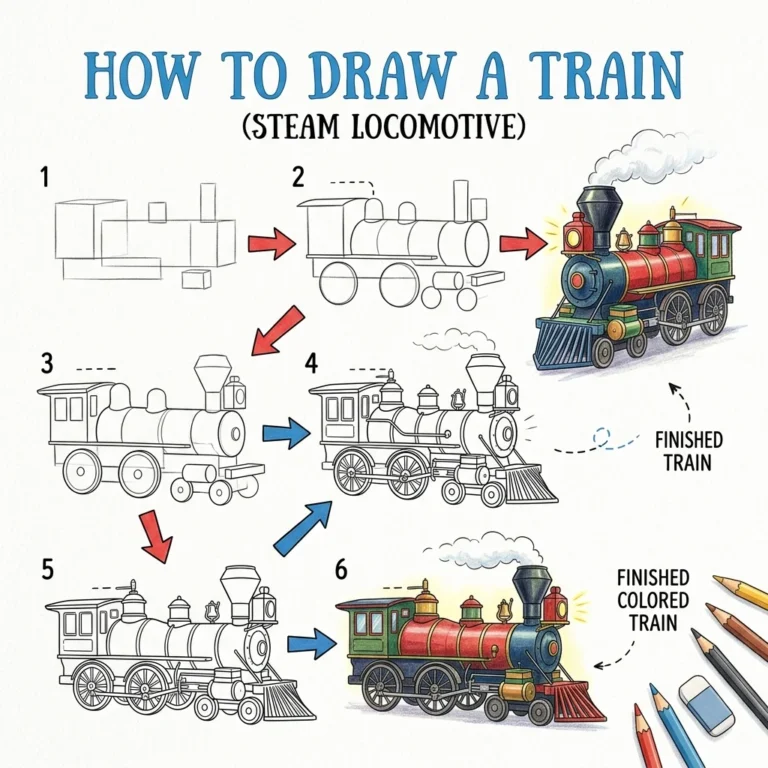
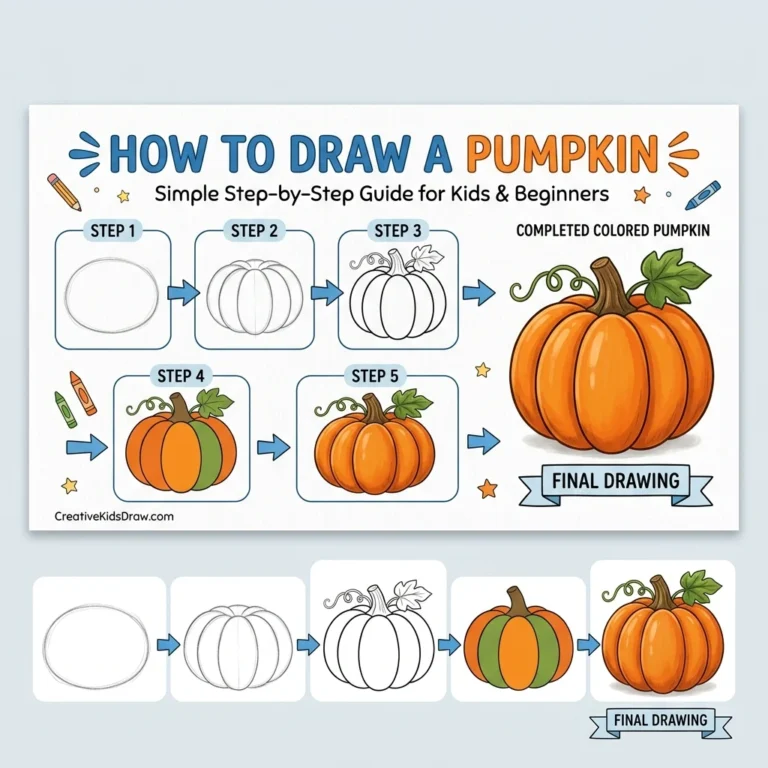
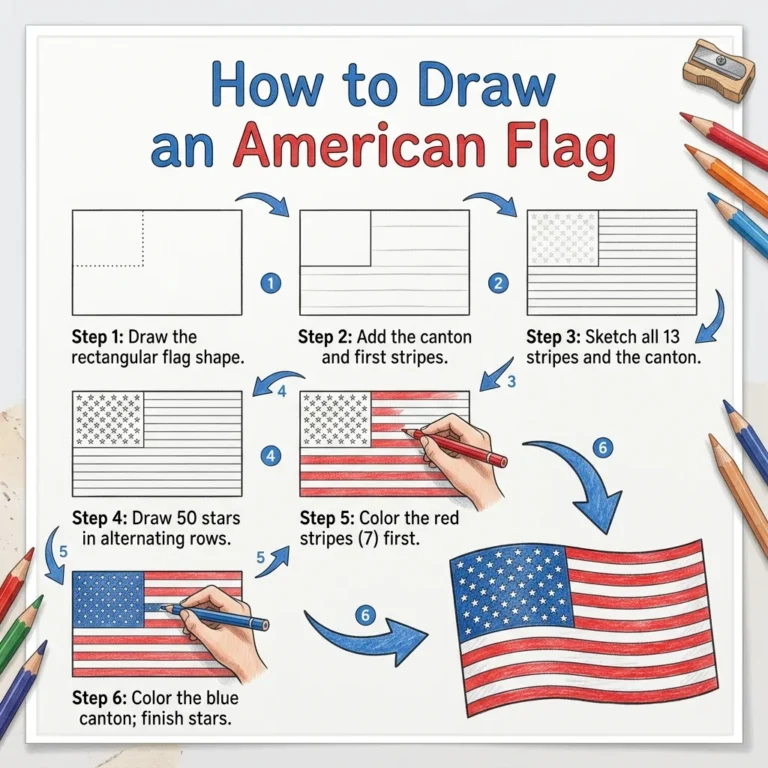
Love drawing fun shapes? Try these next!
Frequently Asked Questions
People Also Ask
This is a Grade 1 level tutorial, making it perfect for the youngest artists just starting to draw shapes.
The horizontal and vertical guidelines help you place all 5 points symmetrically before erasing them at the end.
Yes! Try changing the face expression or adding arms and legs to make your own star character.