How to Draw a Sea Turtle: Easy Step-by-Step Drawing Tutorial for Kids
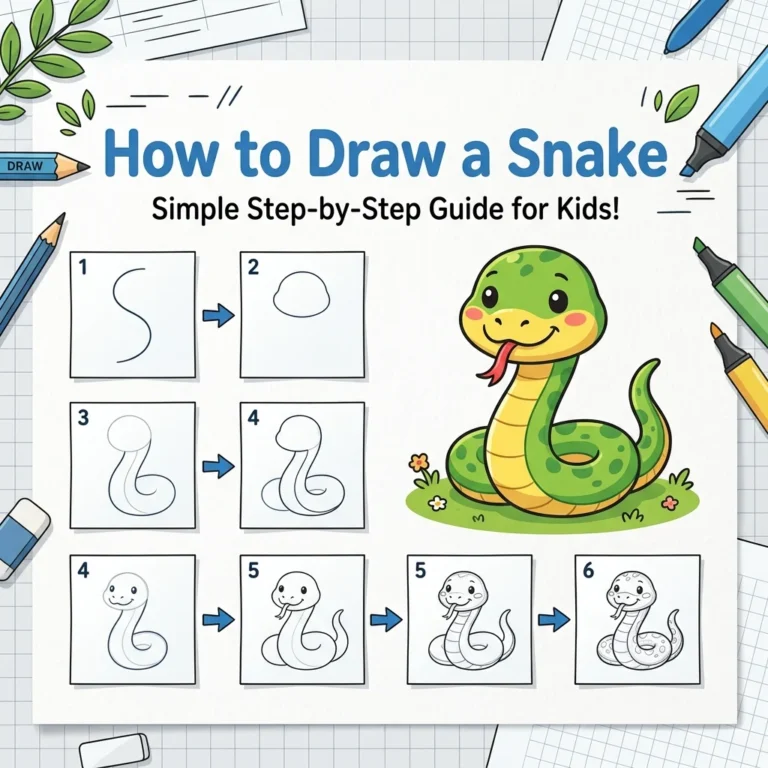
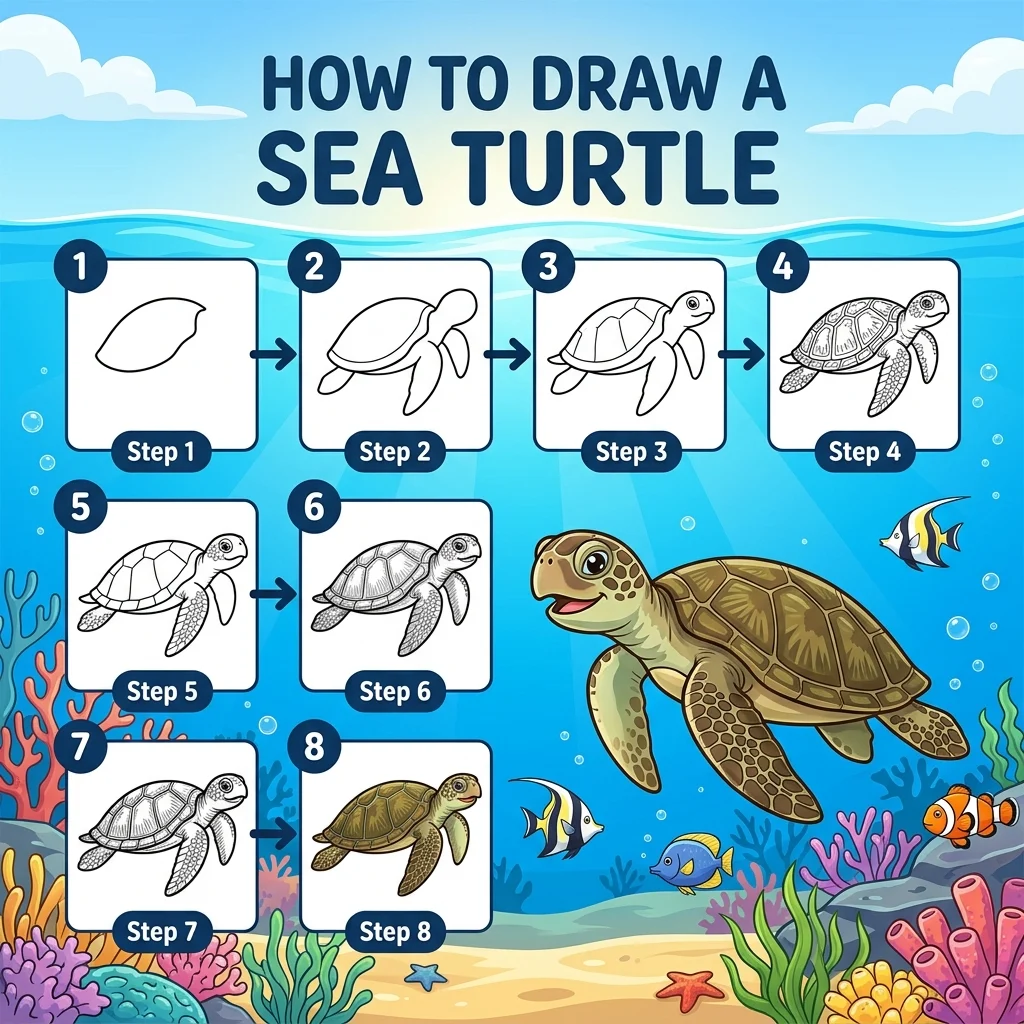
Dive into the ocean! Turtles share the water with all kinds of creatures — even reptile cousins like the one in our Snake tutorial. In this tutorial, we are going to learn how to draw a beautiful swimming sea turtle in 9 simple steps.
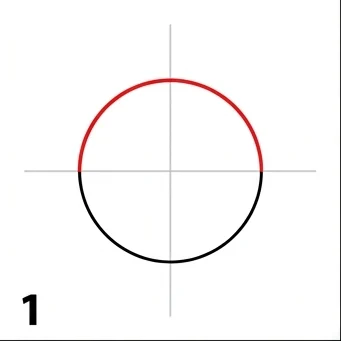
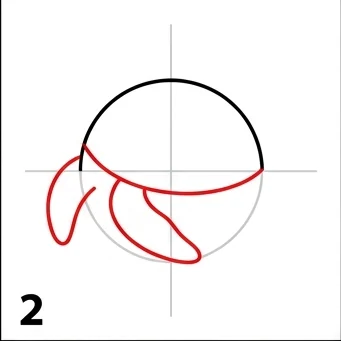
Every new line is highlighted in red so you never get lost. Let’s create an amazing sea creature together! Since our turtle lives underwater, you might also like our Water tutorial for drawing ocean waves.
Materials You’ll Need
Step-by-Step Easy Sea Turtle Tutorial
Start by drawing a large circle in the center of your page for the turtle’s shell.
Draw a curved line underneath for the belly, and add two curved flippers on the left side.
Draw a line tracing the bottom curve of the shell to create a rim, and add a small back flipper on the right.
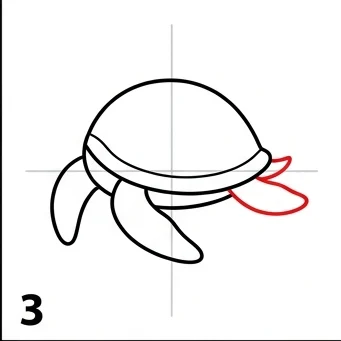
Draw the rounded shape of the turtle’s head and neck on the left side. Add a tiny tail on the right.
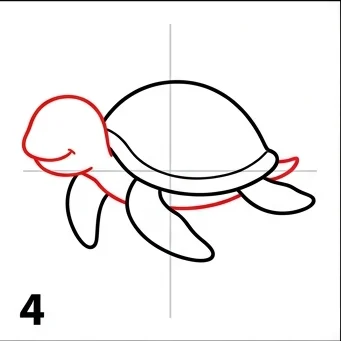
Add a cute face with eyes and a little curved smile.
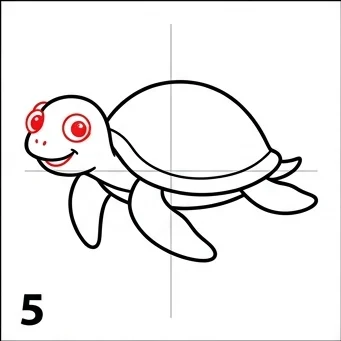
Draw a beautiful geometric pattern on the back of the shell using connecting hexagon lines.
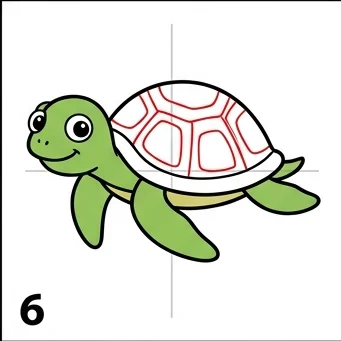
Draw little circles and spots on the head, flippers, and shell rim for extra texture.
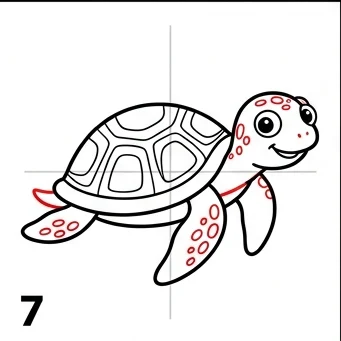
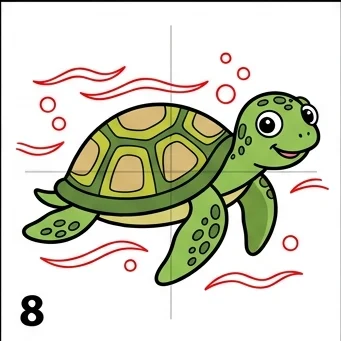
Draw wavy lines and little round bubbles around the turtle to show it swimming through the ocean!
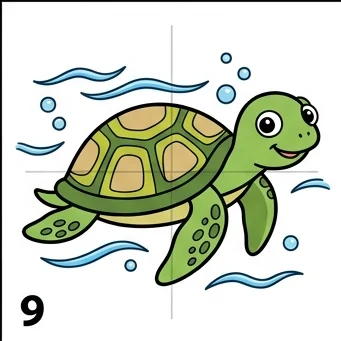
Color your sea turtle using greens and earthy browns for the shell, and color the water splashes blue.
Shell Pattern: Hexagon patterns can be tricky — practice on scratch paper first to get the connecting lines right!
Swimming Motion: Angle the flippers slightly to make it look like the turtle is actively swimming through the water.
Love drawing animals? Try these next!
Frequently Asked Questions
People Also Ask
This is a Grade 3 level tutorial — the shell pattern adds a bit of a challenge, but the steps are still easy to follow.
This is a sea turtle, recognizable by its flippers instead of feet, perfect for swimming in the ocean.
Green or olive for the shell, brown for the pattern lines, and light blue for the water and bubbles.