How to Draw a 3D Castle: Easy Step-by-Step Drawing Tutorial for Kids
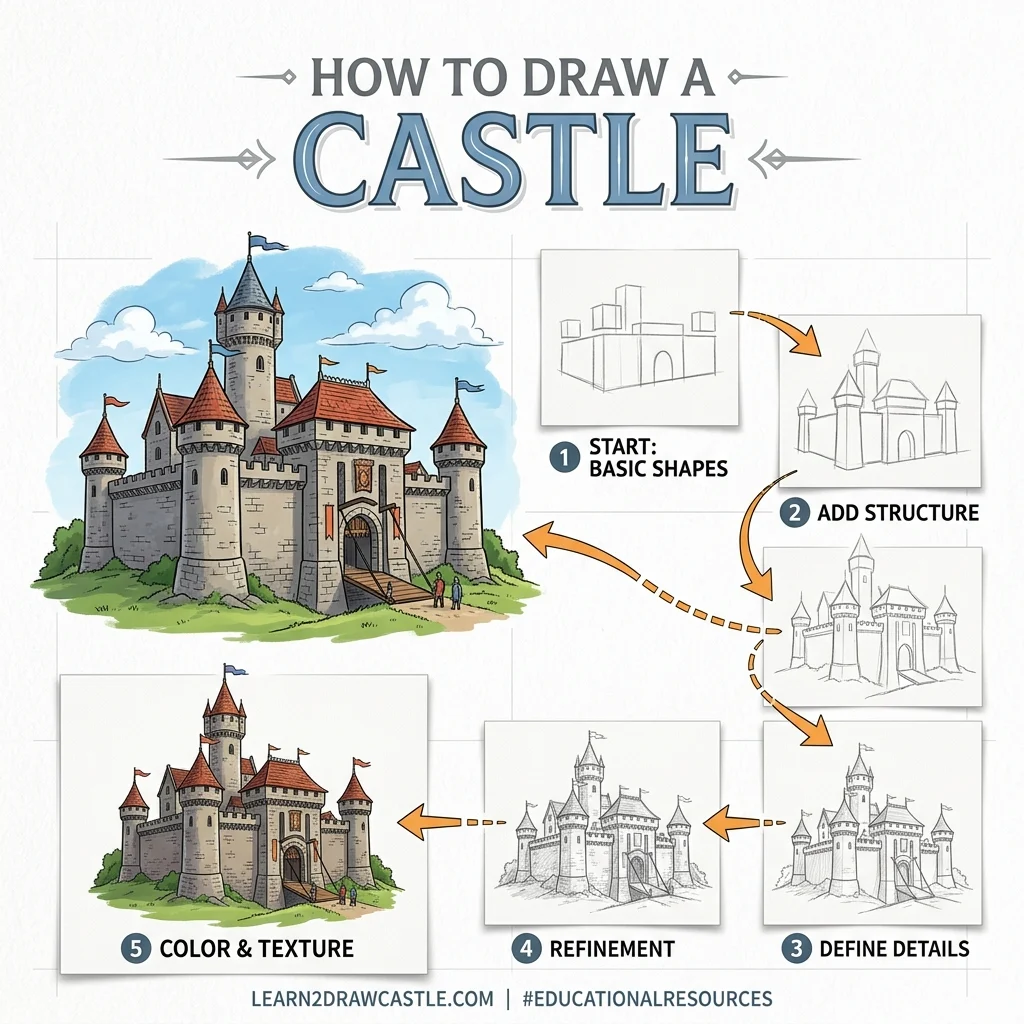
In this tutorial, we are going to learn how to draw an impressive 3D medieval castle using a cool isometric perspective in 9 easy steps.
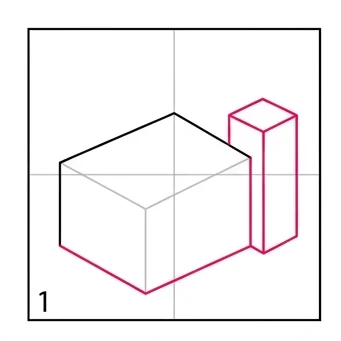
Every new line is highlighted in pink so you never get lost. Grab your ruler and let’s construct a magnificent castle! If you’d rather keep things moving, our Train tutorial is another fun ride.
Materials You’ll Need
Step-by-Step Easy 3D Castle Tutorial
Start by drawing a large 3D rectangular box for the main building, and a tall rectangular tower right next to it in the back corner.
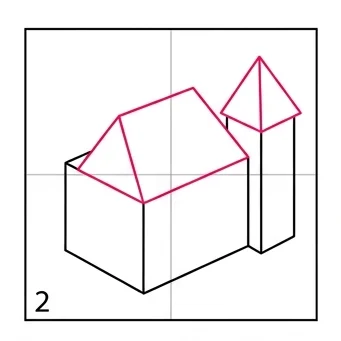
Draw an angled roof sitting on top of the main rectangular building.
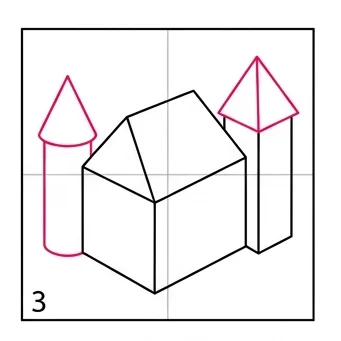
Draw a tall cylinder tower on the back left corner. Then, add a cone roof to that tower, and a pointed pyramid roof to the right tower.
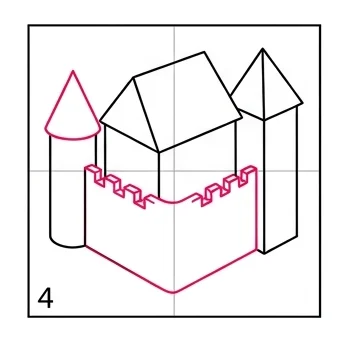
Draw outer walls wrapping around the front. Add a square zig-zag pattern (battlements) along the top edge of the walls.
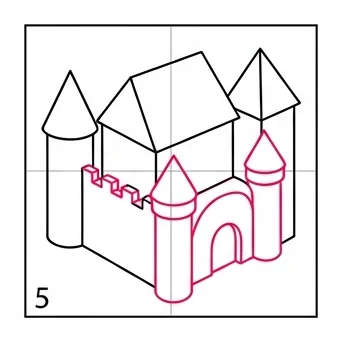
Draw two short cylinder towers with cone roofs at the front corners, and draw a large arched gateway in the center of the wall.
Add lots of crossing horizontal and vertical lines to create a brick stone texture all over the front walls and front towers.
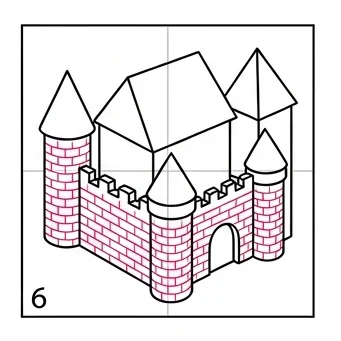
Draw small arched windows on the towers and the main building. Add a wooden door inside the gateway, and put little flags on top of the roofs.
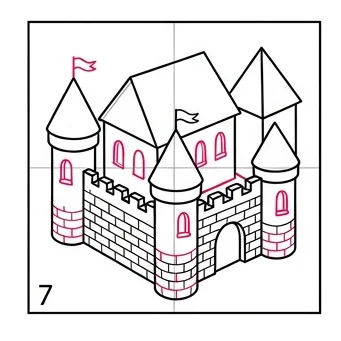
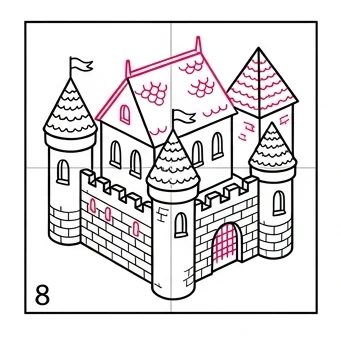
Add a wavy, scalloped pattern of lines across all the roofs to make them look like layered tiles or shingles.
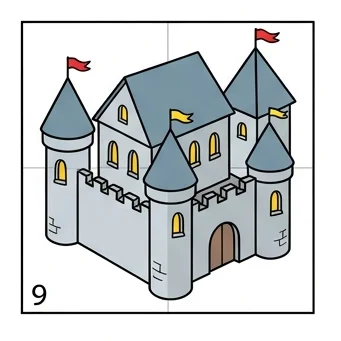
Color the stone walls a cool gray, paint the roofs a slate blue, and color the flags bright red and yellow. Don’t forget to color the windows to look like warm light is glowing inside.
Isometric Perspective: Keep all your vertical lines straight up and down, and angle the side lines the same way on every box for a consistent 3D look!
Glowing Windows: Color the windows a warm yellow-orange to make it look like the castle is lit up from inside — it makes a huge difference!
Love drawing fun scenes and objects? Try these next!
Frequently Asked Questions
People Also Ask
This is a Grade 4 level tutorial with isometric 3D shapes, great for kids who enjoy a more advanced drawing challenge.
Isometric perspective is a way of drawing 3D objects where all vertical lines stay straight and angled lines are drawn at consistent angles, giving a realistic depth without complex vanishing points.
A ruler helps a lot with the straight walls and towers, but you can also draw freehand if you go slowly and carefully.