How to Draw a Musical Note: Easy Step-by-Step Drawing Tutorial for Kids
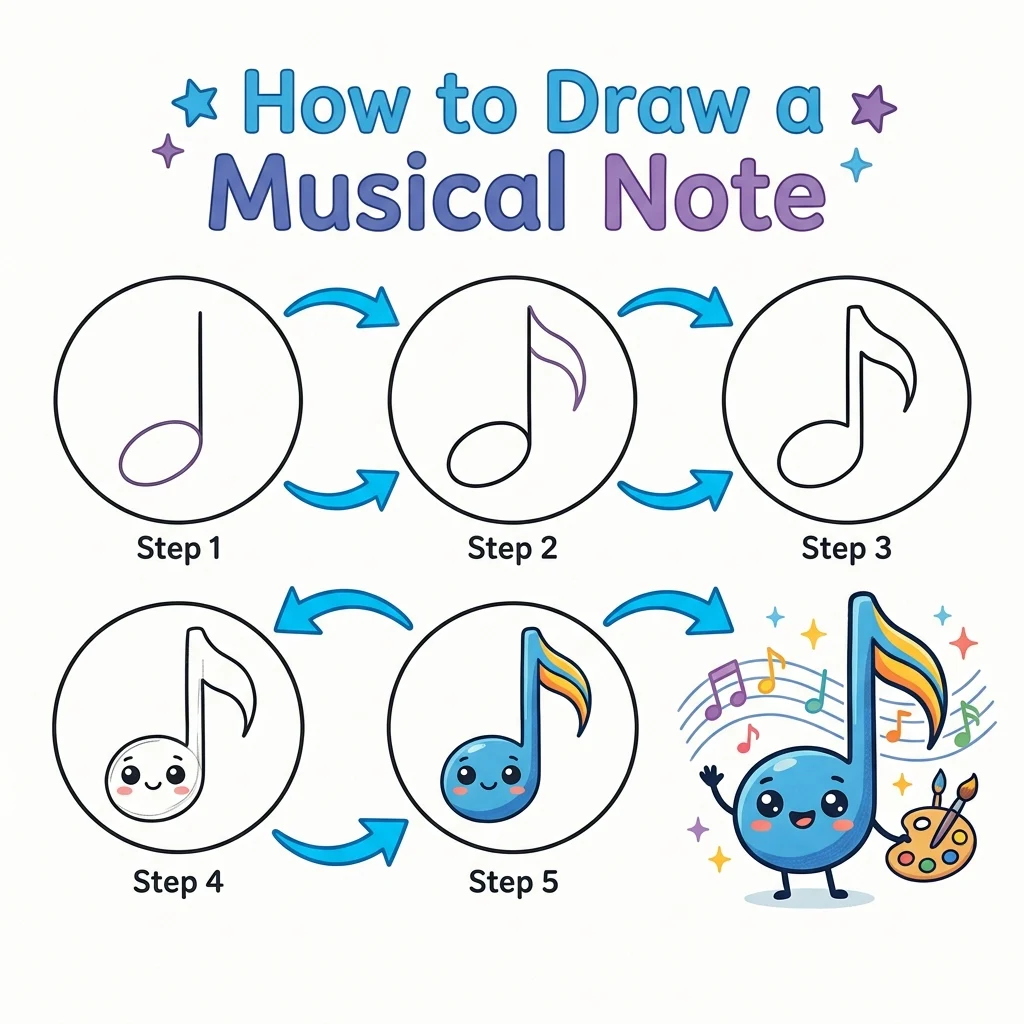
Let’s make some music! In this fun tutorial, we are going to learn how to draw an adorable musical note character in 9 simple, easy-to-follow steps.
Every new line is highlighted in pink so you never get lost. This is a great project for kids who love music!
Materials You’ll Need
Step-by-Step Easy Musical Note Tutorial
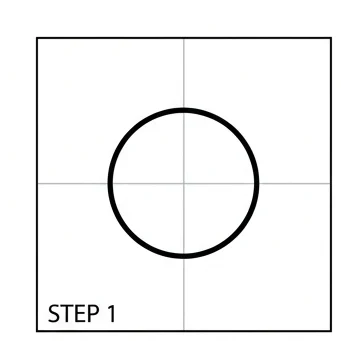
Start by drawing a large black circle right in the center of your page to form the note head.
Draw two straight vertical lines pointing straight down from the bottom of the circle.
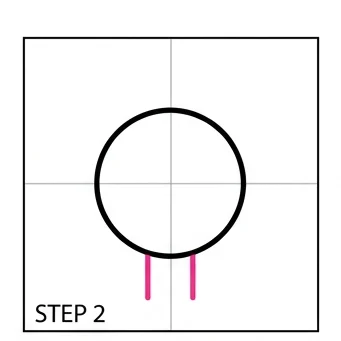
Draw two short horizontal lines pointing outwards at the bottom of the legs for the feet.
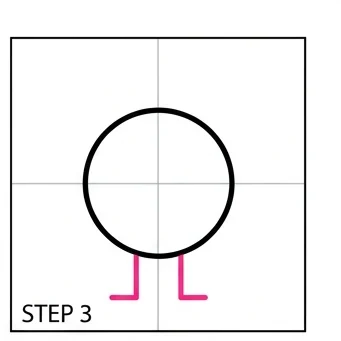
Draw a stem going up from the right side of the circle, and add a curvy flag pointing downwards.
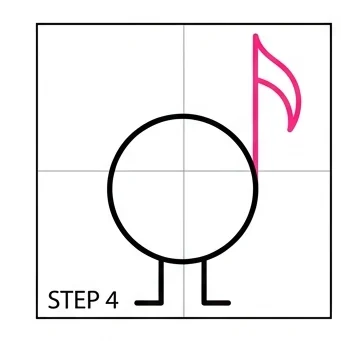
Draw two small circles inside the main note head for the eyes.
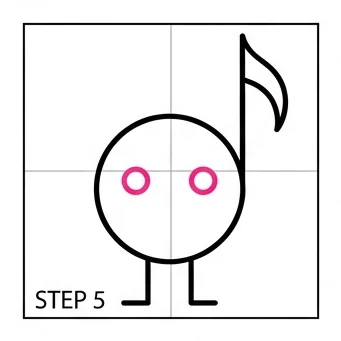
Fill in the eyes with solid color, and draw two little oval cheeks underneath them.
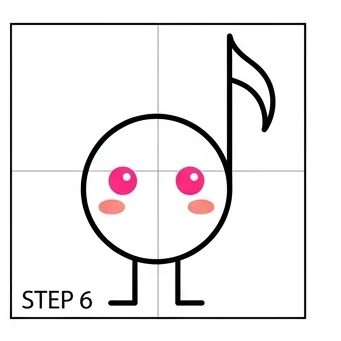
Add cute little white sparkle highlights inside the black eyes, and draw a happy smile.
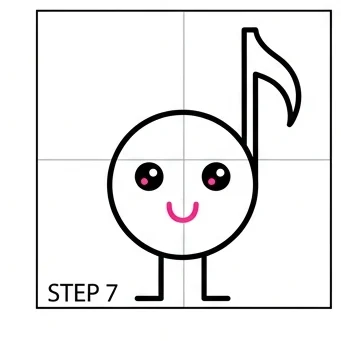
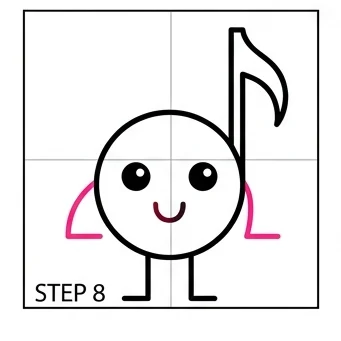
Draw two bent lines coming out from the sides of the note head to create little arms resting on its hips.
Color the main body and stem a dark charcoal gray or black. Keep the cheeks rosy pink.
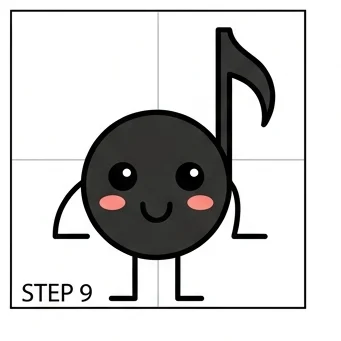
Sparkle Highlights: A tiny white dot in each eye brings the character to life — don’t skip this detail!
Arm Pose: Bending the arms so the hands rest on the hips gives the note a confident, sassy personality.
Love drawing fun objects? Try these next!
Frequently Asked Questions
People Also Ask
Yes! This is a Grade 1 level tutorial with simple shapes, perfect for the youngest artists.
Yes! Try adding headphones, dancing shoes, or a floating melody of extra notes around the character.
Black or dark charcoal gray for the body, with pink for the cheeks and eyes.