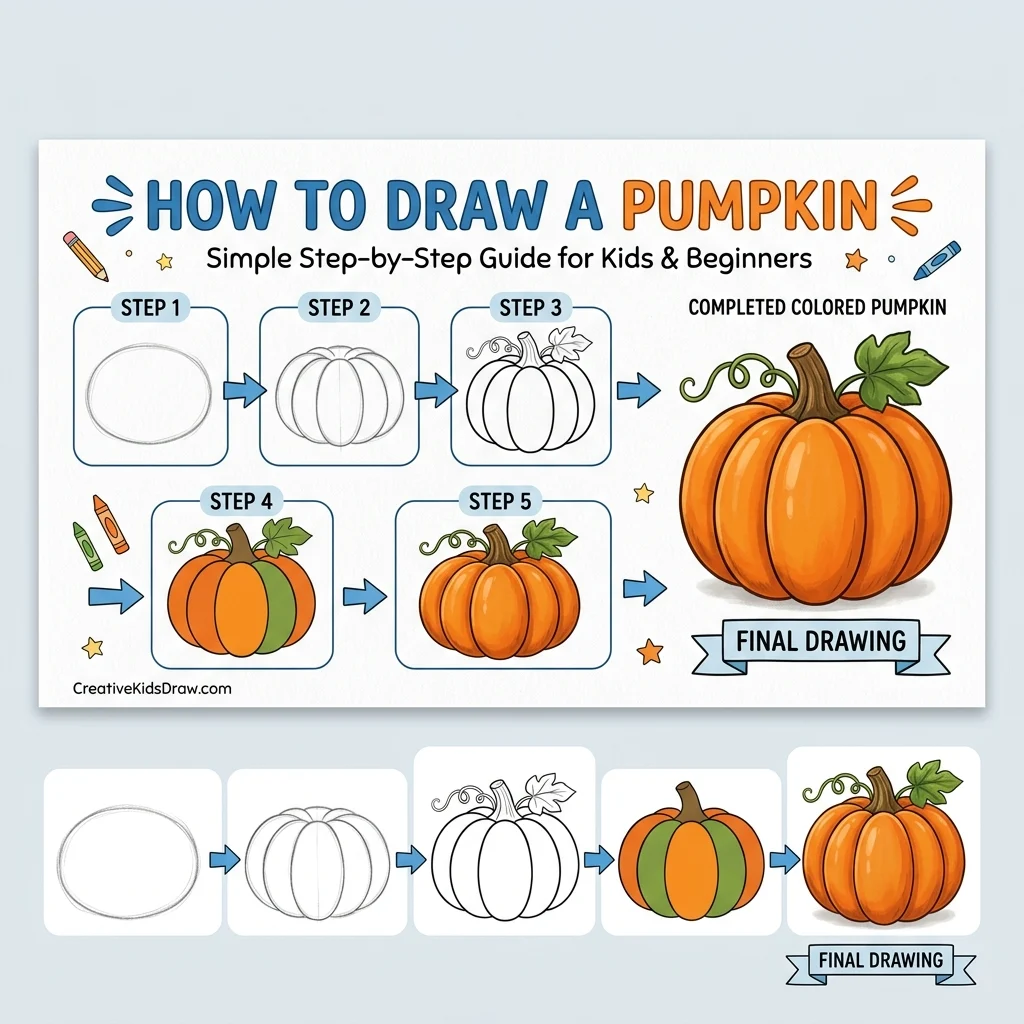
How to Draw a Pumpkin: Easy Step-by-Step Drawing Tutorial for Kids
It’s pumpkin season! In this fun tutorial, we are going to learn how to draw a perfect autumn pumpkin in 9 simple, easy-to-follow steps.
Every new line is highlighted in pink so you never get lost. Grab your orange crayons and let’s get into the fall spirit! Pumpkins aren’t the only fall harvest classic — our Corn tutorial is another autumn favorite.
Materials You’ll Need
Step-by-Step Easy Pumpkin Tutorial
Using light gray guidelines, draw a tall, curved line slightly to the left of the center.
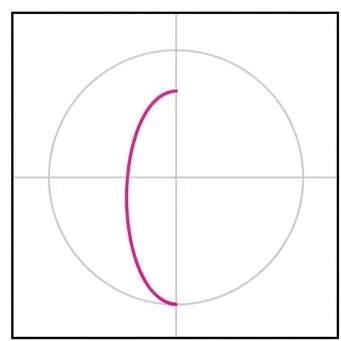
Draw a matching curved line on the right side to close the center oval shape of the pumpkin.
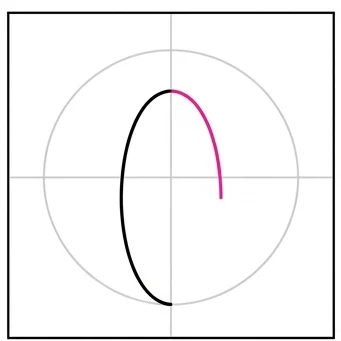
Draw two long curved lines, one on the left and one on the right, hugging the center oval.
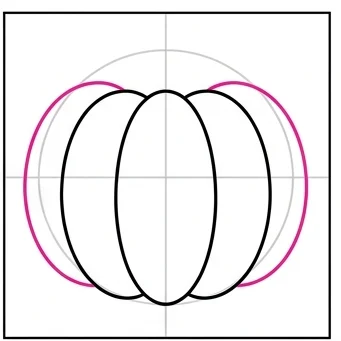
Draw a wavy line along the bottom edge to connect the pumpkin segments.
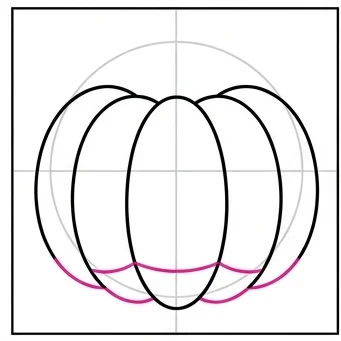
Draw two final curved segments on the far left and right edges to complete the round pumpkin body.
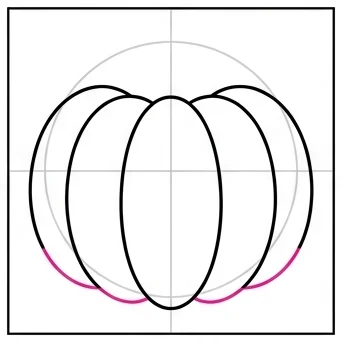
At the top center, draw a curving stem with texture lines inside it.
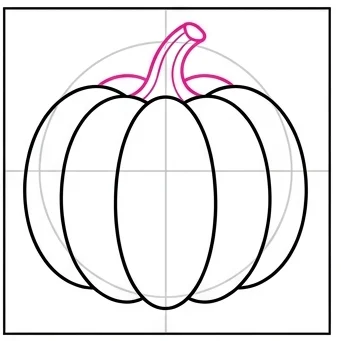
Add thin, faint lines inside each of the pumpkin segments to give it realistic ridges and texture.
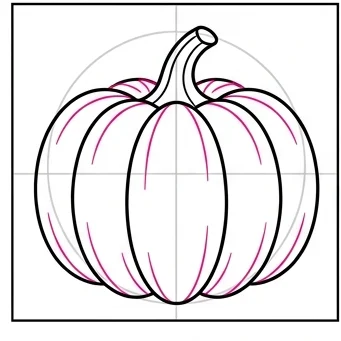
Draw a nice, jagged leaf peeking out from behind the left side of the stem.
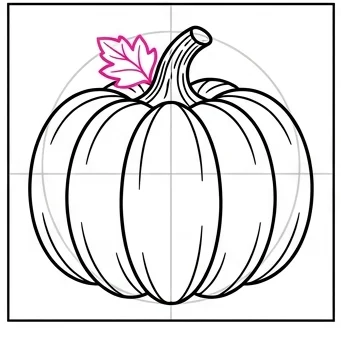
Color your pumpkin a bright, vibrant orange, and use green for the stem and leaf.
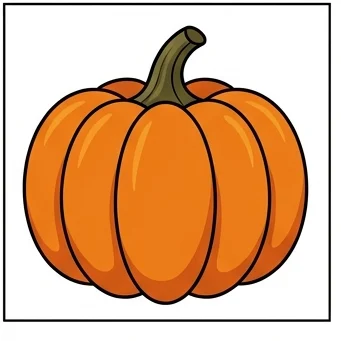
Segment Curves: Make each segment curve slightly differently for a more natural, plump pumpkin shape!
Ridge Lines: Keep the texture lines thin and faint so they add detail without looking too busy.
Love drawing fun objects? Try these next!
Frequently Asked Questions
People Also Ask
Yes! This is a Grade 2 level tutorial, perfect for kids ages 7 and up who want a fun fall drawing project.
Real pumpkins have natural ridges running from the stem to the bottom — drawing these segments makes the pumpkin look realistic!
Bright orange for the body, with green for the stem and leaf. You could also try a white pumpkin for variety!