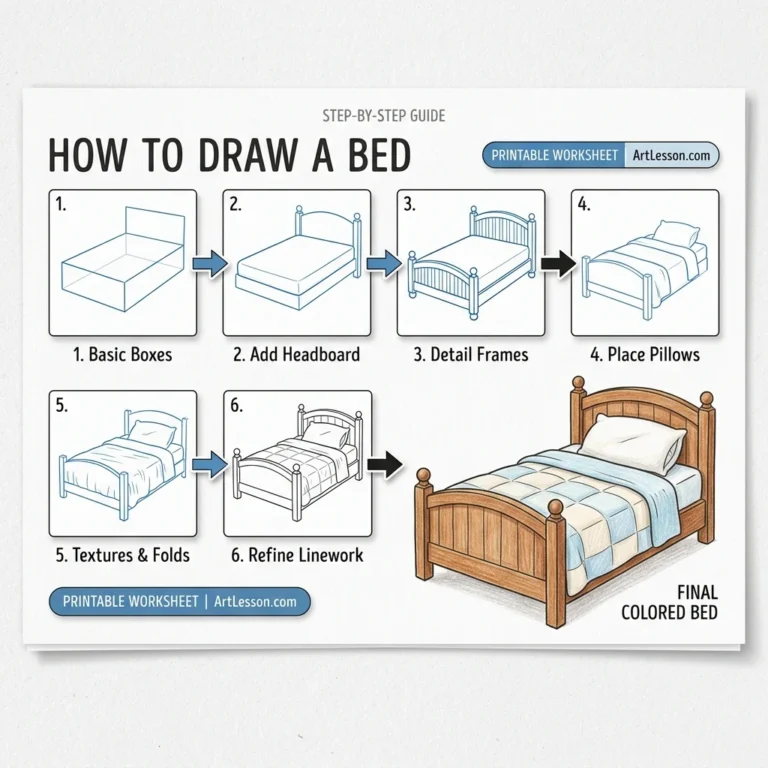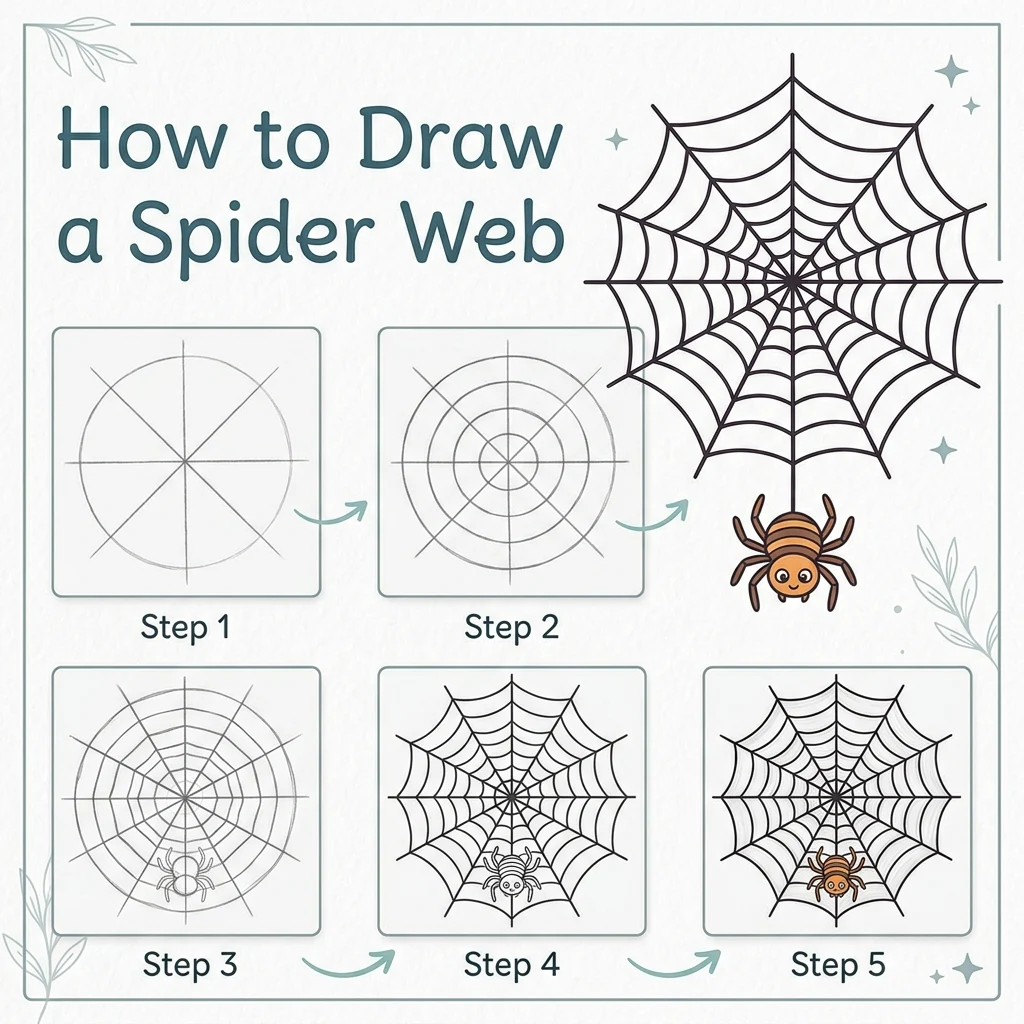
How to Draw a Spider Web: Easy Step-by-Step Drawing Tutorial for Kids
Get spooky! In this fun tutorial, we are going to learn how to draw a detailed spider web with a creepy-crawly spider in 9 simple steps.
Every new line is highlighted in pink so you never get lost. This is a perfect project for Halloween art!
Materials You’ll Need
Step-by-Step Easy Spider Web Tutorial
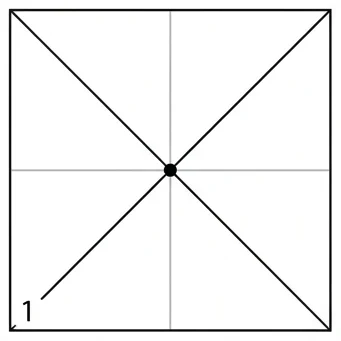
Start by drawing a large diagonal X across your paper (like a giant multiplication sign) passing through the center point.
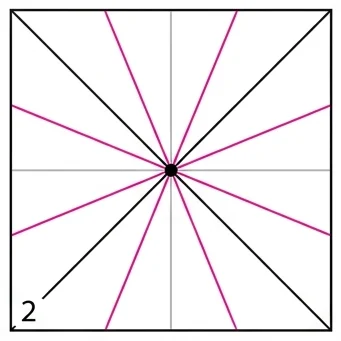
Draw four more lines radiating from the center, fitting them right between the existing lines to create a starburst shape.
Near the middle, connect the spokes using a small, jagged ring to start the webbing.
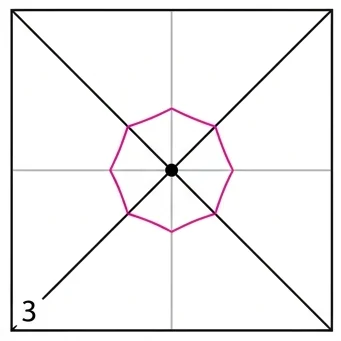
Second ring with four lines give this type of look.
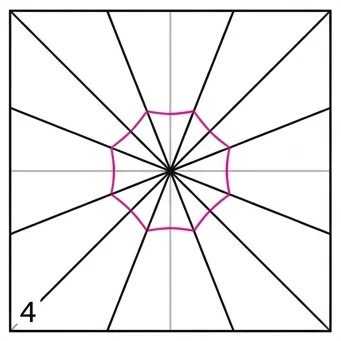
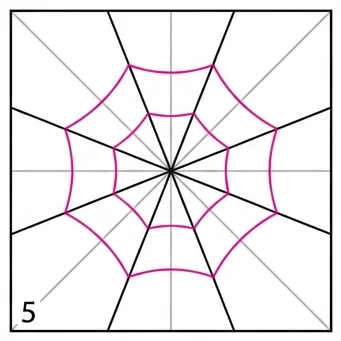
Keep moving outwards! Draw a third ring of curved web lines connecting all the spokes.
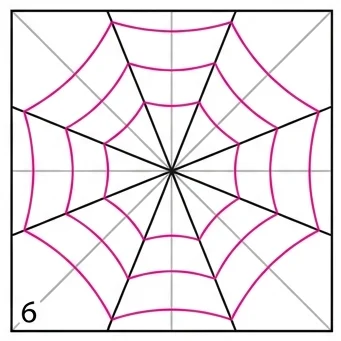
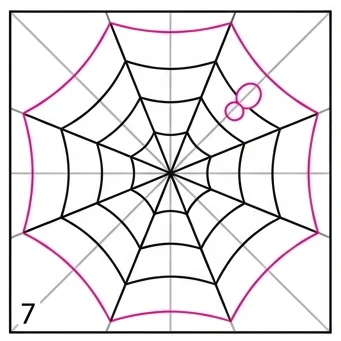
Near the very edge of the spokes, draw the final, largest ring of curved lines to complete the web.
On the right side of the web, draw two small circles (a tiny head and a larger body) for the spider.
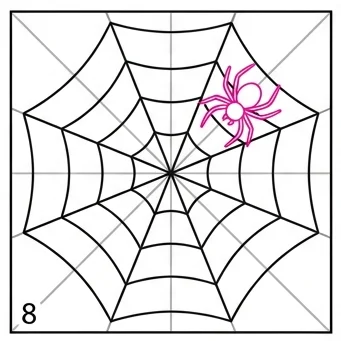
Spiders have eight legs! Draw four legs on each side of the spider’s body.
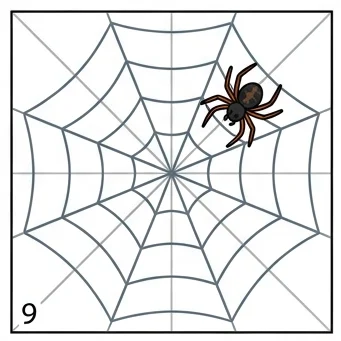
Color your spider black and brown. Leave the web lines dark gray or black against the white background.
Ring Spacing: Space each ring a little further apart as you move outward for a natural, expanding web look!
Spider Legs: Bend each leg at a slight angle instead of drawing them straight — real spider legs have joints!
Love drawing spooky and fun objects? Try these next!
Frequently Asked Questions
People Also Ask
This is a Grade 3 level tutorial — the multiple rings take practice, but the steps are still easy to follow.
Spiders have 8 legs, unlike insects which have 6! Make sure to draw four legs on each side of the body.
Yes! This spider web makes a perfect Halloween-themed art project or decoration for classroom bulletin boards.