How to Draw a Baseball: Easy Step-by-Step Drawing Tutorial for Kids
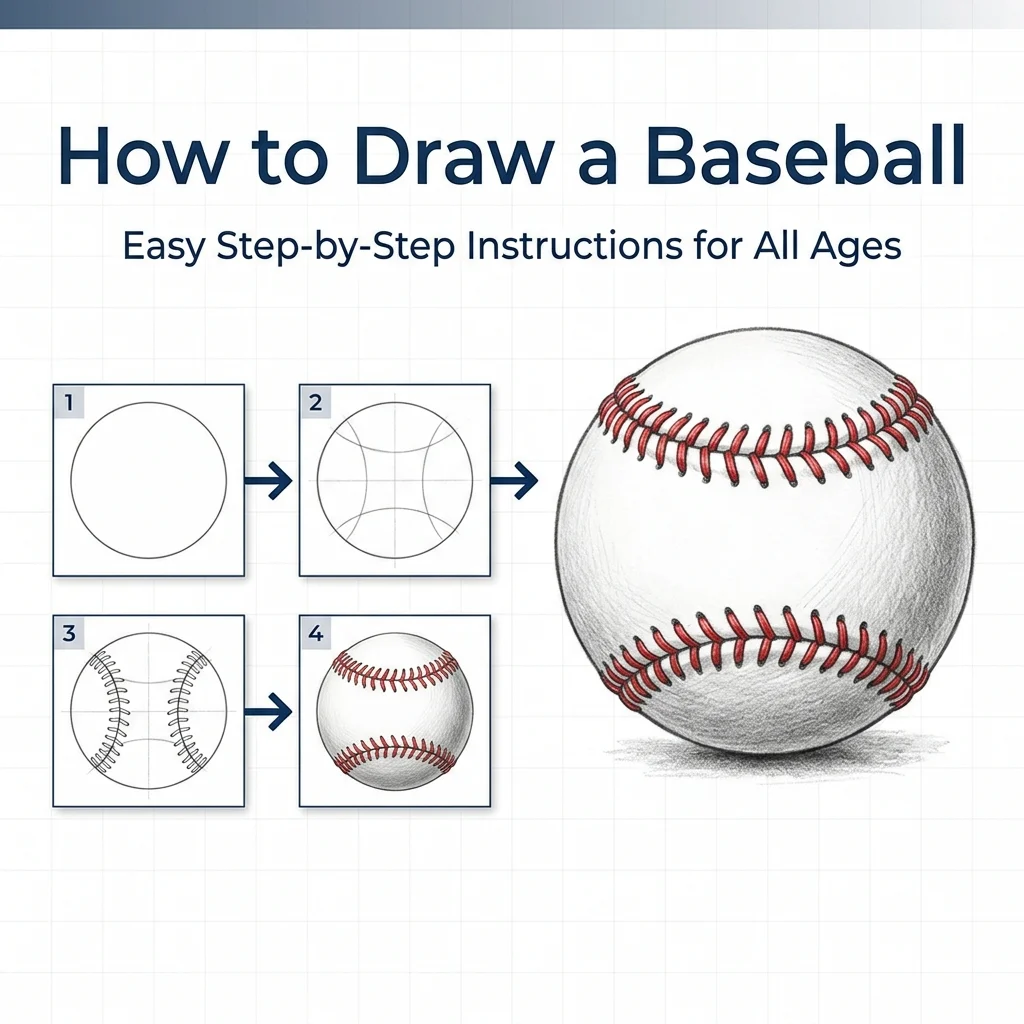
In this tutorial, we are going to learn how to draw a perfect baseball with iconic red stitches in 9 simple, easy-to-follow steps.
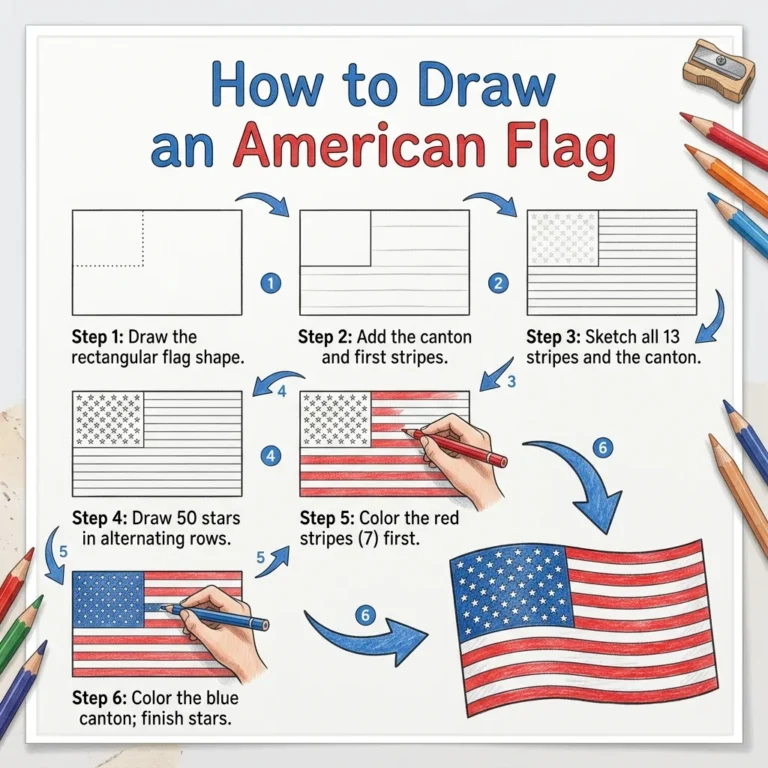
Every new line is highlighted in red so you never get lost. A great, quick project for young sports fans! Once you’re finished, keep the patriotic spirit going with our American Flag tutorial.
Materials You’ll Need
Step-by-Step Easy Baseball Tutorial
Start by drawing a large, perfect circle right in the center of your page.
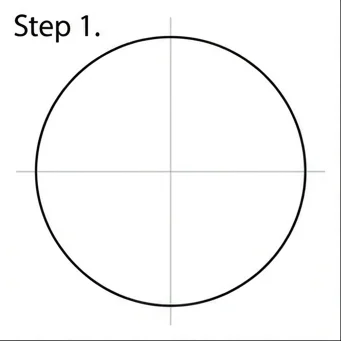
Draw a curved line on the left side of the circle, bending inwards towards the center.
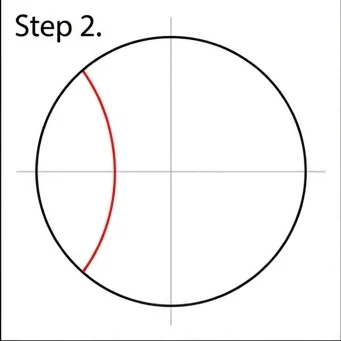
Now, draw a matching curved line on the right side of the circle, mirroring the left one.
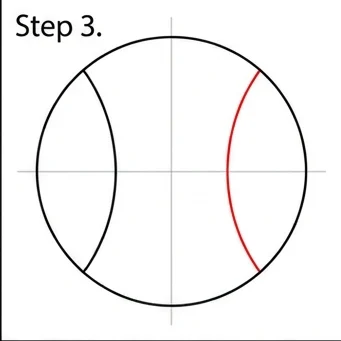
Along the top half of your left curved line, draw several small V-shaped marks to start creating the baseball stitches.
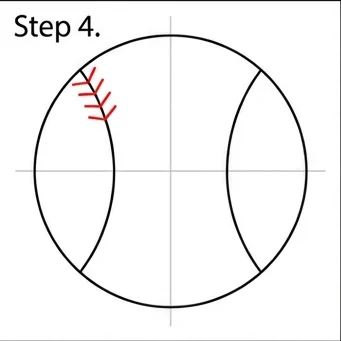
Continue drawing those V-shaped stitches all the way down the rest of the left curved line.
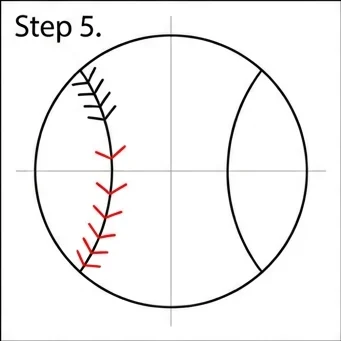
Moving over to the right curved line, draw a few V-shaped marks near the top.
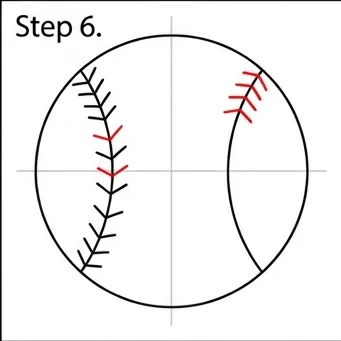
Keep going! Draw more V-shaped stitches all the way down the right side to match the left side.
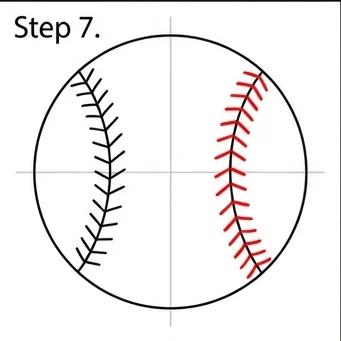
Add the final touches to your stitches to make them look thick and bold all the way around.
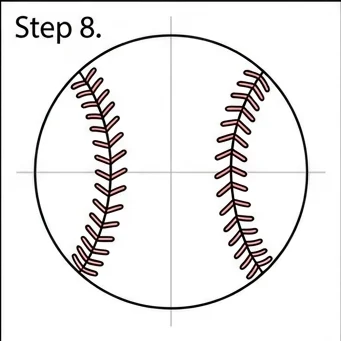
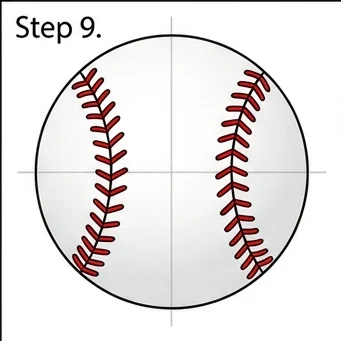
The ball should remain mostly white, but you can add a subtle gray shadow on one edge to make it look round. The stitches stay bright red.
Stitch Spacing: Keep the V-shaped stitches evenly spaced along the curve for a realistic, professional look!
Shading Trick: A soft gray shadow on just one edge of the circle makes the flat drawing look round and 3D.
Love drawing sports and fun objects? Try these next!