
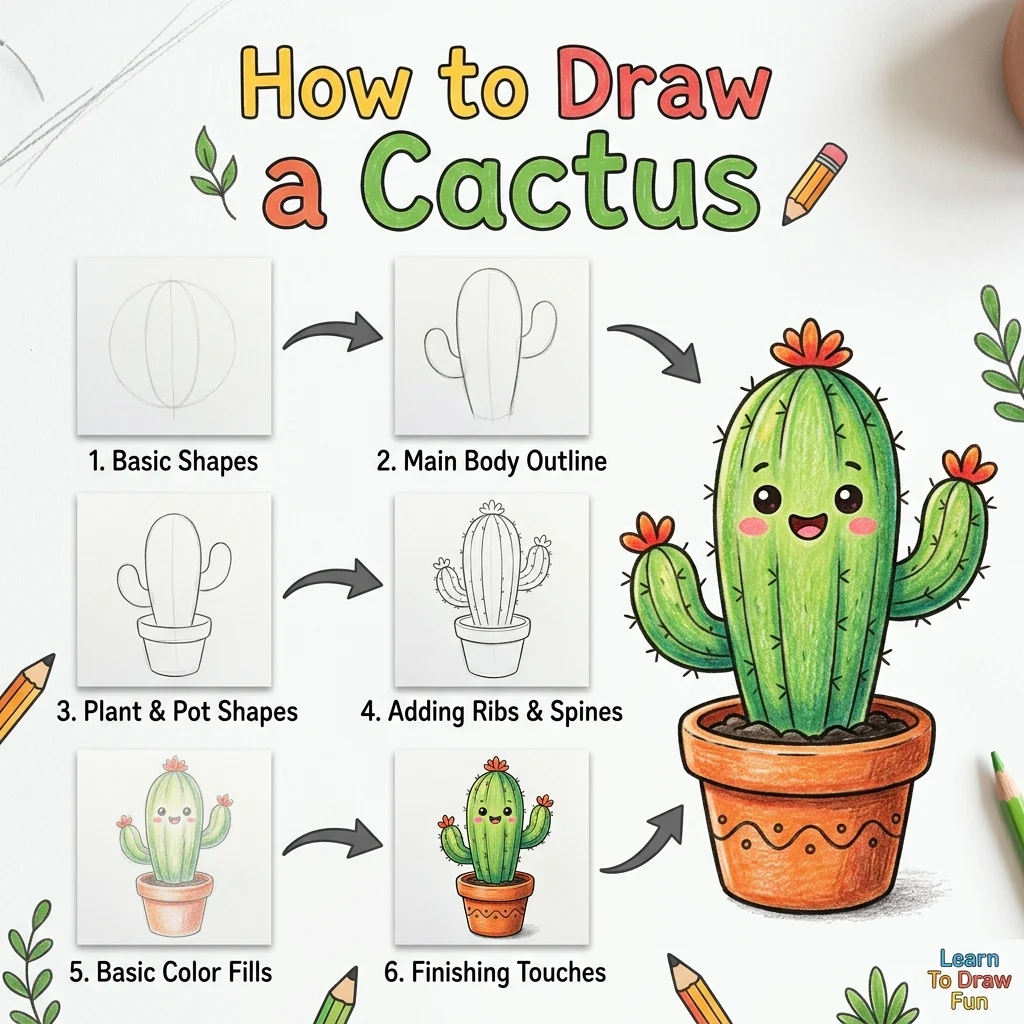
How to Draw a Cactus: Easy Step-by-Step Drawing Tutorial for Kids
Let’s draw a prickly pal! In this tutorial, we are going to learn how to draw a cute potted cactus in 9 simple, easy-to-follow steps.
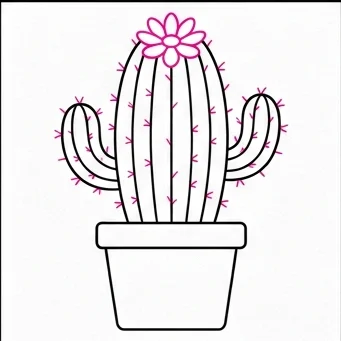
Every new line is highlighted in pink so you never get lost. A fun little desert plant project!
Materials You’ll Need
Step-by-Step Easy Cactus Tutorial
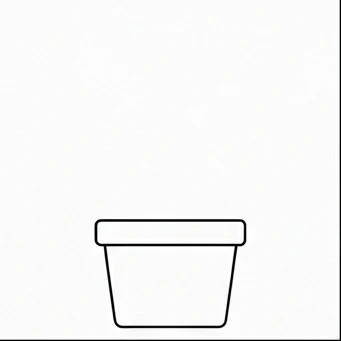
Start by drawing a small pot near the bottom of your page. Draw a skinny rectangle for the rim, and a slightly angled square below it.
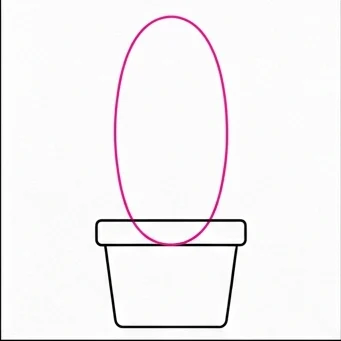
Draw a large, tall oval standing right in the middle of the pot.
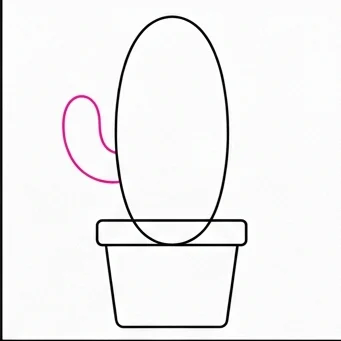
Draw a small, curved arm sticking out of the left side of the cactus.
Draw another small, curved arm sticking out of the right side.
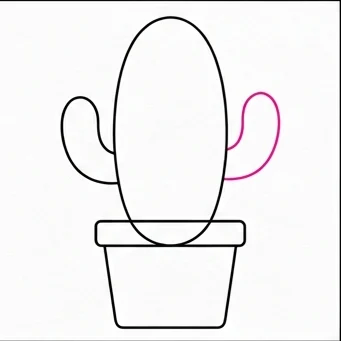
Draw smooth, slightly curved vertical lines going down the main body of the cactus to give it that ribbed look.
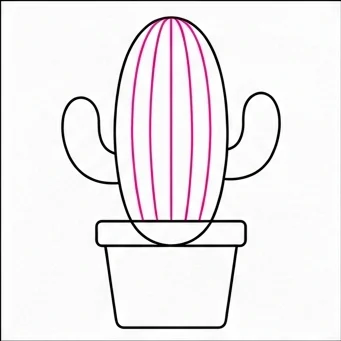
Draw more curved lines inside the two small side arms.
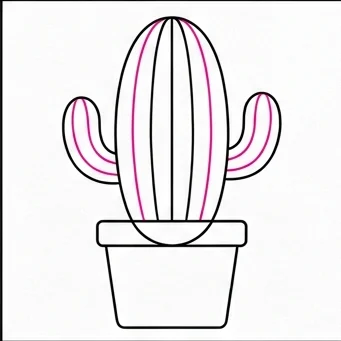
Draw small, sharp needle clusters all over the edges of the cactus and the arms.
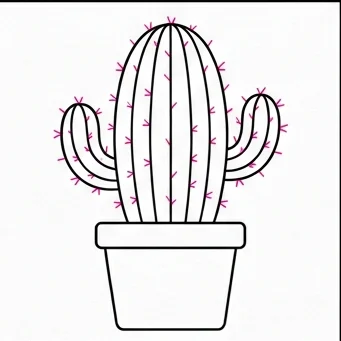
Draw a beautiful little flower sitting right on the very top of the cactus!
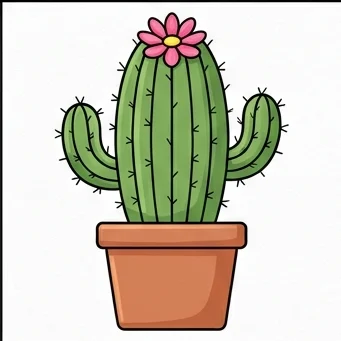
Use a nice bright green for the plant, terra-cotta orange for the pot, and pink or yellow for the flower.
Ribbed Texture: Keep the vertical lines evenly spaced and slightly curved to follow the round shape of the cactus body!
Needle Clusters: Draw needles in small star-like clusters rather than single spikes for a more realistic prickly look.
Love drawing plants and nature? Try these next!