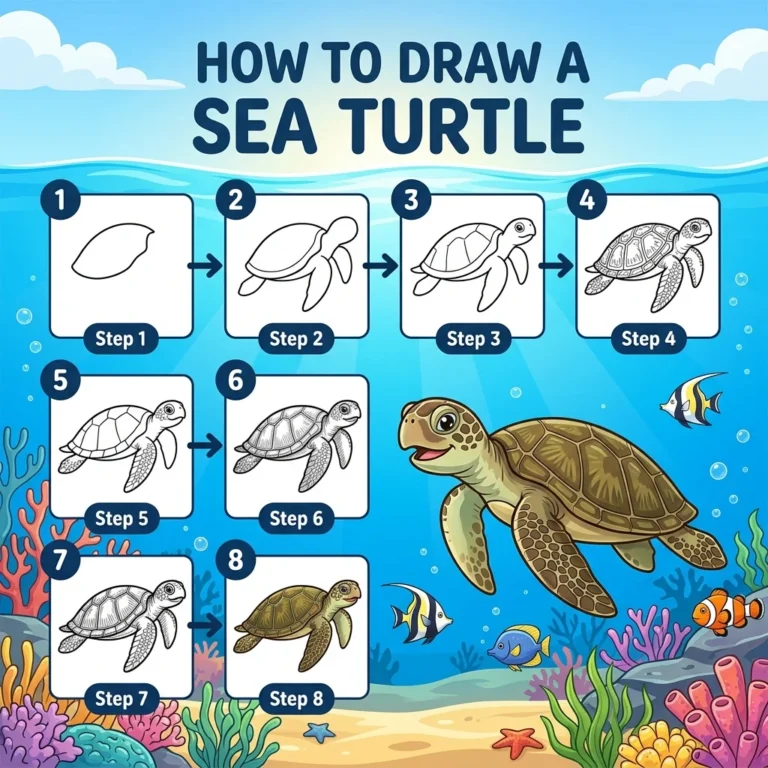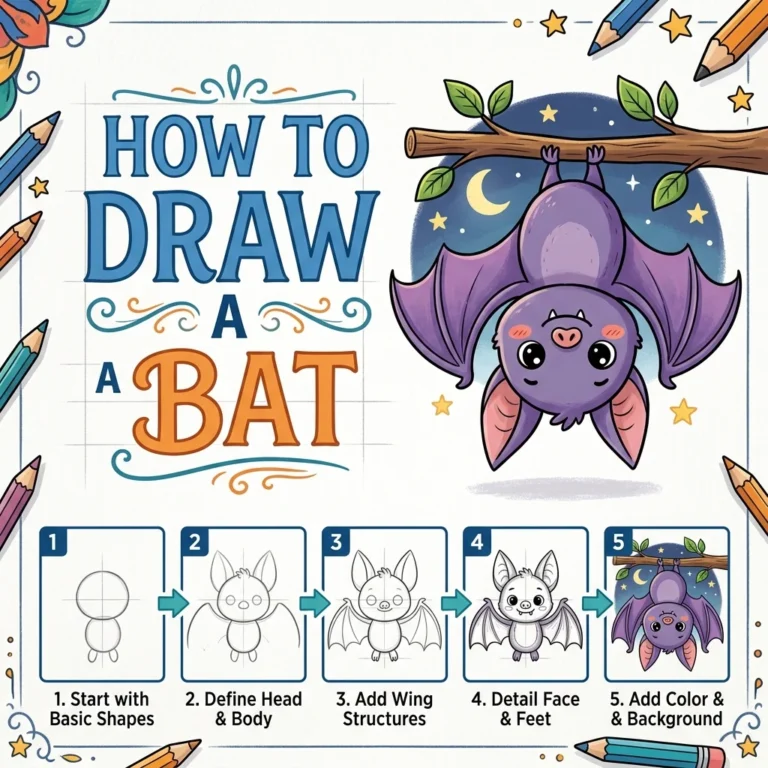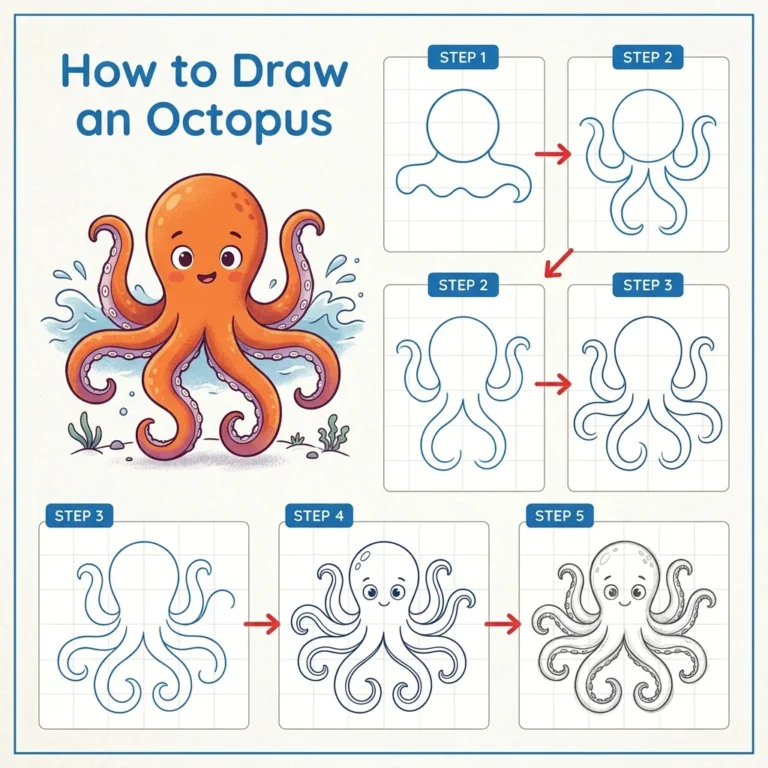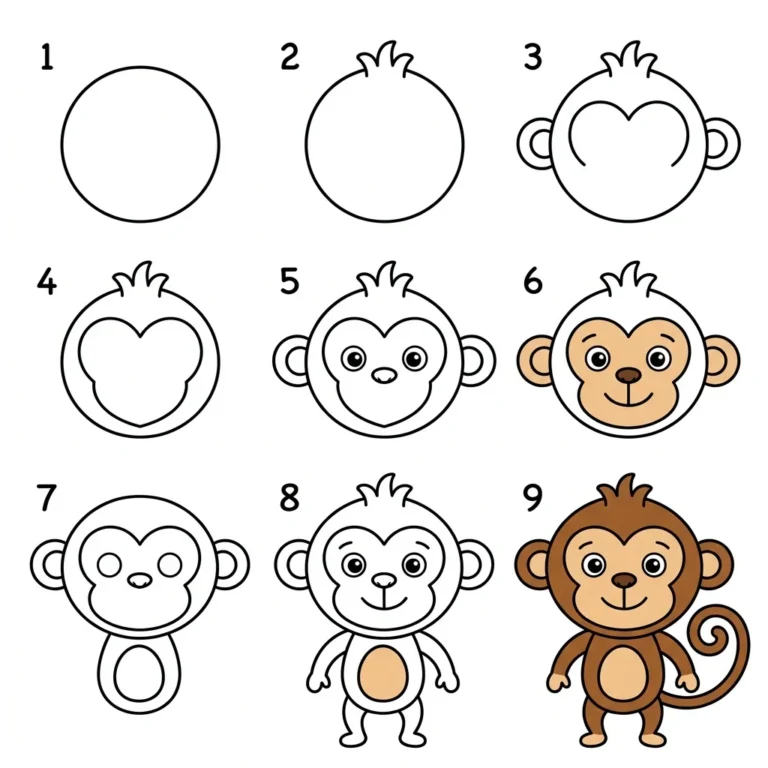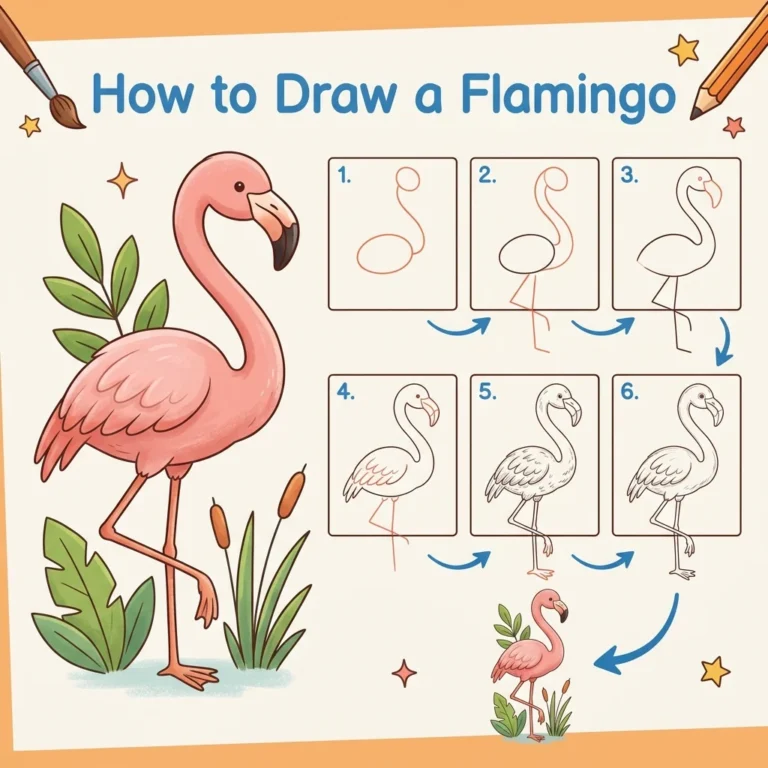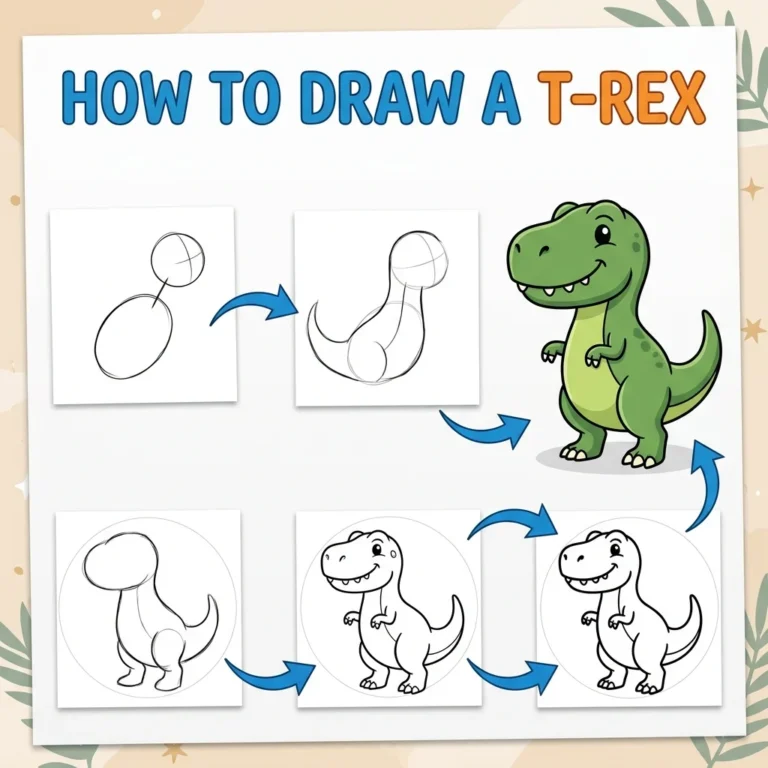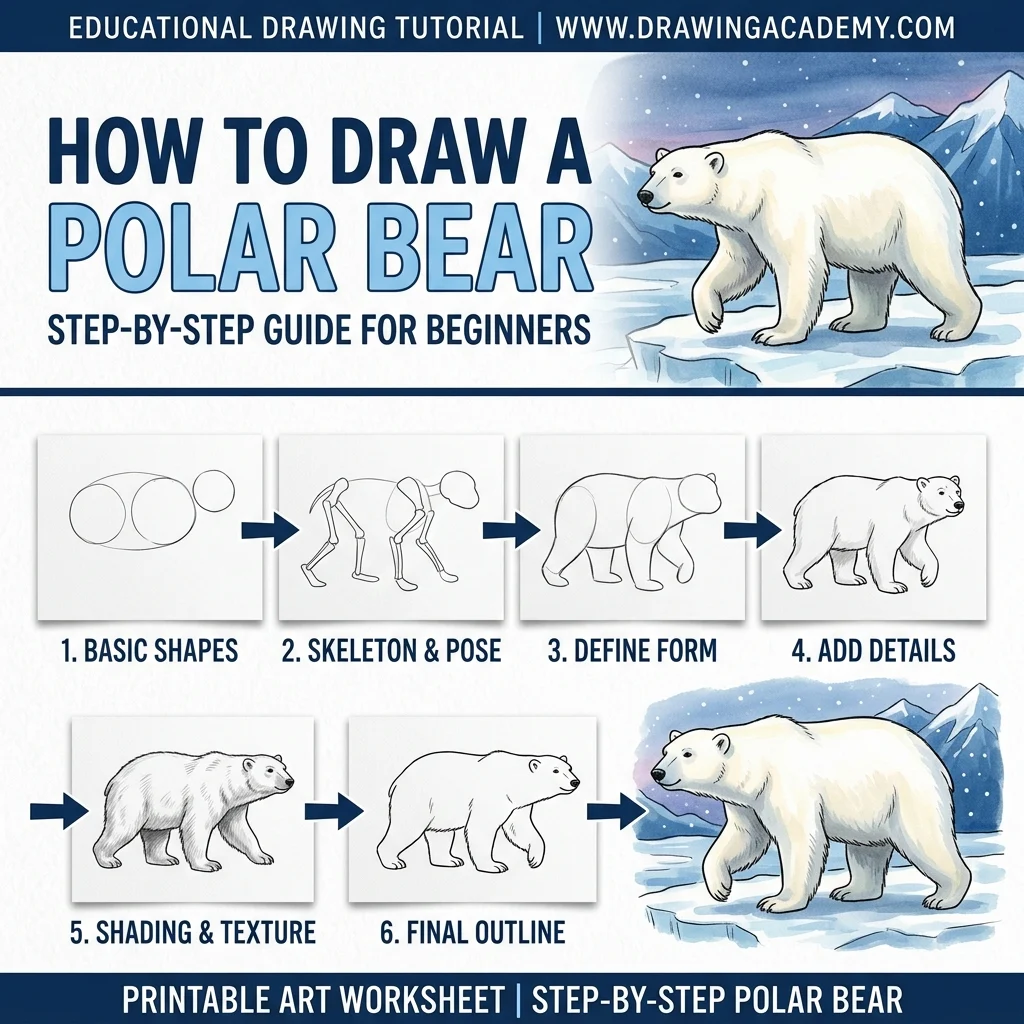
How to Draw a Polar Bear: Easy Step-by-Step Drawing Tutorial for Kids
Let’s draw an Arctic giant! In this tutorial, we are going to learn how to draw a magnificent polar bear using overlapping basic shapes in 9 simple, easy-to-follow steps.
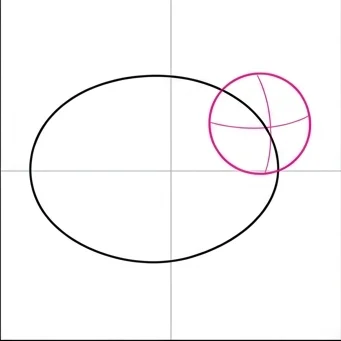
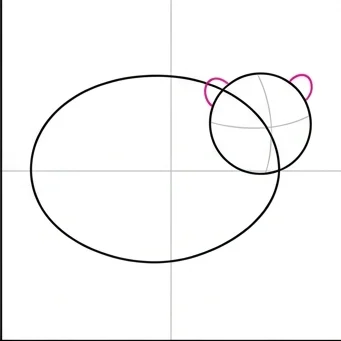
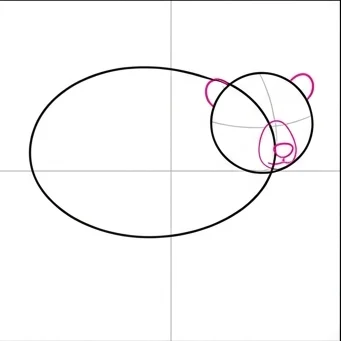
Every new line is highlighted in pink so you never get lost. Notice how we let shapes overlap without erasing — a great technique to learn! For another cold-weather swimmer, our Seal tutorial is just as chilly and cute.
Materials You’ll Need
Step-by-Step Easy Polar Bear Tutorial
Start by drawing a very large oval stretching across your page. This will be the polar bear’s big, heavy body.
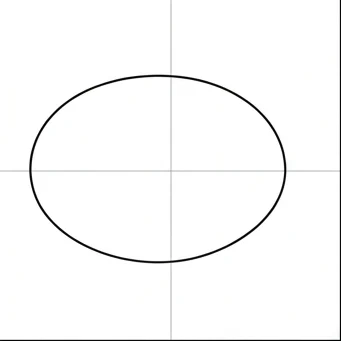
Draw a circle for the head on the top right side of the body. Let it overlap the body oval — don’t erase the line inside!
Draw two small half-circles on the top of the head for the bear’s small ears.
Draw a curved snout on the front of the face, and add a small black nose inside it.
Draw a thick, strong front leg coming down from the bottom right of the body. Again, let it overlap the bottom line of the oval without erasing.
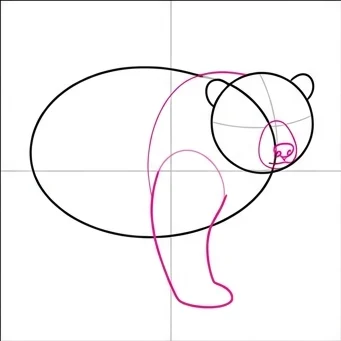
Draw a thick back leg coming down from the bottom left side of the body.
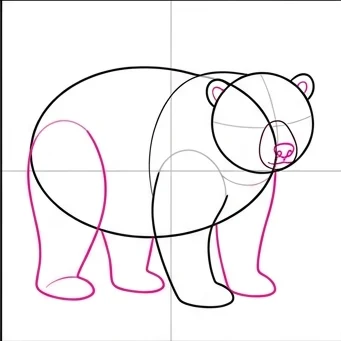
Draw the remaining two legs hiding slightly behind the first two legs on the other side of the bear.
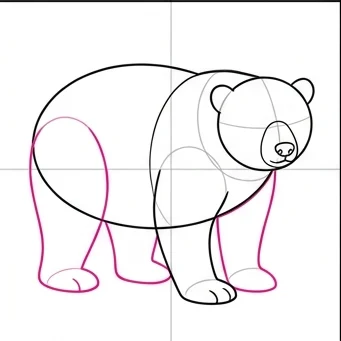
Draw a small eye on the face, and a tiny tail at the very back of the body oval.
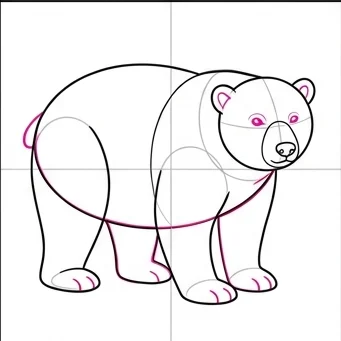
Even though they are white, you can use light blue or gray to add shadows so it looks 3D and fluffy!
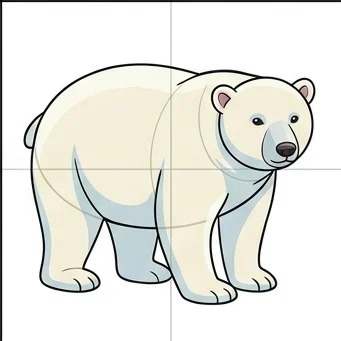
Overlapping Shapes: Letting shapes overlap without erasing is a real technique artists use — it keeps the drawing loose and confident!
Icy Shading: A touch of light blue or gray along the bottom of the body and legs makes the white fur look soft and three-dimensional.
Love drawing Arctic animals? Try these next!