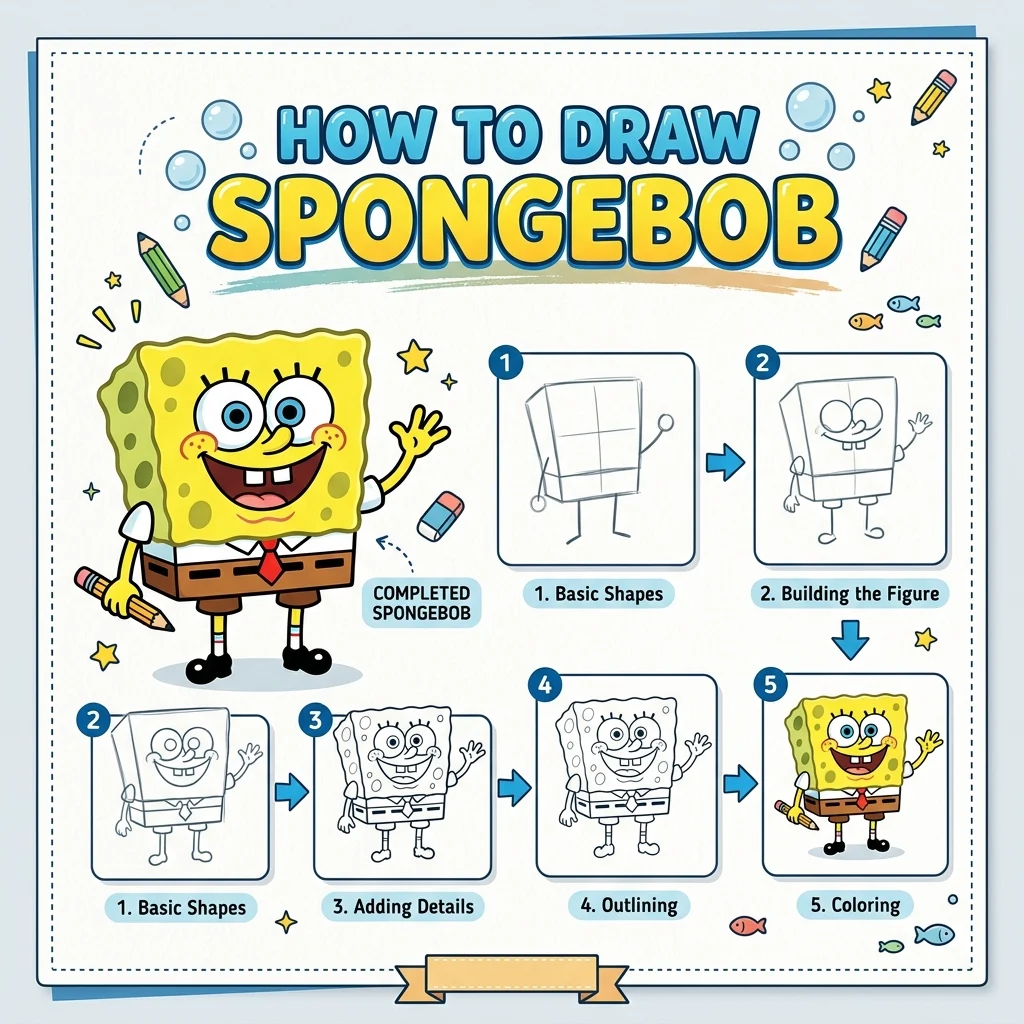
How to Draw SpongeBob: Easy Step-by-Step Drawing Tutorial for Kids
Let’s dive to Bikini Bottom! In this tutorial, we are going to learn how to draw everyone’s favorite cartoon sponge in 9 simple, easy-to-follow steps.
Every new line is highlighted in pink so you never get lost. A super fun character project! If you love drawing silly, colorful characters, our Clown tutorial is just as much fun.
Materials You’ll Need
Step-by-Step Easy SpongeBob Tutorial
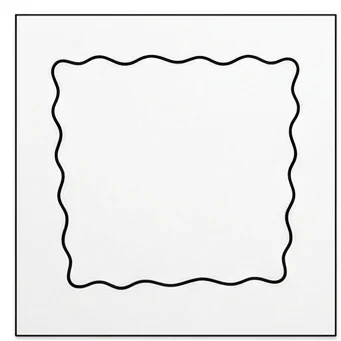
Start by drawing a large, bumpy, squiggly square in the center of your page. This is SpongeBob’s main body.
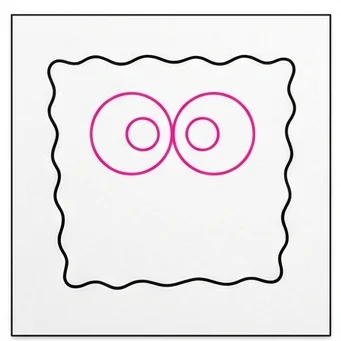
Draw two large circles touching each other near the top of the body. Add smaller circles inside them for the pupils.
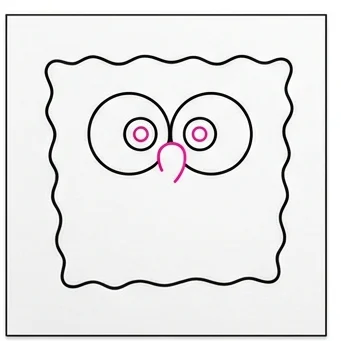
Draw a long, curved nose right between and slightly below the two big eyes.
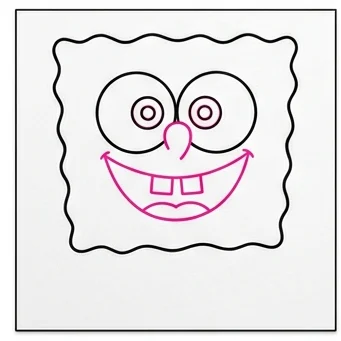
Draw a huge, wide smile with cute little cheek curves. Don’t forget to add his two big buck teeth inside the mouth!
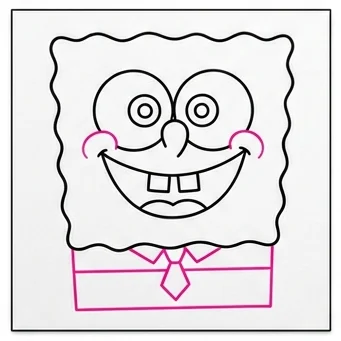
Draw a straight line across the bottom of the body. Then, draw his little collar and tie pointing downwards.
Draw two thin stick arms hanging down from the sides of his body, starting just above his pants.
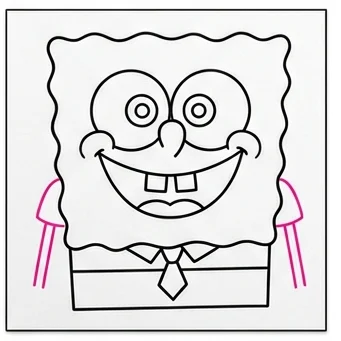
Draw two thin stick legs coming out of his shorts, and add small hands with fingers to the ends of his arms.
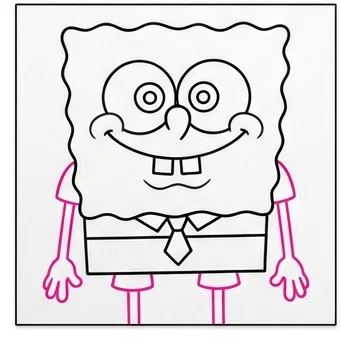
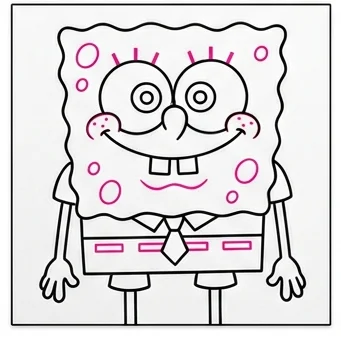
Draw small, wavy circles all over his head to make him look like a real sponge! Add some small rectangles on his pants for a belt.
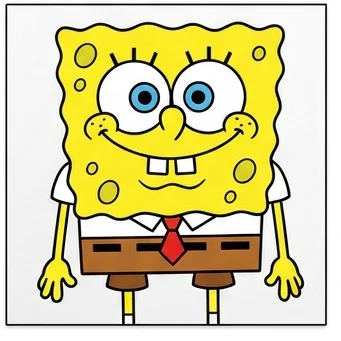
Color him bright yellow! Give him brown square pants, a red tie, and bright blue eyes.
Squiggly Edges: Keep the body outline bumpy and irregular rather than a perfect square — that’s what makes it look spongy!
Big Eyes: Make the two eyes nice and large and touching in the middle for that classic SpongeBob expression.
Love drawing cartoon characters? Try these next!