
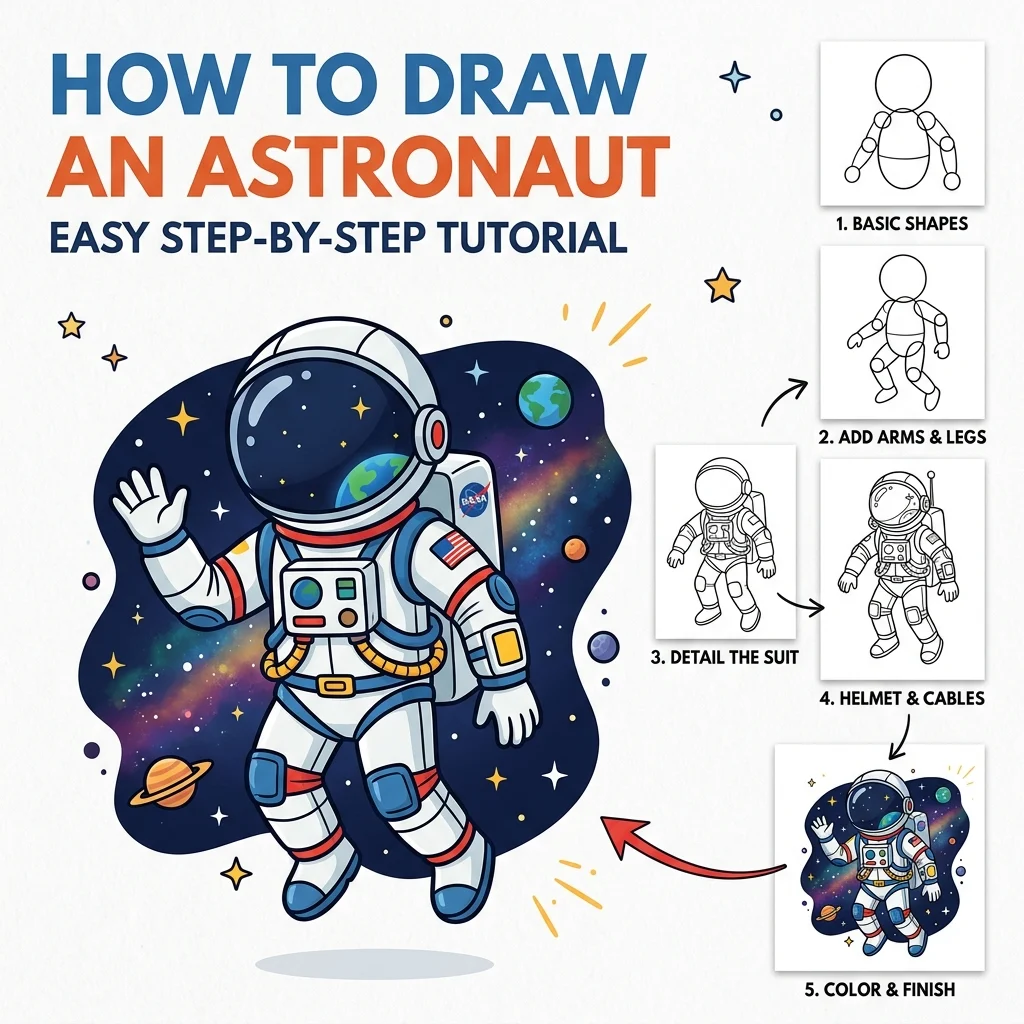
How to Draw an Astronaut: Easy Step-by-Step Drawing Tutorial for Kids
Let’s blast off! In this tutorial, we are going to learn how to draw a cool astronaut exploring outer space in 9 simple, easy-to-follow steps.
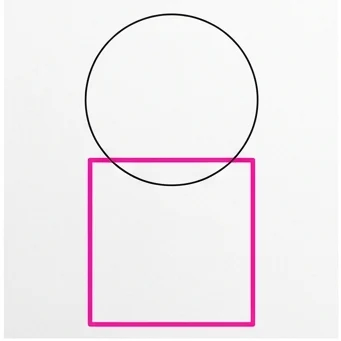
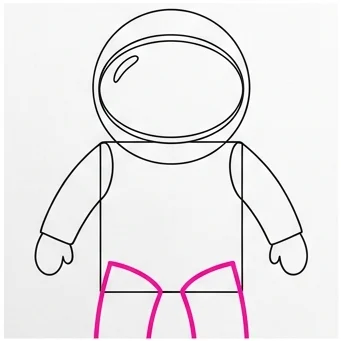
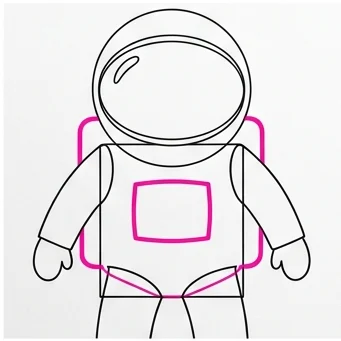
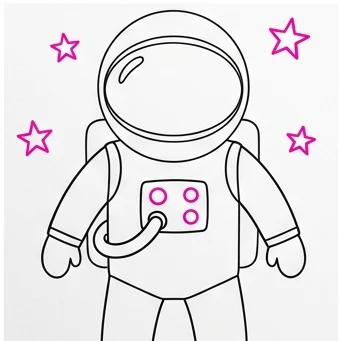
Every new line is highlighted in pink so you never get lost. Notice how we let shapes overlap without erasing a great technique to learn! Every astronaut needs a ride to space — check out our Rocket tutorial next!
Materials You’ll Need
Step-by-Step Easy Astronaut Tutorial
Start by drawing a large circle for the astronaut’s space helmet.

Draw a square underneath the helmet for the body. Notice how the bottom curve of the helmet stays exactly where it is!
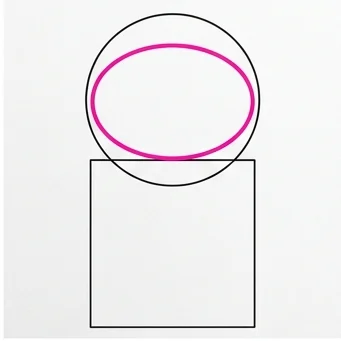
Draw an oval inside the helmet for the glass visor where the astronaut looks out.
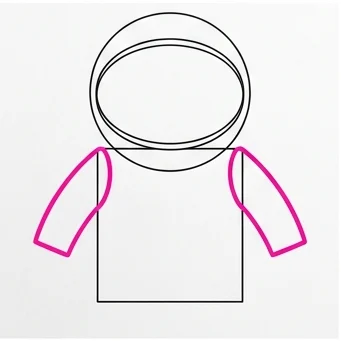
Draw two thick arms sticking out from the sides of the square body. Don’t erase the body lines!
Draw two thick legs at the bottom of the square body.
Draw a line behind the back to show the oxygen tank they wear in space.
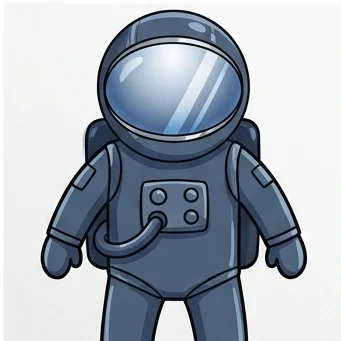
You can make their suit white, gray, or any color you like. Make the glass visor shiny blue.
Overlapping Shapes: Letting the helmet and body circles overlap without erasing is a real technique artists use for a confident, loose look!
Starry Background: Scatter small star shapes of different sizes around the astronaut for a realistic outer space feel.
Love drawing space and sky scenes? Try these next!