
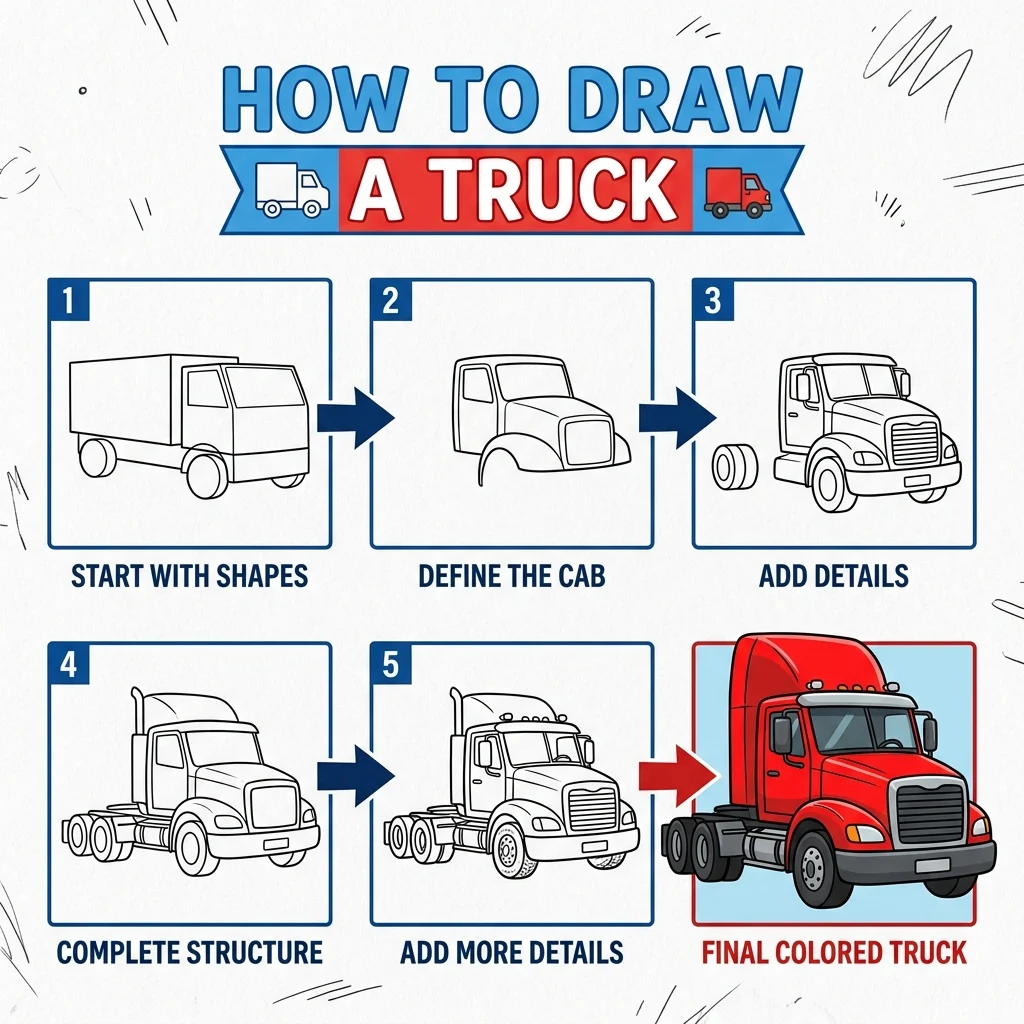
How to Draw a Truck: Easy Step-by-Step Drawing Tutorial for Kids
In this tutorial, we are going to learn how to draw a big rig semi truck in 9 simple, easy-to-follow steps.
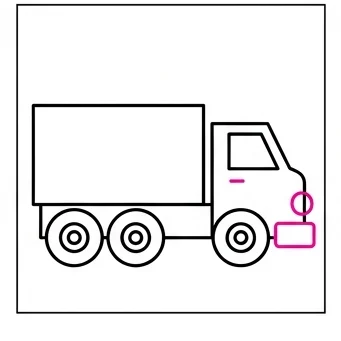
Every new line is highlighted in pink so you never get lost. Notice how we let shapes overlap without erasing a great technique to learn! Once your truck is ready to roll, take it on a road trip to see our Eiffel Tower tutorial.
Materials You’ll Need
Step-by-Step Easy Truck Tutorial
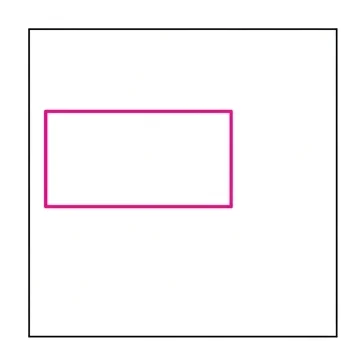
Start by drawing a long rectangle on the left side. This is the big trailer part of the truck that carries cargo.
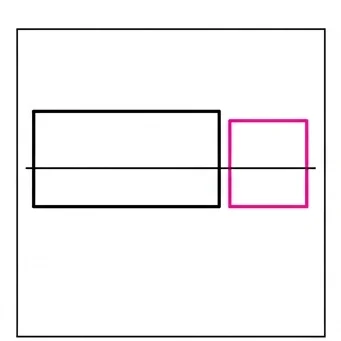
Draw a square cab attached to the front right side of the trailer. Don’t erase the straight line that connects them!
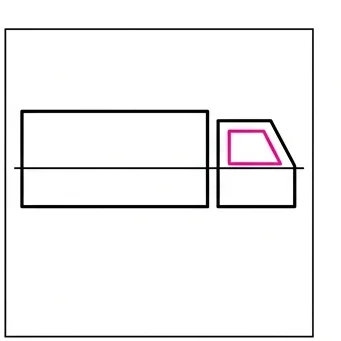
Draw a small window shape near the top of the cab where the driver sits.
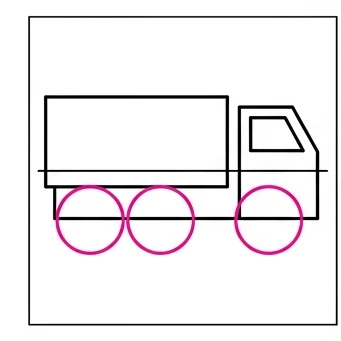
Draw three large circles for the wheels right along the bottom edge of the truck. Let the bottom line of the truck cut right through the circles!
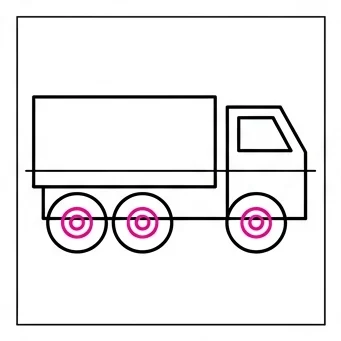
Draw smaller inner circles perfectly in the center of the wheels for the shiny hubcaps.
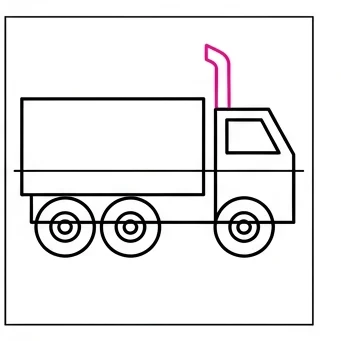
Draw a tall, curved smokestack coming out of the top of the cab.
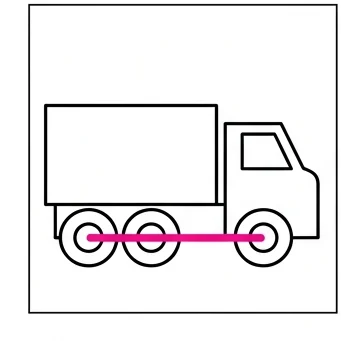
Draw a thick horizontal line connecting all the wheels together near the bottom.
Draw a strong front bumper at the very front, and add a small circle for a headlight.
You can paint the trailer blue, the cab red, and use gray for the smokestack and wheels.
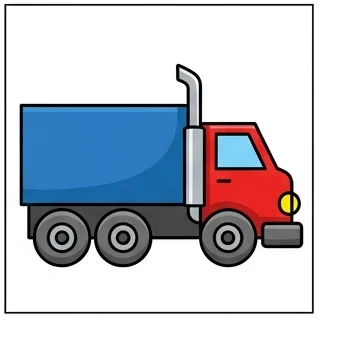
Overlapping Wheels: Letting the bottom line of the truck cut through the wheel circles gives it a more realistic, grounded look!
Big Rig Details: The tall smokestack and multiple wheels are what make a truck look like a powerful big rig — don’t skip them!
Love drawing vehicles and objects? Try these next!