How to Draw the Eiffel Tower: Easy Step-by-Step Drawing Tutorial for Kids
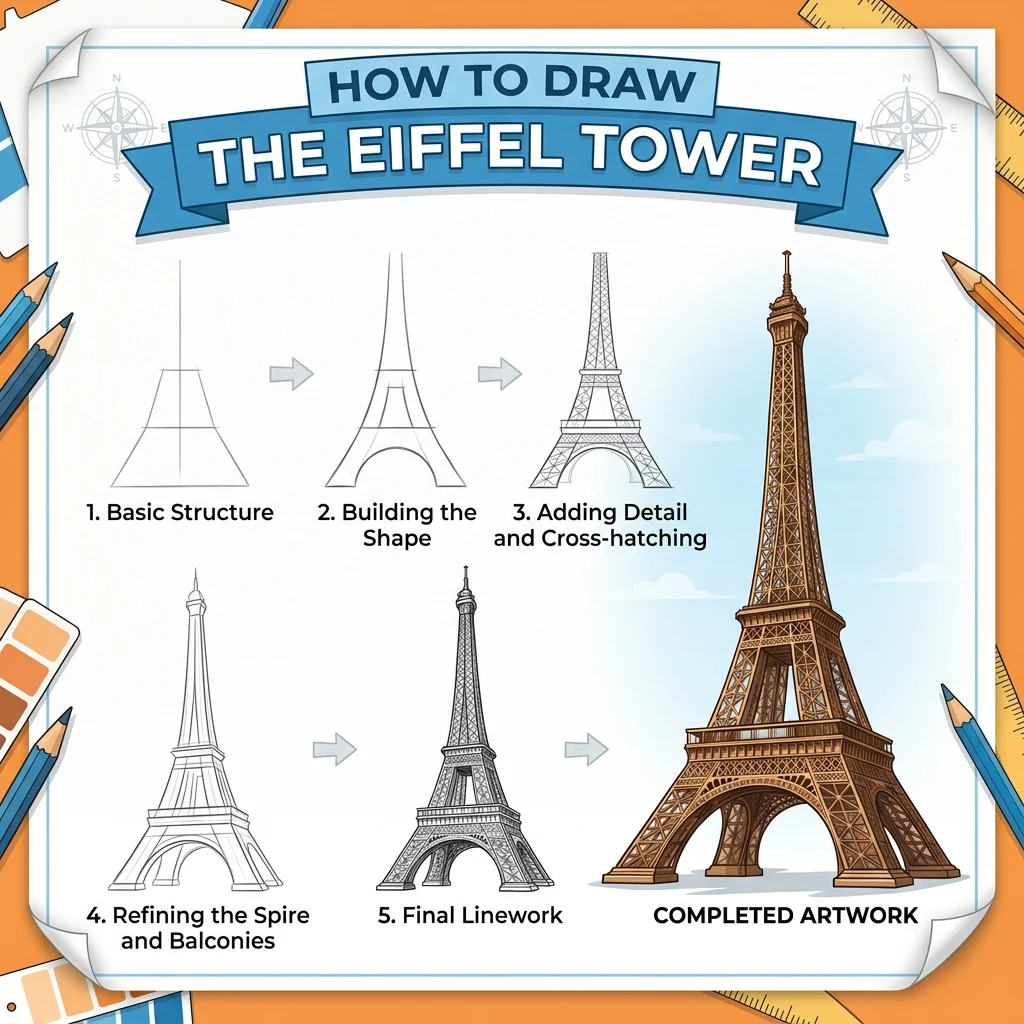
Let’s travel to Paris! In this tutorial, we are going to learn how to draw the magnificent Eiffel Tower in 9 simple, easy-to-follow steps.
Every new line is highlighted in pink so you never get lost. A fantastic landmark drawing project! For a different kind of impressive structure, our Farm Barn tutorial is just as fun to build.
Materials You’ll Need
Step-by-Step Easy Eiffel Tower Tutorial
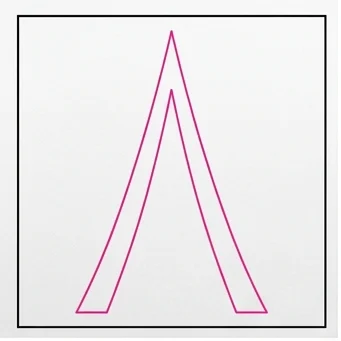
Start by drawing a very tall, skinny letter “A” shape. Make the legs thick by drawing double lines for each leg.
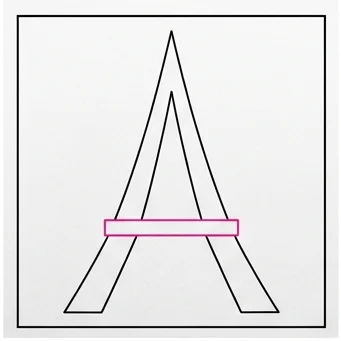
Draw a horizontal rectangle across the lower part of the legs. This is the first viewing deck of the tower.
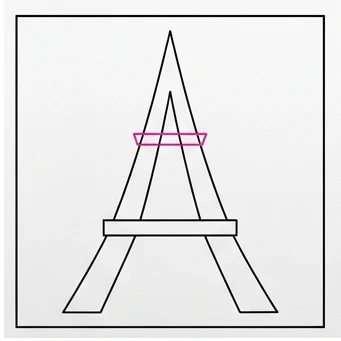
Draw another, smaller horizontal rectangle across the upper part of the legs for the second viewing deck.
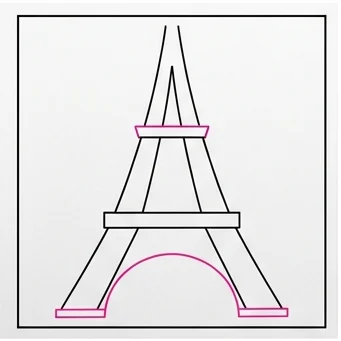
Draw a smooth, curved arch right at the bottom, between the two main legs of the tower.
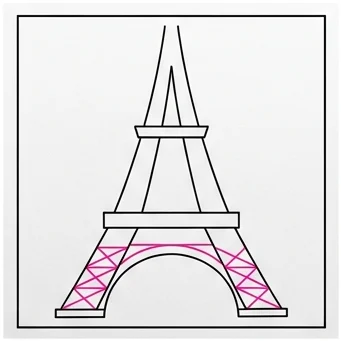
The tower is made of iron girders! Draw criss-crossing ‘X’ lines inside the thick legs on the bottom section.
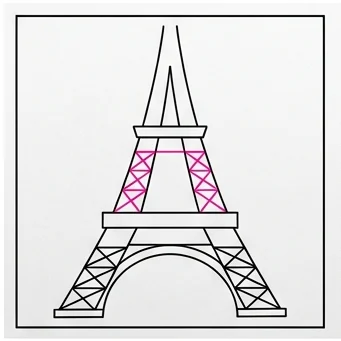
Draw more criss-crossing ‘X’ lines inside the middle section of the tower.
Draw a small square and line right on the very tip top of the tower for the antenna.
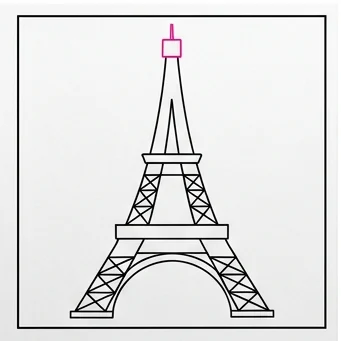
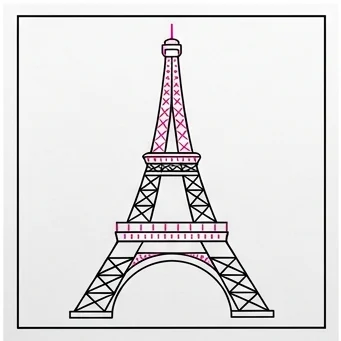
Draw tiny vertical lines along the viewing decks, and add crossing lines on the very top section.
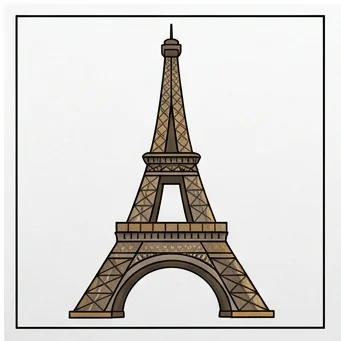
It is actually painted a unique bronze-brown color called “Eiffel Tower Brown”.
Iron Girder Pattern: Keep the criss-crossing X lines evenly spaced along the legs — this lattice pattern is what makes the tower instantly recognizable!
Tapered Shape: Make sure the tower narrows as it goes up, just like the real “A” shaped silhouette of the Eiffel Tower.
Love drawing landmarks and objects? Try these next!