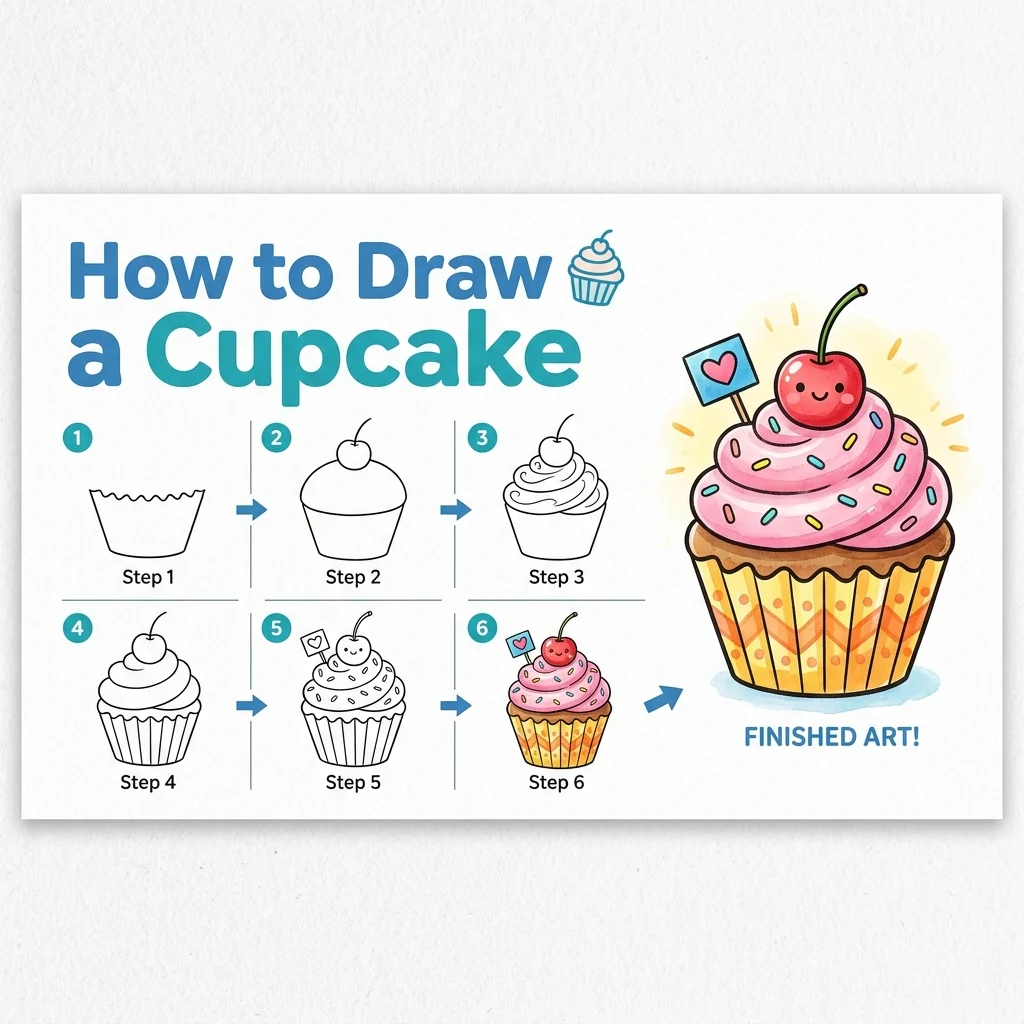
How to Draw a Cupcake: Easy Step-by-Step Drawing Tutorial for Kids
Let’s draw something sweet! In this tutorial, we are going to learn how to draw a sweet and fluffy cupcake in 9 simple, easy-to-follow steps.
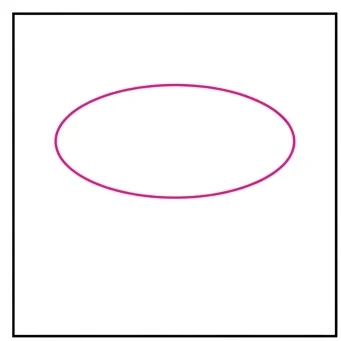
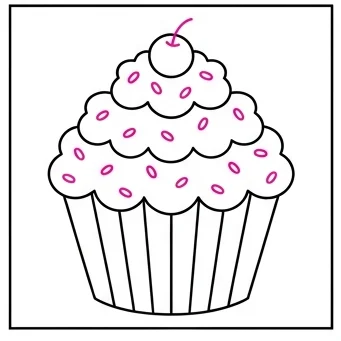
Every new line is highlighted in pink so you never get lost. Notice how we use simple overlapping shapes to build the frosting!
Materials You’ll Need
Step-by-Step Easy Cupcake Tutorial
Start by drawing a wide, flat oval right in the middle of your page. This is the top opening of our cupcake wrapper.
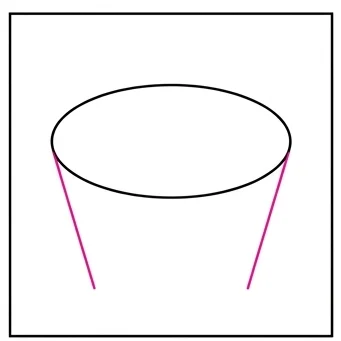
Draw two angled lines going straight down and inwards from the left and right edges of the oval.
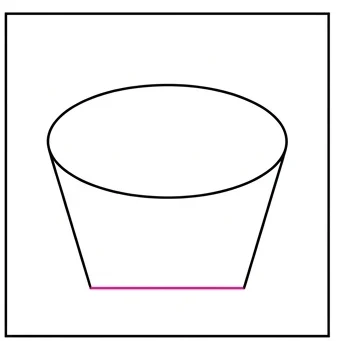
Draw a straight horizontal line connecting the two sides to close the bottom of the wrapper.
Draw vertical lines inside the wrapper to show the folds in the baking paper.
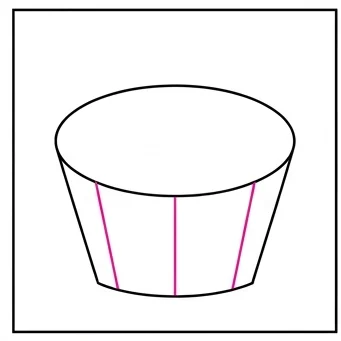
Draw a large, fluffy, scalloped cloud shape resting right on top of the oval for the first tier of frosting. Don’t erase the oval line!
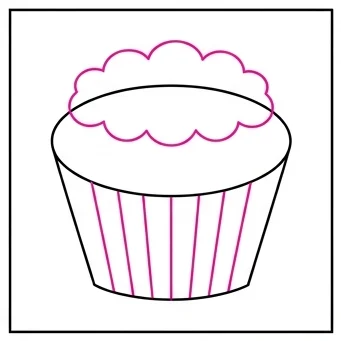
Draw a smaller scalloped cloud shape sitting on top of the first one for the second swirl of frosting.
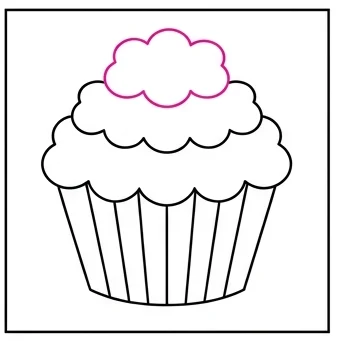
Draw a perfect little circle right on the very top for a cherry!
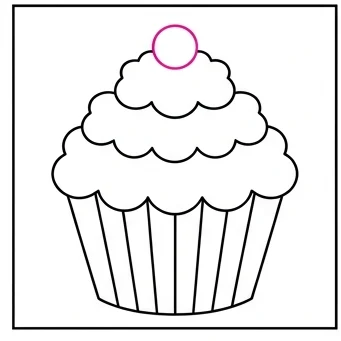
Draw a tiny stem on the cherry, and add lots of tiny oval sprinkles all over the frosting.
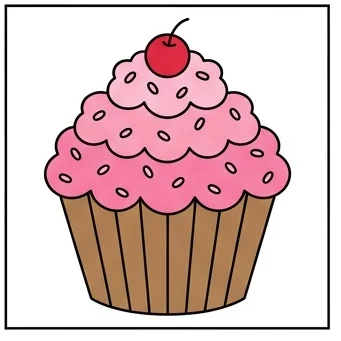
You can use pink for strawberry frosting, brown for the wrapper, and bright red for the cherry.
Fluffy Frosting: Make the scalloped cloud edges nice and bumpy — the puffier the frosting looks, the more delicious the cupcake!
Sprinkle Scatter: Scatter the tiny oval sprinkles randomly across the frosting rather than in a neat row for a more realistic look.
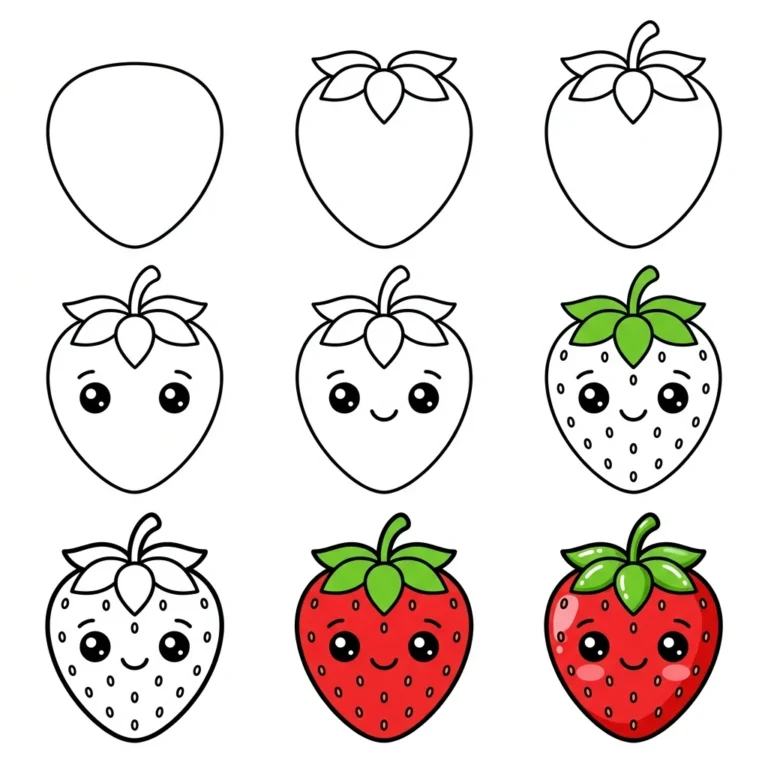
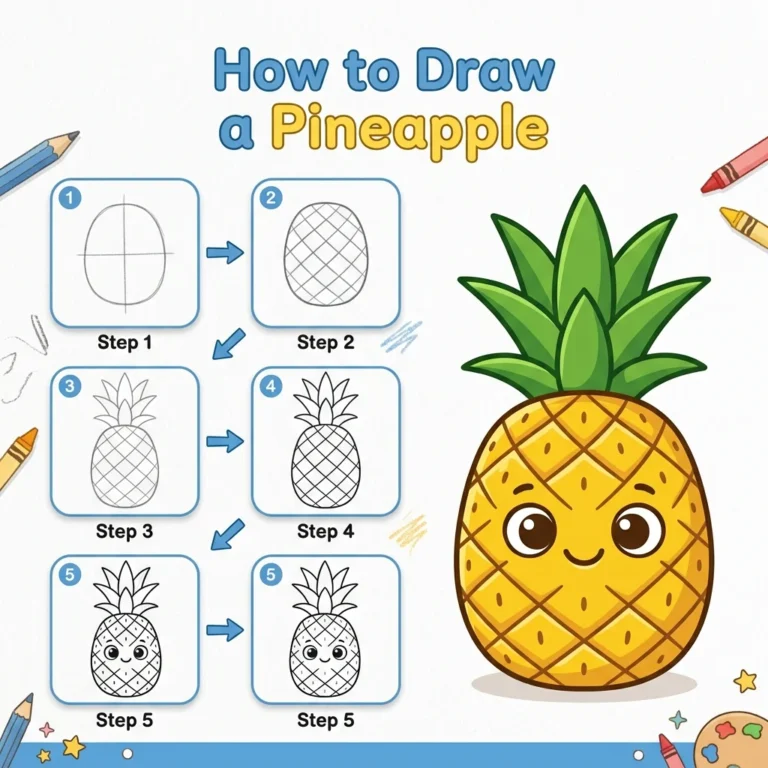
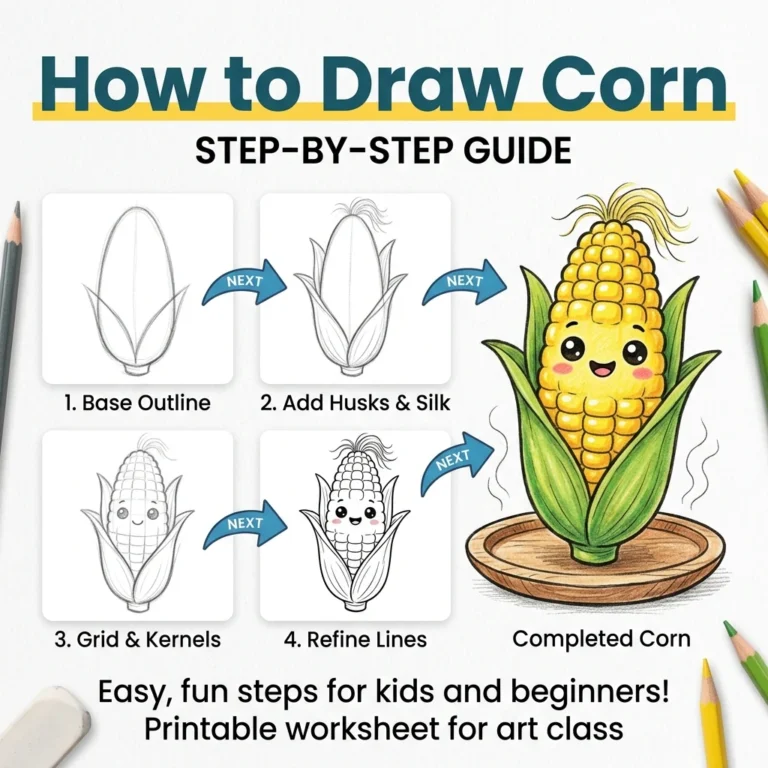
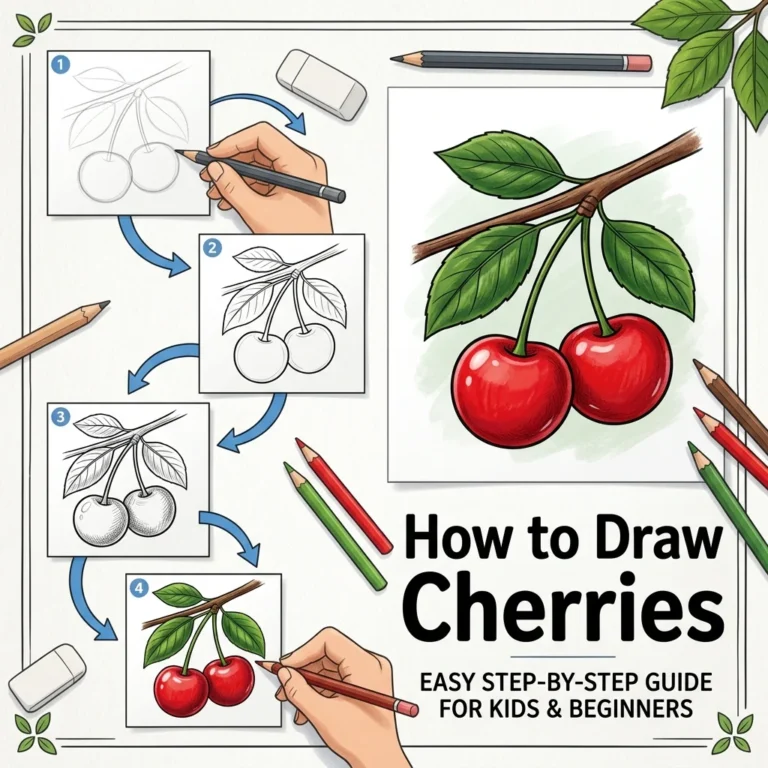
Love drawing cute food? Try these next!