How to Draw an Orca: Easy Step-by-Step Drawing Tutorial for Kids
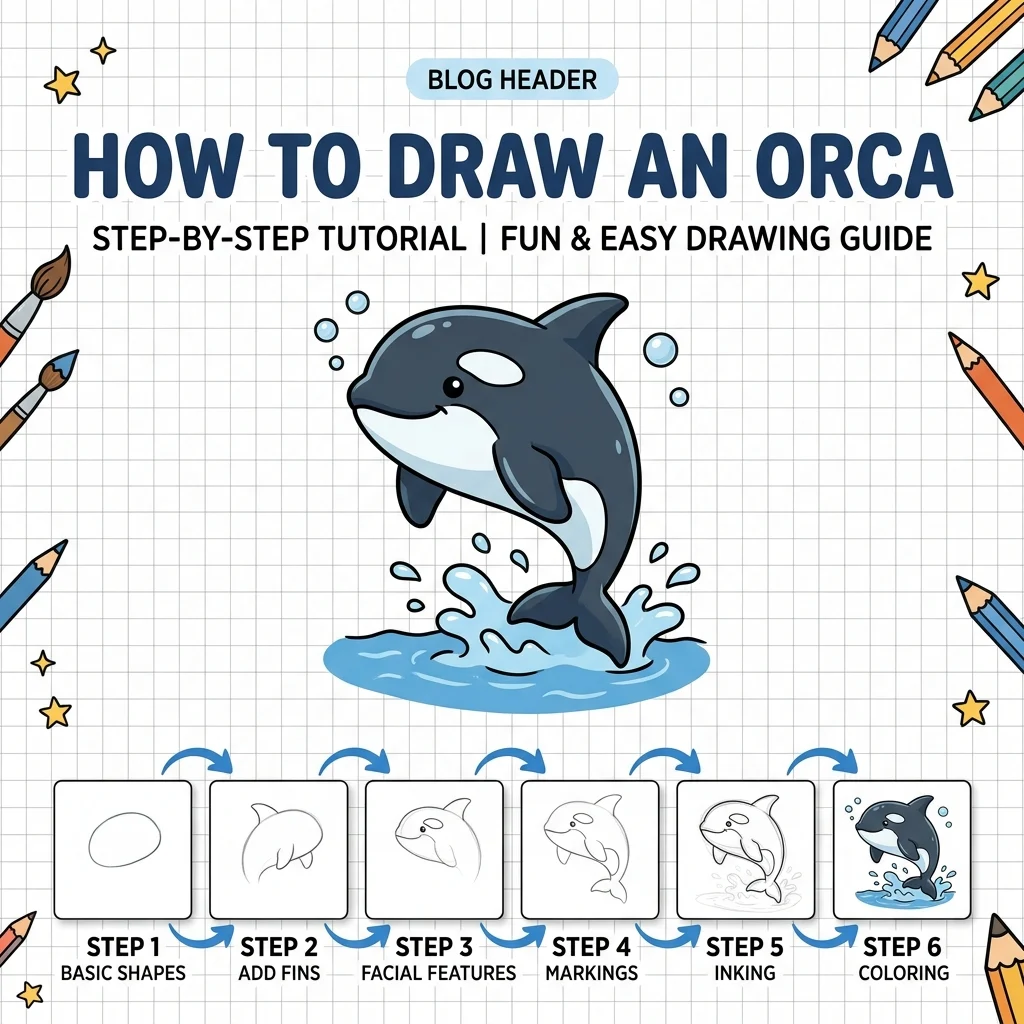
Let’s dive into the deep blue sea! In this tutorial, we are going to learn how to draw a majestic orca (also known as a killer whale) using a very clean contour drawing method in 9 simple, easy-to-follow steps.
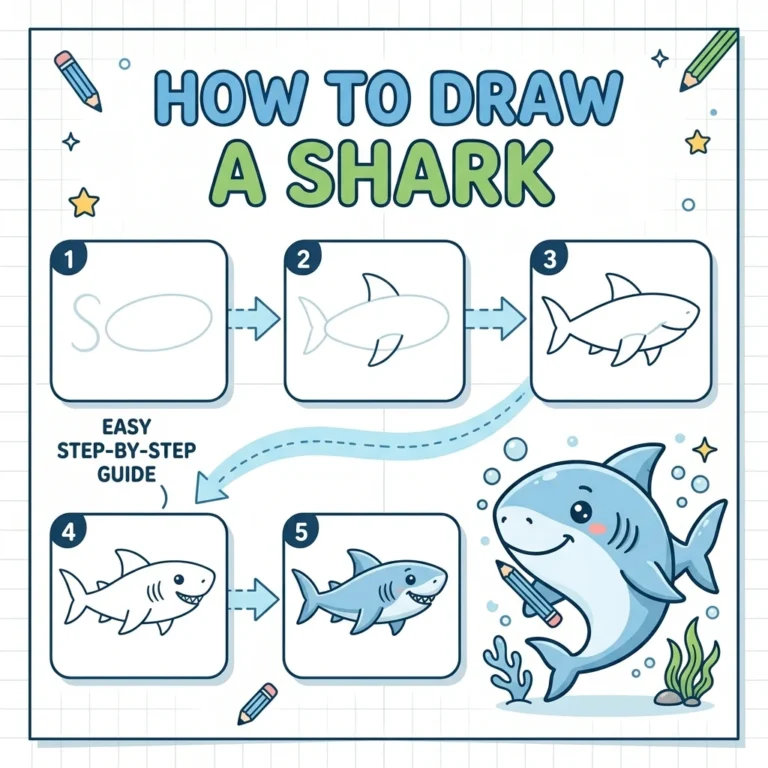
Every new line is highlighted in pink so you never get lost. Notice how we draw the outside lines of the whale piece by piece so we never have to erase any messy construction shapes! Orcas share the ocean with all kinds of creatures, including the star of our Shark tutorial.
Materials You’ll Need
Step-by-Step Easy Orca Tutorial
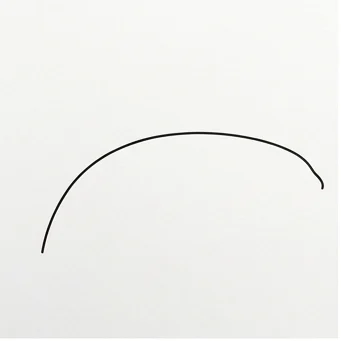
Start by drawing a long, smooth curved line stretching across the page to form the top of the head and back.
Draw a tall, slightly curved triangle pointing straight up from the middle of the back for the dorsal fin.
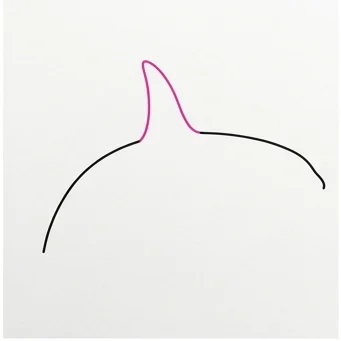
Draw a curved line wrapping under the front to start forming the whale’s lower jaw and belly.
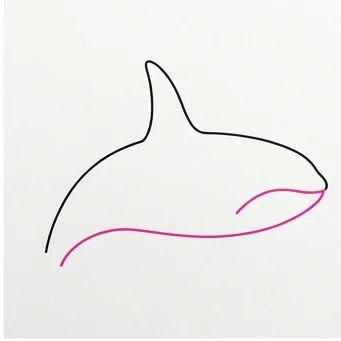
Draw a wide, split tail fin connecting to the back of the body line.
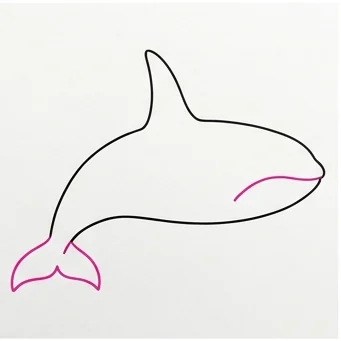
Connect the lower jaw to the tail with a swooping belly line, and draw a large, rounded flipper pointing down.
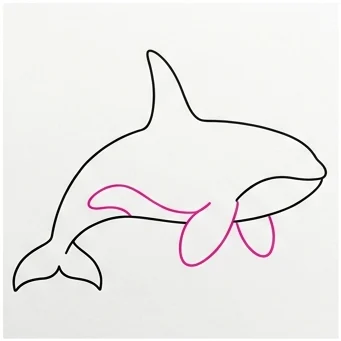
Draw a large oval patch right behind where the eye will go. This is the orca’s famous white spot!
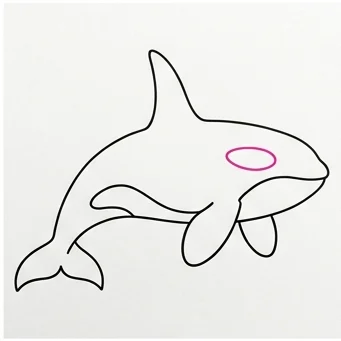
Draw a wavy line sweeping along the bottom side to separate the black back from the white belly.
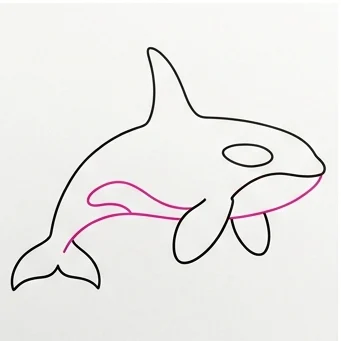
Color your beautiful whale black and white!
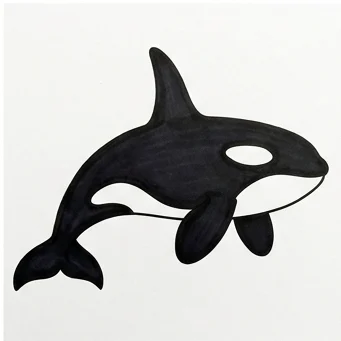
Eye Patch: The oval white patch behind the eye is the orca’s most recognizable feature — make sure to leave it uncolored (white)!
Sweeping Curves: Keep the body lines long and smooth rather than choppy — that’s what gives the orca its sleek, powerful look.
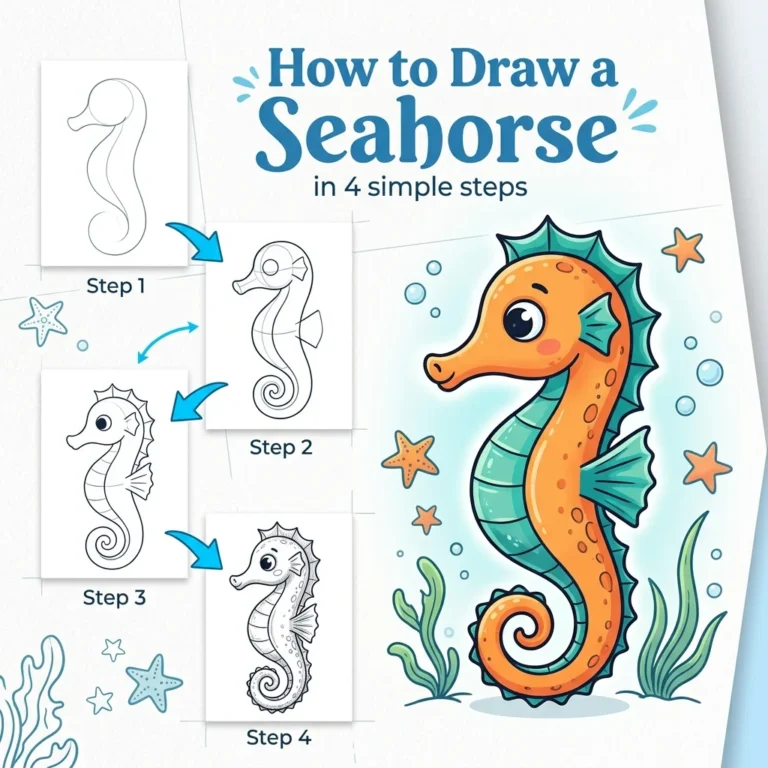
Love drawing ocean animals? Try these next!