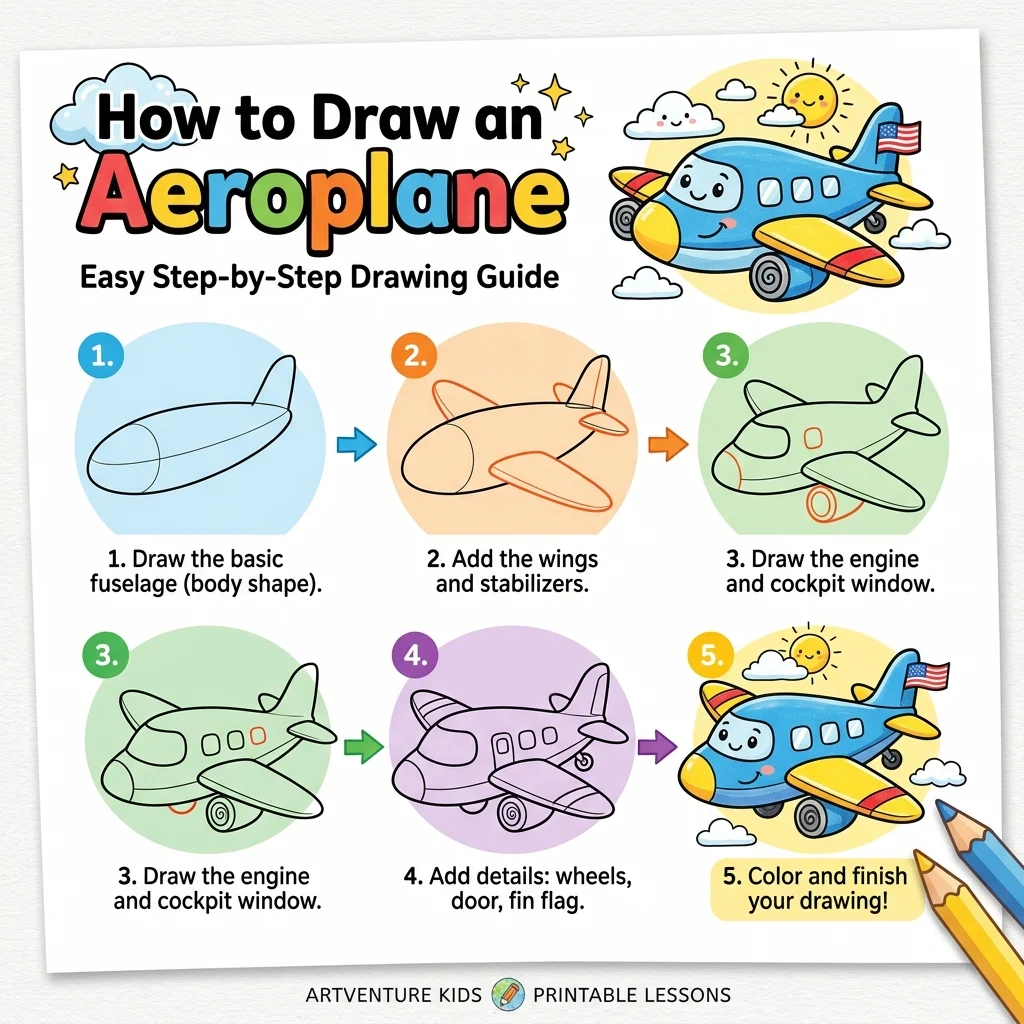
How to Draw an Aeroplane: Easy Step-by-Step Drawing Tutorial for Kids
Let’s draw something that flies through the sky! In this tutorial, we are going to learn how to draw a cool passenger aeroplane step-by-step in 9 simple, easy-to-follow steps.
Notice how we build the plane piece by piece — fuselage, wings, and tail — so you never have to erase any messy construction shapes! Prefer wheels to wings? Our Truck tutorial is another fun way to get moving.
Materials You’ll Need
Step-by-Step Easy Aeroplane Tutorial
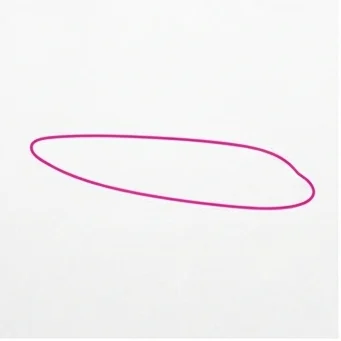
Start by drawing a long curved oval shape for the main body (fuselage) of the aeroplane.
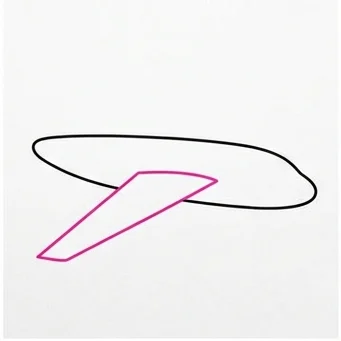
Draw a large, swept-back triangle wing sticking out diagonally from the side of the body.
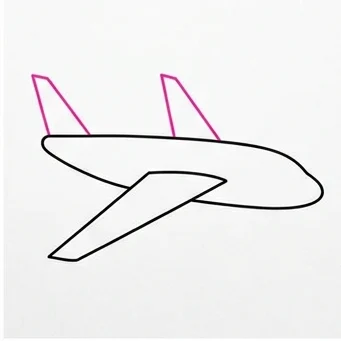
Draw two triangles pointing up at the back of the plane for the vertical tail fins.
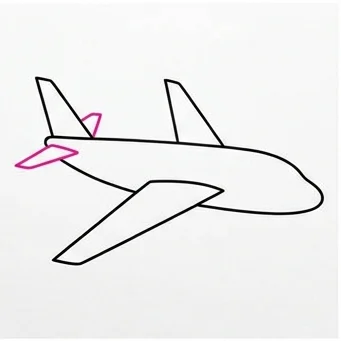
Draw a small triangle sticking out from the back side for the horizontal tail wing.
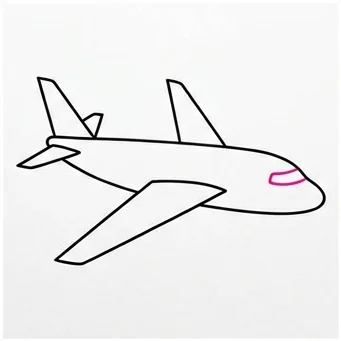
Draw a curved line near the very front nose to create the cockpit window where the pilots sit.
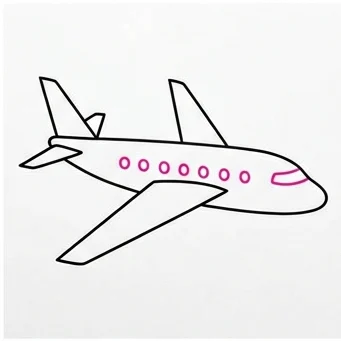
Draw a row of small circle windows along the side of the body.
Draw a large cylinder shape tucked right under the main wing for the powerful jet engine.
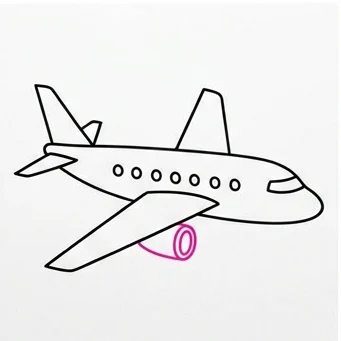
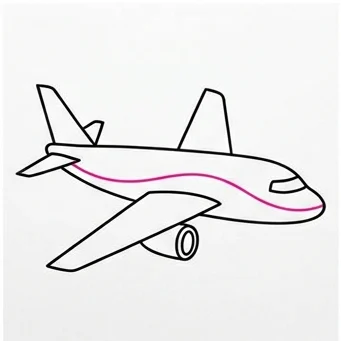
Draw a wavy line sweeping right across the middle of the body to separate the paint colors.
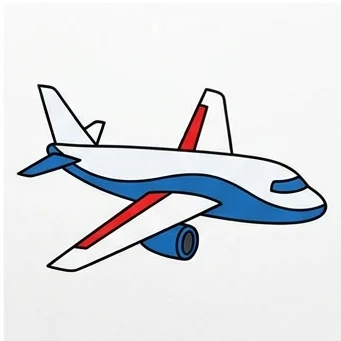
Color your airplane however you like! We painted ours white with a blue bottom half and red stripes! Ready for takeoff!
Swept-Back Wings: Angling the wing backward instead of straight out to the side makes the plane look fast and aerodynamic.
Matching Windows: Keep the passenger windows evenly spaced in a straight row for a clean, realistic look.
Love drawing everyday items? Try these next!