How to Draw a Bubble: Easy Step-by-Step Drawing Tutorial for Kids
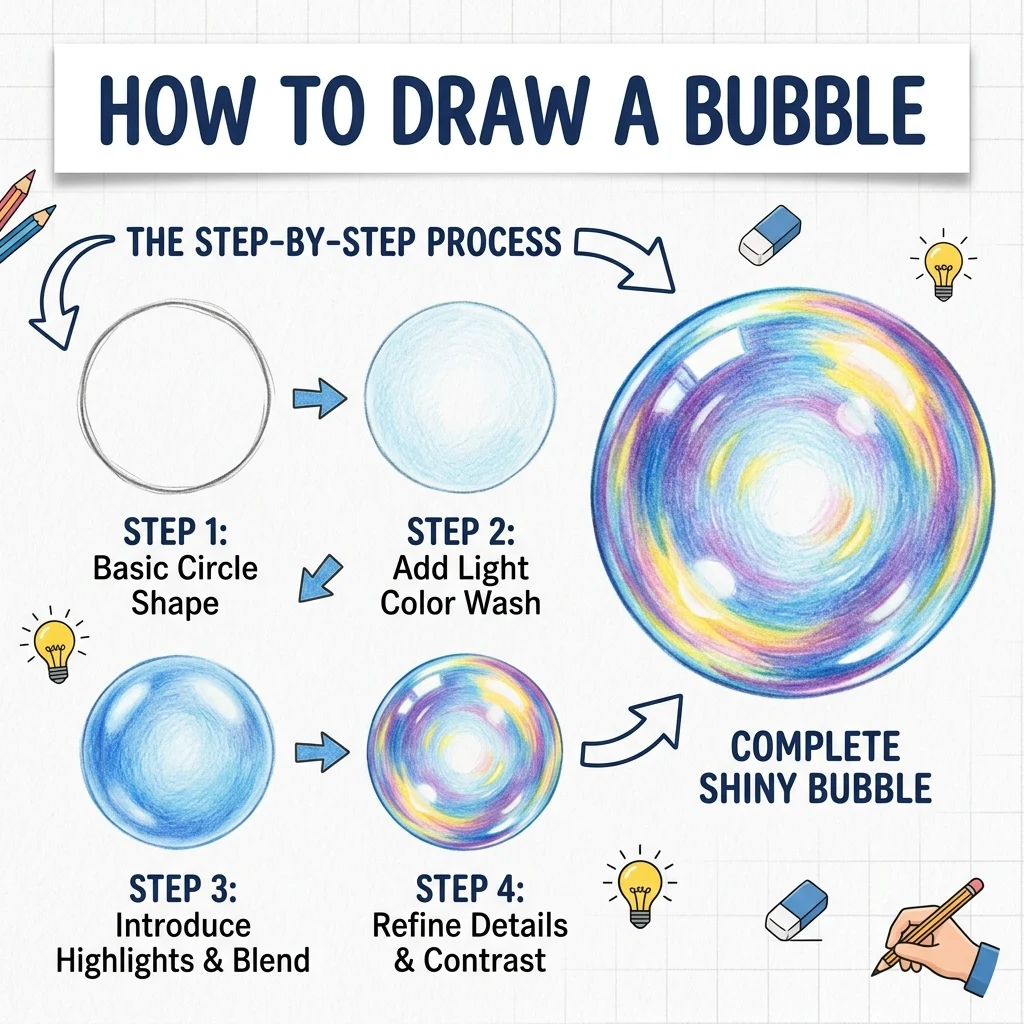
Let’s draw something shiny and glossy! In this tutorial, we are going to learn how to draw a soap Bubble step-by-step in 9 simple, easy-to-follow steps.
Notice how we build the shiny reflections one at a time, so the bubble looks extra glossy and realistic!
Materials You’ll Need
Step-by-Step Easy Bubble Tutorial
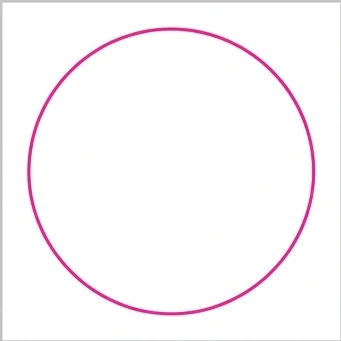
Start by drawing a large, perfect circle for the outside edge of the bubble.
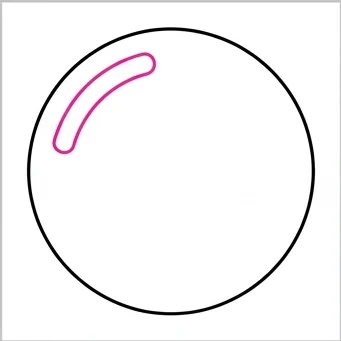
Draw a long curved rectangular shape near the top-left inner edge. This is our main light reflection!
Draw a slightly smaller curved rectangle right below the first highlight.
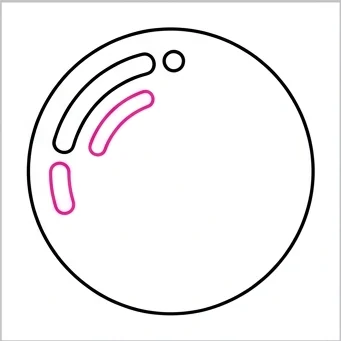
Draw a tiny dot highlight floating near the bottom-right inner edge.
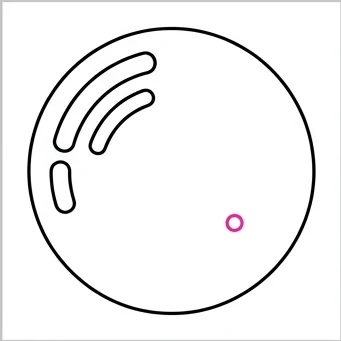
Draw a long, thin crescent moon shape hugging the bottom-right inner edge to show a secondary reflection.

Draw a small star sparkle floating near the top-left highlight to make it look extra shiny!

Draw a few tiny circle bubbles floating around the outside of our main bubble.

Draw a light dashed line tracing just inside the main circle. This gives the soapy bubble some glassy thickness!
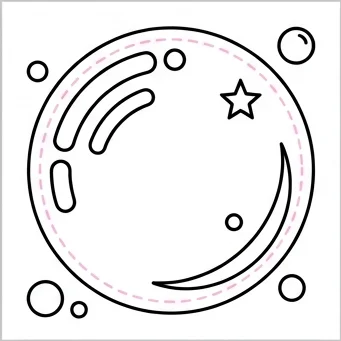
Color the bubble a very light, transparent blue and leave all the highlights pure white so it looks super glossy! Pop!

Layered Highlights: Building up several separate shiny highlights (not just one) is the secret to a realistic glossy look.
Keep it Light: A very pale, almost-white color for the bubble itself lets the white highlights really pop.
Love drawing everyday items? Try these next!