How to Draw 3D Letters: Easy Step-by-Step Drawing Tutorial for Kids
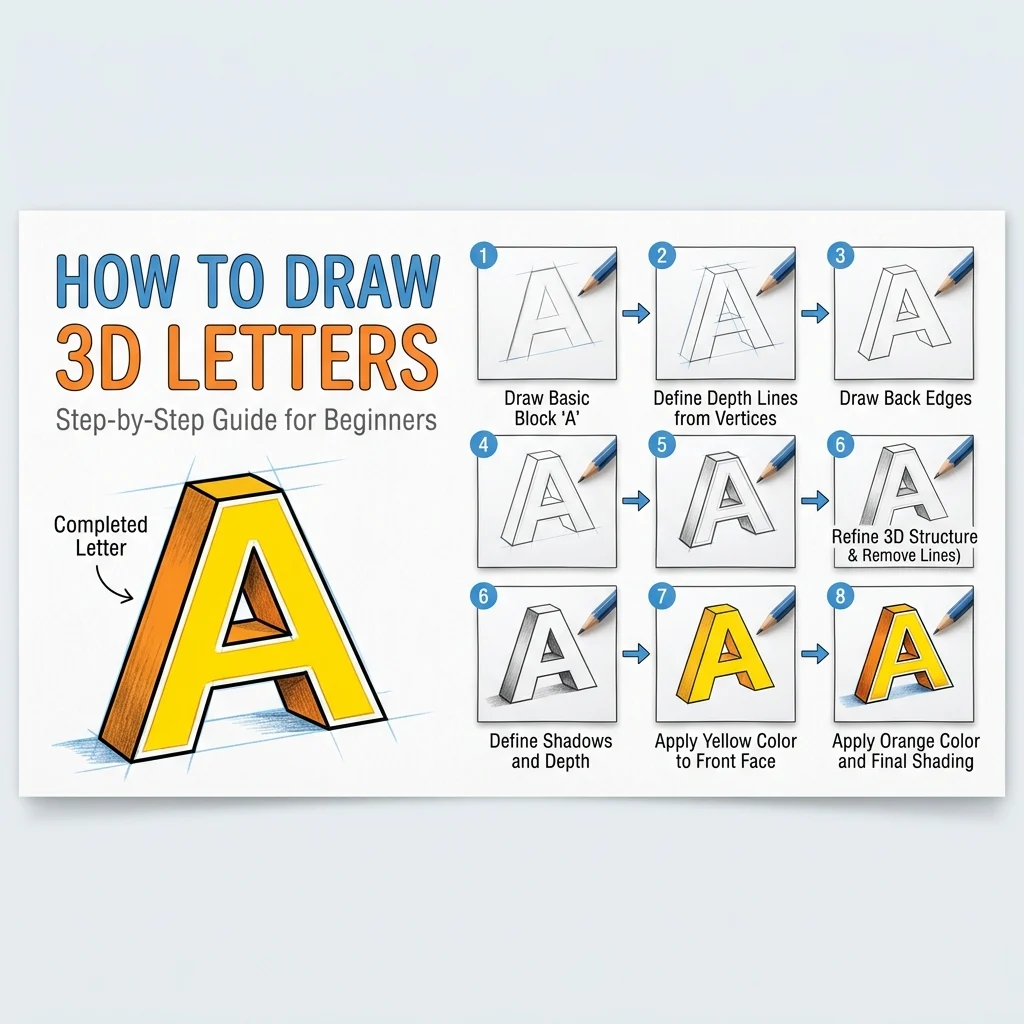
Let’s turn a flat letter into something bold! In this tutorial, we are going to learn how to draw a cool 3D block letter \”A\” step-by-step in 9 simple, easy-to-follow steps.
Notice how we use short diagonal lines pointing in the exact same direction to create the illusion of 3D depth!
Materials You’ll Need
Step-by-Step Easy 3D Letters Tutorial
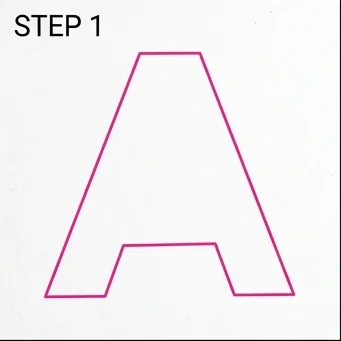
Start by drawing a large block letter “A” outline. Just the outside edge for now.
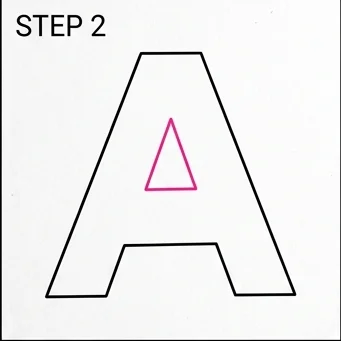
Draw a small triangle in the top center of the “A” to create the hole.
Draw short diagonal lines pointing up and to the right from all the top and right-side outer corners of the letter.
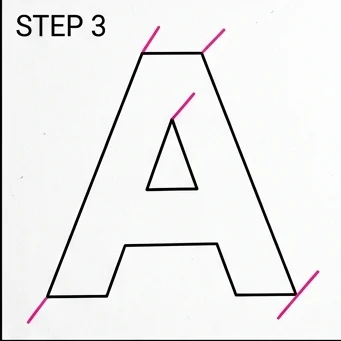
Draw a short diagonal line pointing up and to the right from the inner left corner of the triangle hole.
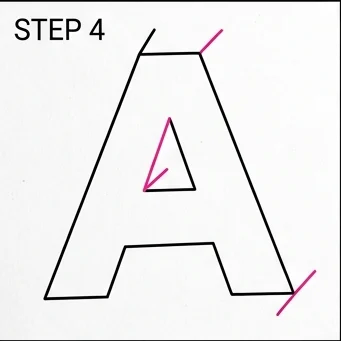
Draw a short diagonal line pointing up and to the right from the bottom right inside corner between the legs of the “A”.
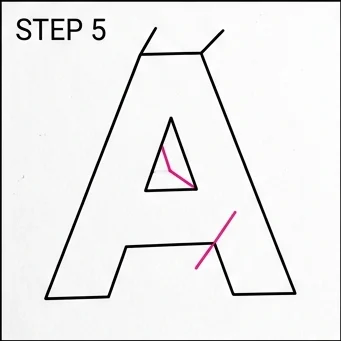
Draw straight lines connecting the ends of all the outer diagonal lines to form the outer 3D thickness.
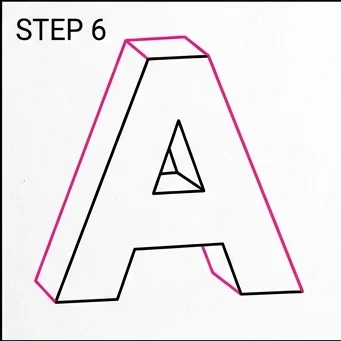
Draw straight lines connecting the ends of the inner diagonal lines to complete the inner 3D thickness.
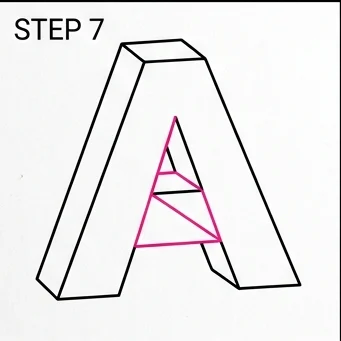
Draw an outline tracing underneath and to the right of the entire letter for a cool drop shadow effect!
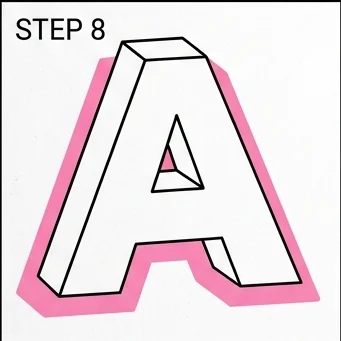
Color the front of the letter bright red, the 3D sides a darker red to show shadow, and the drop shadow grey! Amazing 3D effect!
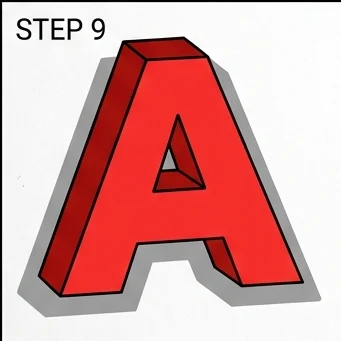
Same Direction: Every diagonal line must point the exact same way (up-and-right) — that’s the trick that creates the 3D illusion.
Shadow Last: Adding a drop shadow underneath is the final touch that really makes the letter pop off the page.
Love drawing cool crafts? Try these next!
🎭 How to Draw an African Mask
🇺🇸 How to Draw an American Flag