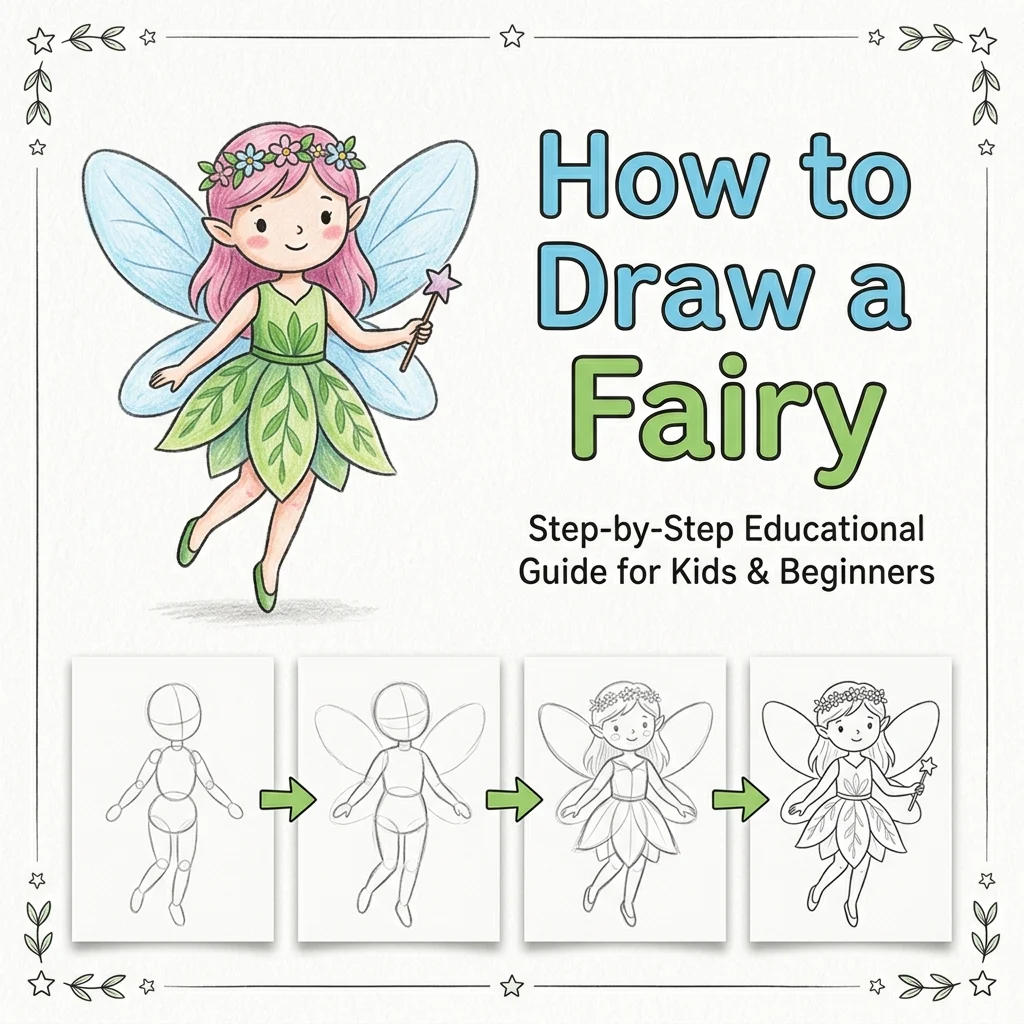
How to Draw a Fairy: Easy Step-by-Step Drawing Tutorial for Kids
Let’s draw a beautiful magical friend! In this tutorial, we are going to learn how to draw a beautiful Fairy step-by-step in 9 simple, easy-to-follow steps.
Notice how we draw the fairy piece by piece, so you never have to erase any messy shapes!
Materials You’ll Need
Step-by-Step Easy Fairy Tutorial
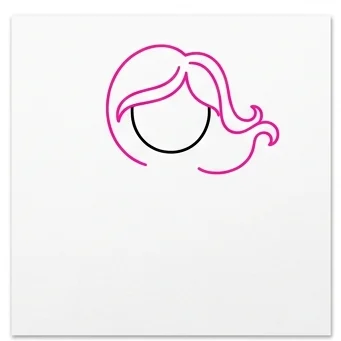
Start by drawing a small U-shape for the face of the fairy.

Draw curved lines outlining beautiful hair flowing down from the top of the head and wrapping around the neck.
Draw a large bell-shaped curve dropping down from the neck to create her pretty dress.

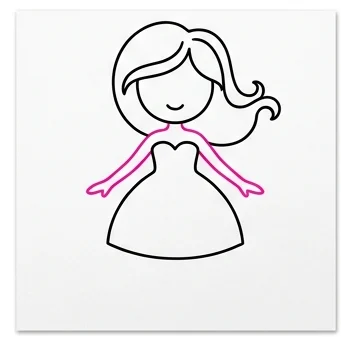
Draw two slender arms extending outward gracefully from her shoulders.
Draw two slender legs dropping down from underneath the dress with little ballet flats.

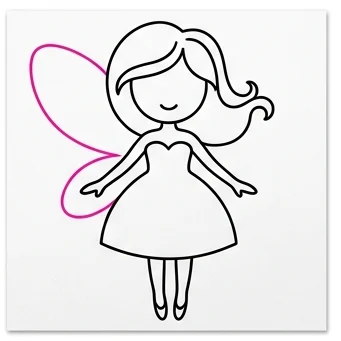
Draw two large, elegant butterfly wings sprouting from the left side of her back.
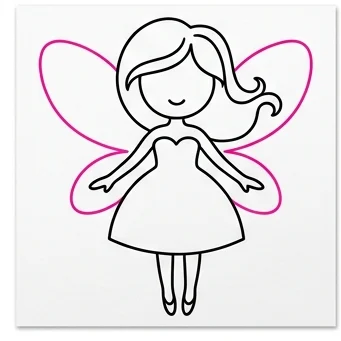
Draw two matching butterfly wings on the right side of her back to complete her magical wings!
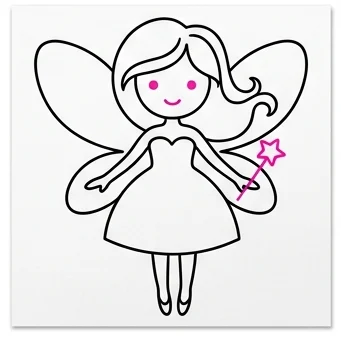
Draw dot eyes, a cute smile, and a tiny star magic wand in her hand!
Color your fairy with a sparkly green dress, shiny purple wings, and bright pink magic wand! Beautiful!
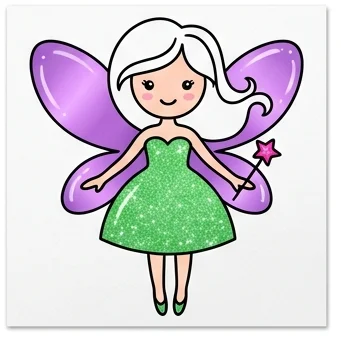
Graceful Curves: Keep the arms and legs long and slender to give the fairy an elegant, graceful look.
Wing Balance: Draw matching wings on both sides so your fairy looks ready to flutter off the page!
Love drawing fun characters? Try these next!
👗 How to Draw a Princess Dress
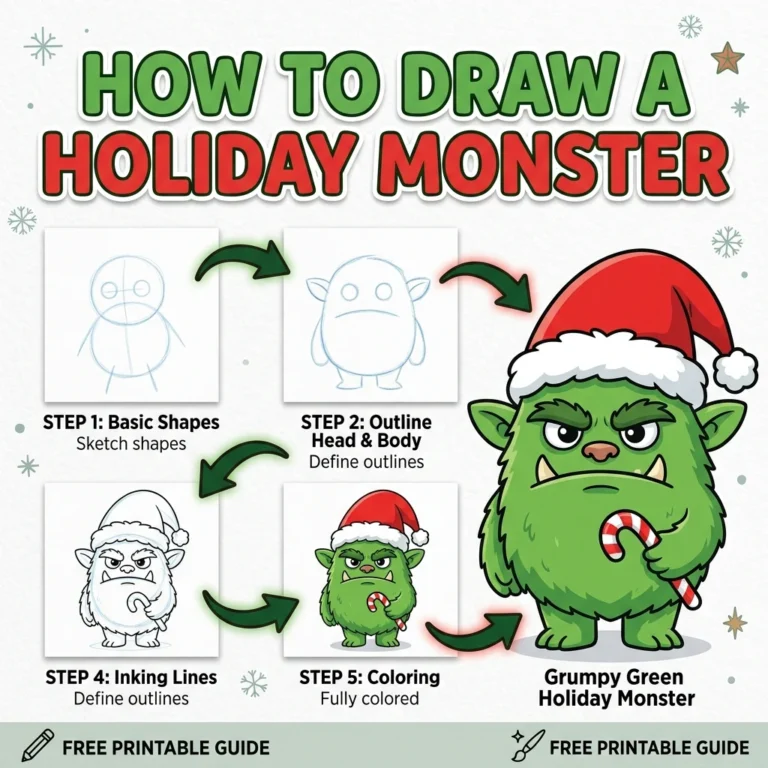
👻 How to Draw a Holiday Monster