How to Draw an African Mask: Easy Step-by-Step Drawing Tutorial for Kids
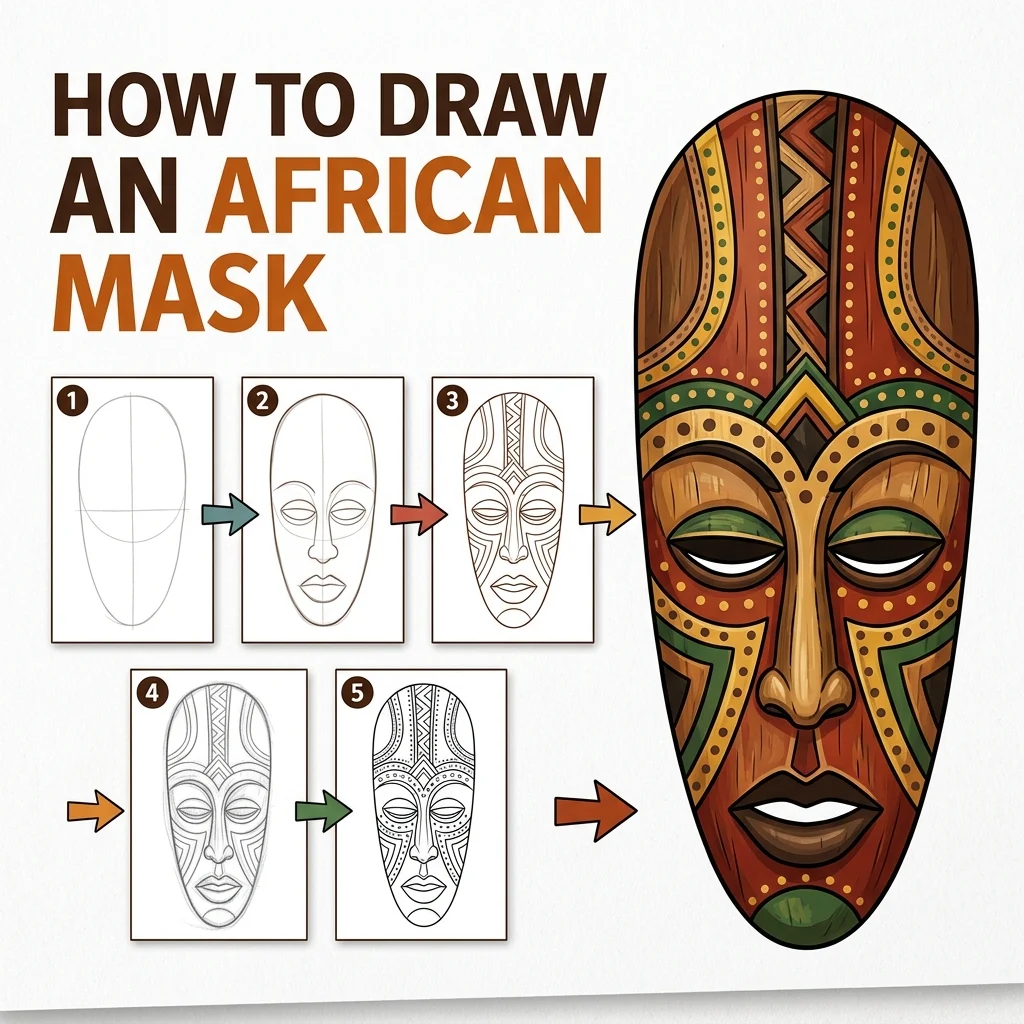
Let’s draw a beautiful piece of cultural art! In this tutorial, we are going to learn how to draw a beautifully carved wooden African Mask step-by-step in 9 simple, easy-to-follow steps.
Notice how we use a center line to keep our drawing perfectly symmetrical!
Materials You’ll Need
Step-by-Step Easy African Mask Tutorial
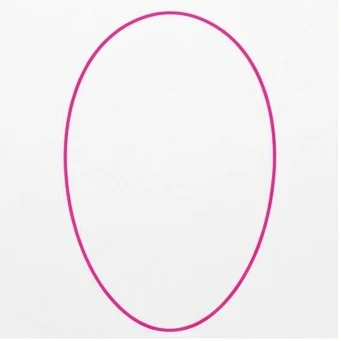
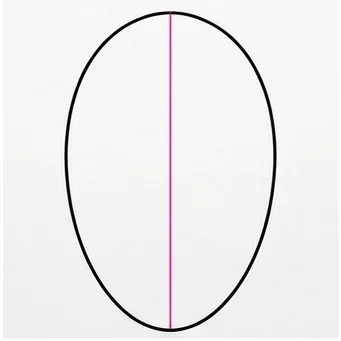
Start by drawing a large elongated oval shape for the main outline of the wooden mask.
Draw a straight vertical line down the exact center. This helps us make sure the left and right sides match perfectly!
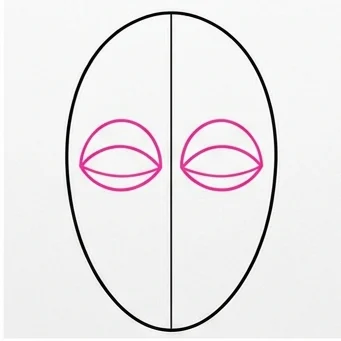
Draw two large almond shapes with an extra eyelid curve on either side of the center line for the carved eyes.
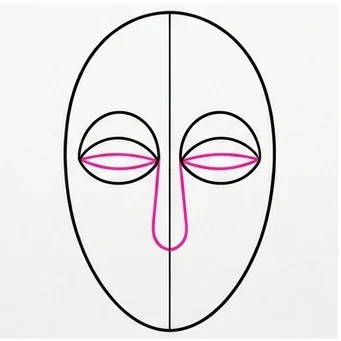
Draw a very long, straight U-shape dropping down directly on the center line for the nose.
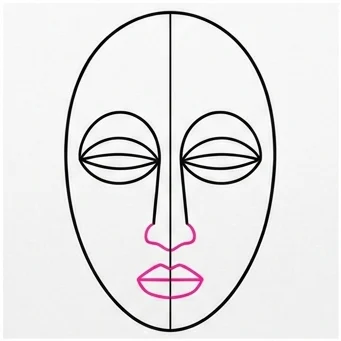
Draw a small rectangular mouth shape sitting perfectly on the center line below the nose.
Draw cool triangular zig-zag patterns across the top forehead area of the mask.
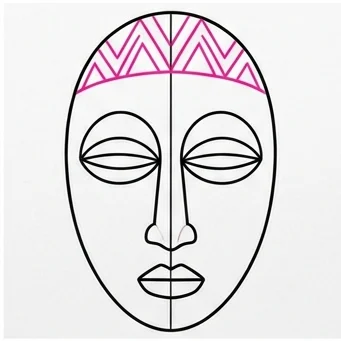
Draw matching triangular zig-zag patterns across the bottom chin area.
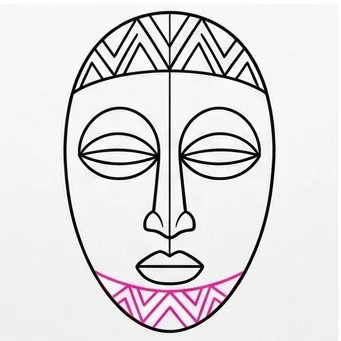
Draw several curved lines contouring around the cheeks. This makes the mask look like it is carved from rounded wood!
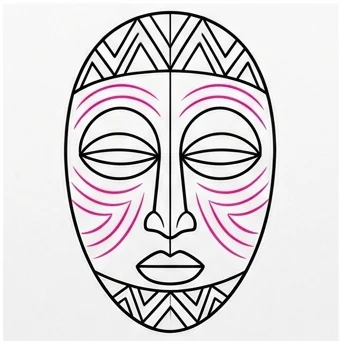
Color the mask in beautiful dark brown wood tones, and color the geometric patterns white and red!
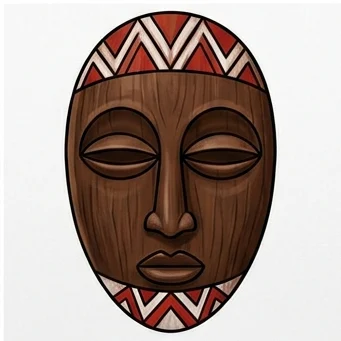
Center Line First: Drawing the vertical symmetry line before anything else makes it much easier to keep both sides matching.
Repeat Patterns: Zig-zag patterns look best when repeated evenly — count your triangles as you go!
Love drawing cool crafts? Try these next!