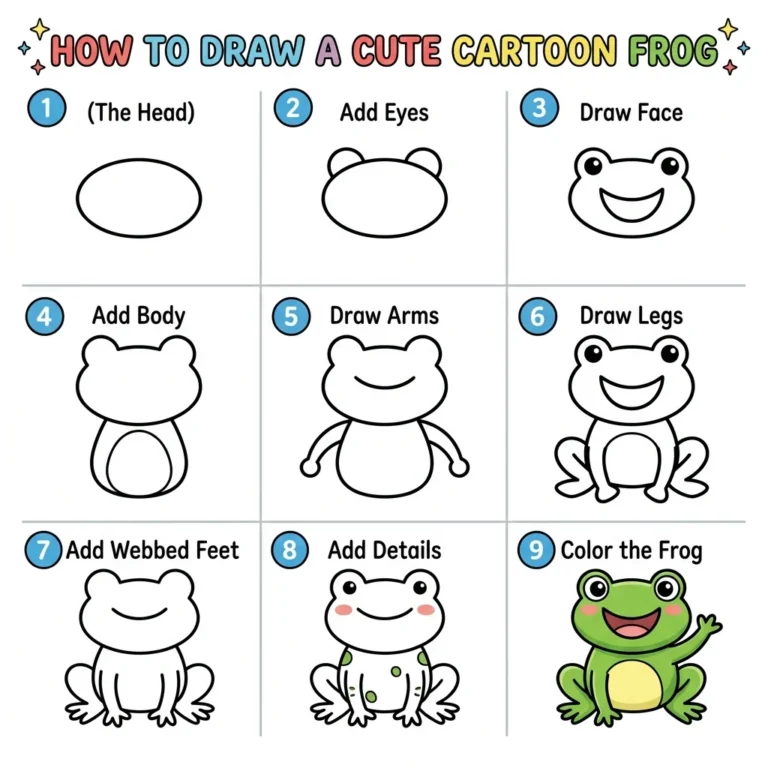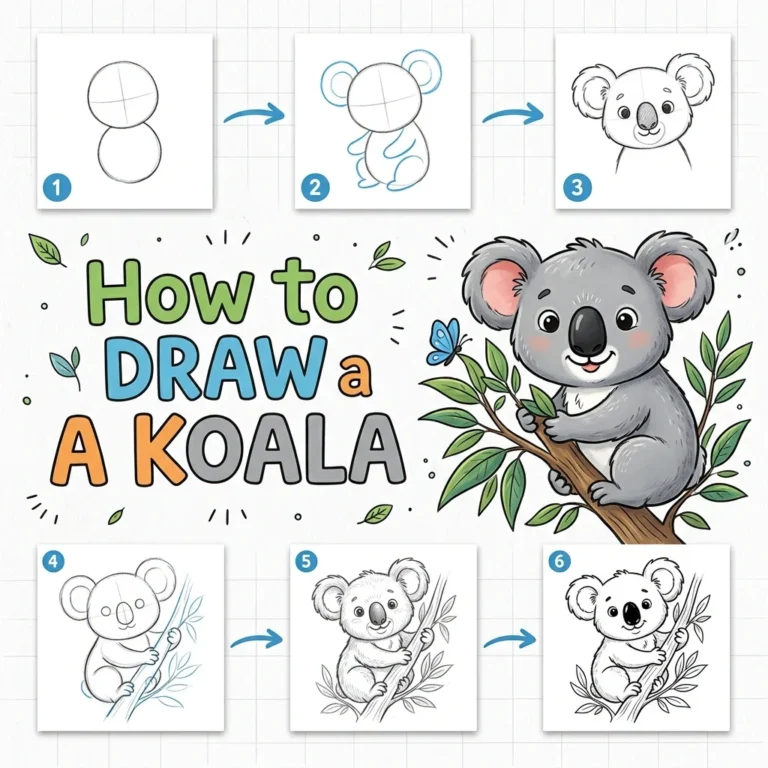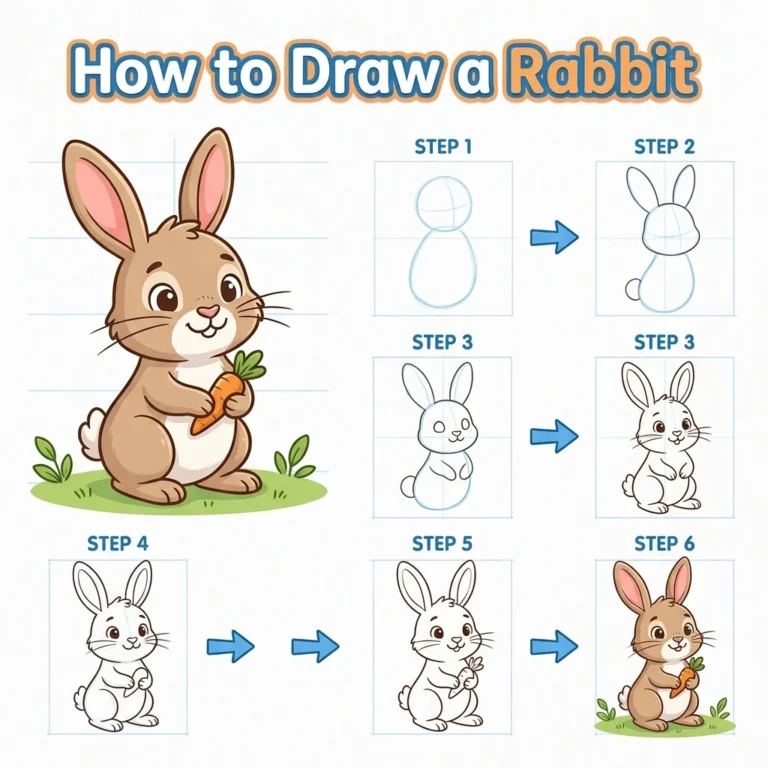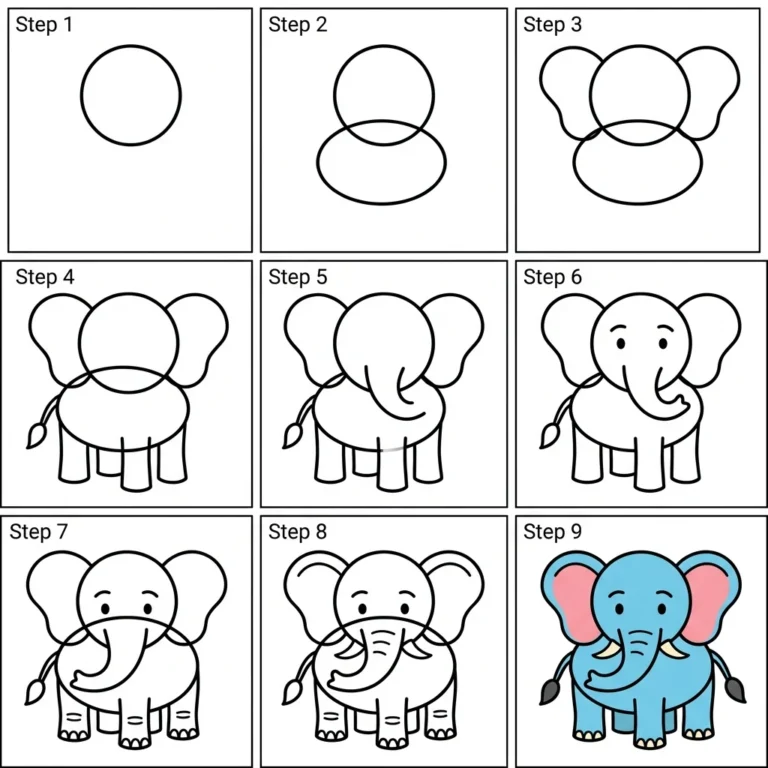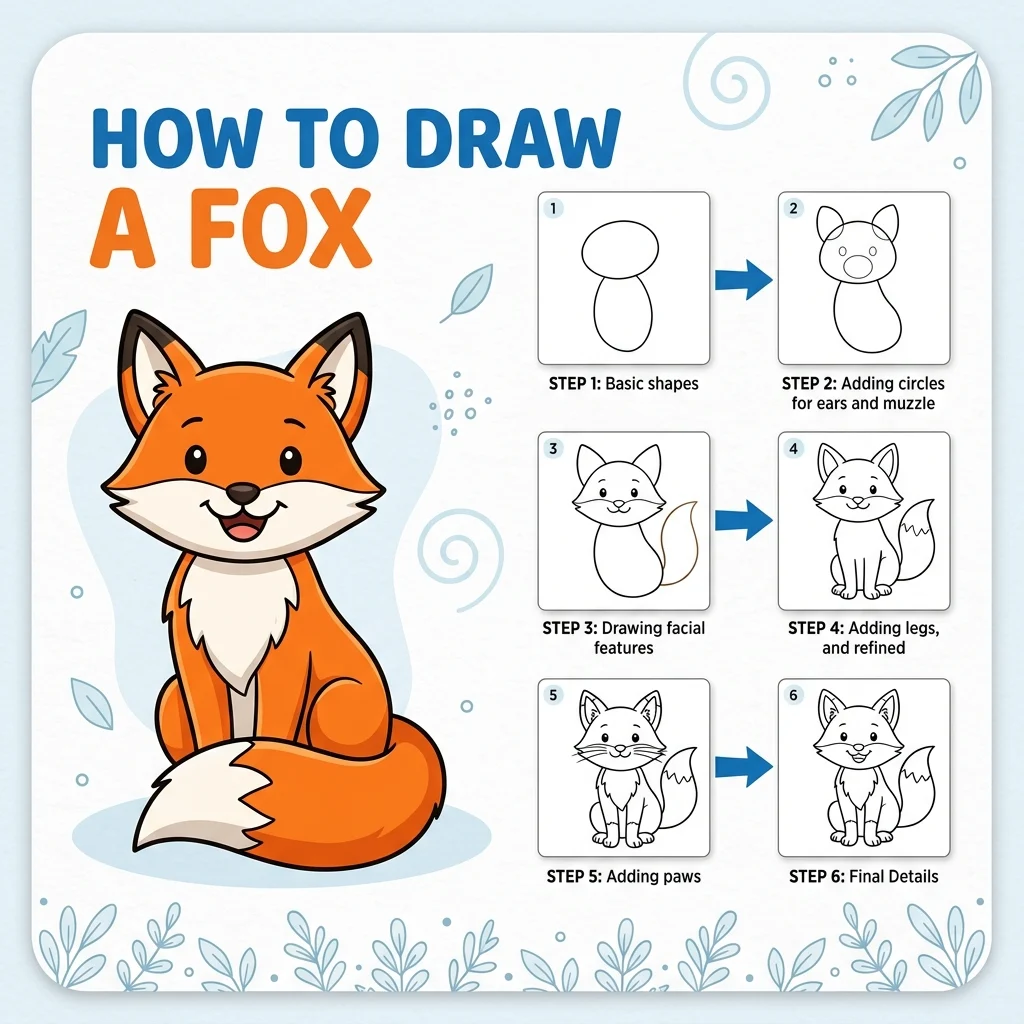
How to Draw a Fox: Easy Step-by-Step Drawing Tutorial for Kids
In this fun tutorial, we are going to learn how to draw a cute fox using the progressive drawing method! Every new line is highlighted in red so you never get lost.
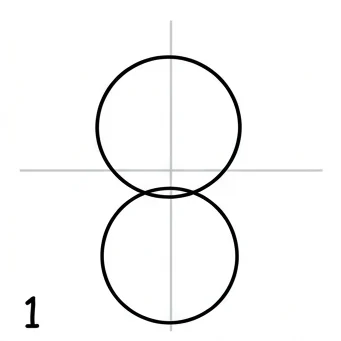
This approach uses construction circles and crosshairs to keep your drawing perfectly proportioned. Grab your orange crayons and let’s draw a beautiful fox! For another gentle forest animal, take a look at our Deer tutorial.
Materials You’ll Need
Step-by-Step Easy Fox Tutorial
Start by drawing light gray crosshairs on your paper. Then, draw two circles stacked like a snowman right in the middle.
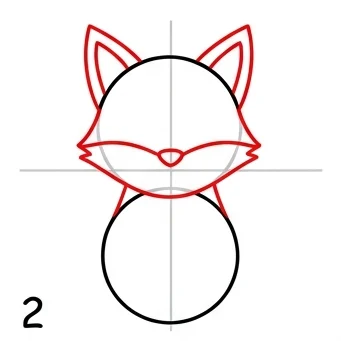
Draw two triangular ears on top of the head circle, and wide, pointed cheeks spanning the sides of the face.
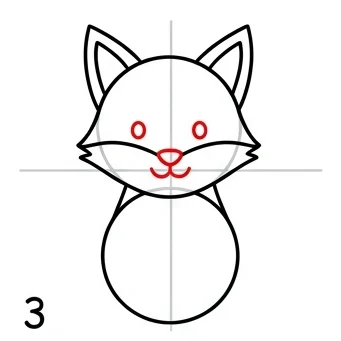
Draw two small circles for the eyes, an oval for the nose, and a curved W shape for a cute smiling mouth.
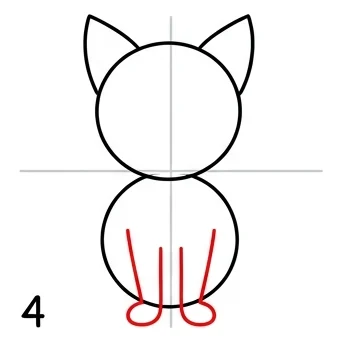
Inside the bottom body circle, draw four vertical lines that connect to small loops at the bottom for the front paws.
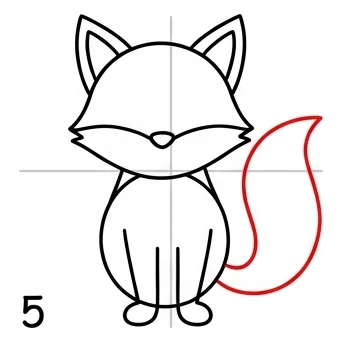
On the right side of the body, draw a large, sweeping curved shape sweeping upwards to create the fox’s big bushy tail.
Draw a curved shape tucked between the front legs and the tail to create the back right leg, ending in a paw.
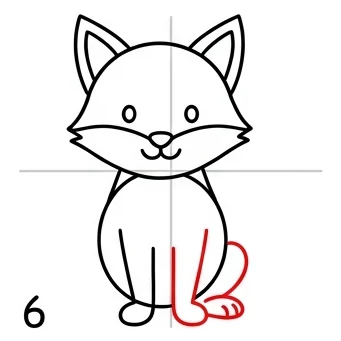
Draw jagged zig-zag lines inside the tail to separate the white tip. Add a small loop on the left side for the back left leg.
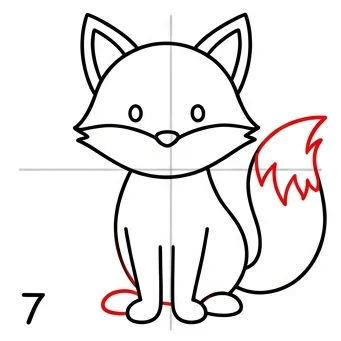
Add jagged fur on the cheeks and chest, inner ear triangles, cute eyebrows, and tiny lines on the paws for toes!
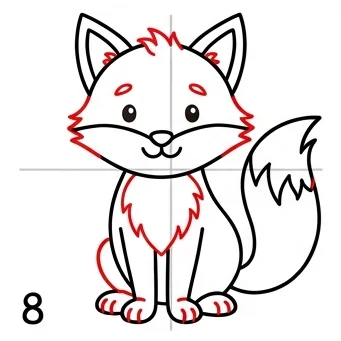
Color the fox orange, but leave the chest, lower face, and tail tip white. Add pink to the ears and you’re done!
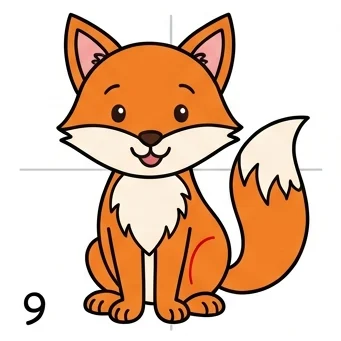
Tail Tip: The white tip on the tail is what makes a fox look like a fox — don’t forget it!
Cheek Fur: Use zig-zag lines instead of smooth curves for the cheeks to create that fluffy look.
Love drawing animals? Try these next!
How to Draw a Giraffe
How to Draw a Rabbit
How to Draw an Eagle
Frequently Asked Questions
People Also Ask
This progressive method is great for kids ages 6 and up. The red-highlighted lines make it easy to follow!
Construction circles help you get the proportions right before adding details. Professional artists use this technique too!
Orange for the body, white for the chest and tail tip, black for the nose and eyes, and pink for the inner ears.