How to Draw Snoopy: Easy Step-by-Step Drawing Tutorial for Kids
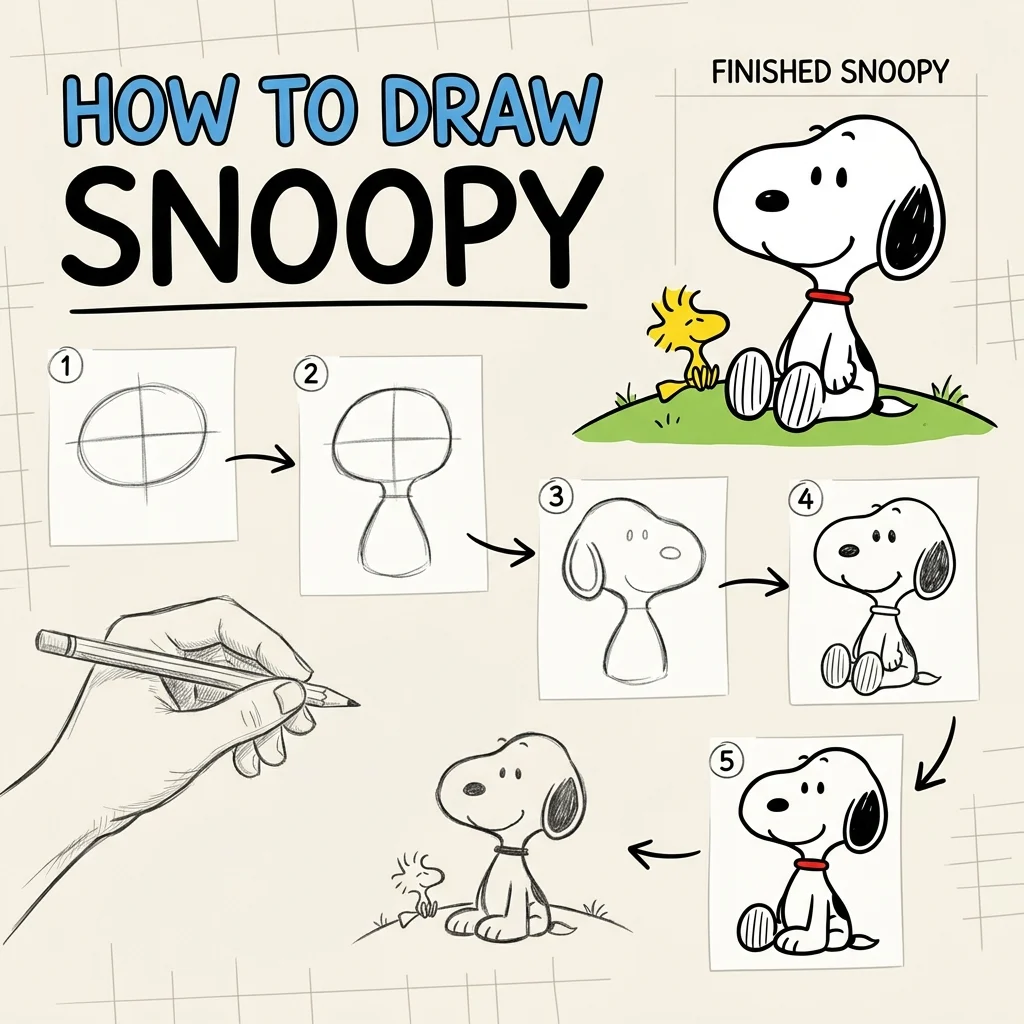
Get ready to draw everyone’s favorite cartoon beagle! In this tutorial, we are learning how to draw Snoopy using the progressive method with red-highlighted lines.
This classic character is loved by millions. Let’s bring him to life on paper! For another beloved cartoon character, check out our SpongeBob tutorial.
Materials You’ll Need
Step-by-Step Easy Snoopy Tutorial
Start by drawing light gray crosshairs. Then, draw a circle for the head and an oval underneath for the body.
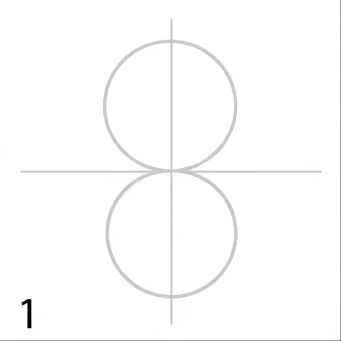
Draw a large curved shape protruding from the right side of the head circle for the snout.
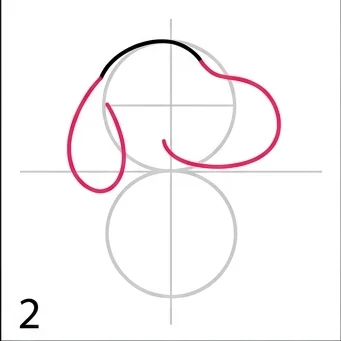
Draw a large floppy ear on the left side, two oval eyes, and a small round nose at the tip of the snout.
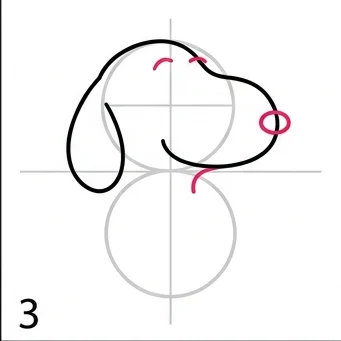
Carefully erase the overlapping construction lines inside the head so the face is perfectly clear.
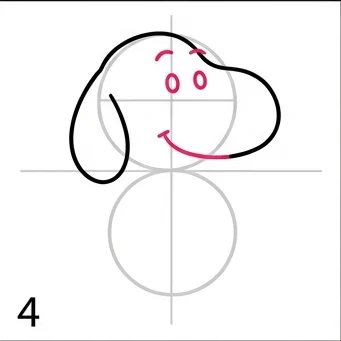
Draw the curves for the front arm and legs attached to the bottom body oval.
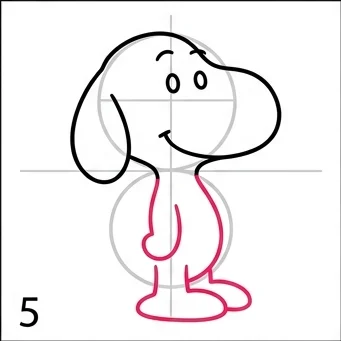
Draw a curved line for his back, and add a cute little tail pointing upwards on the left side.
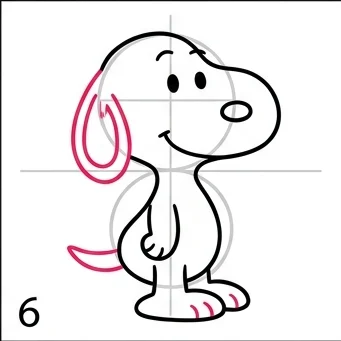
Draw a collar around the neck, add the back leg, and put three little tufts of hair on his head!
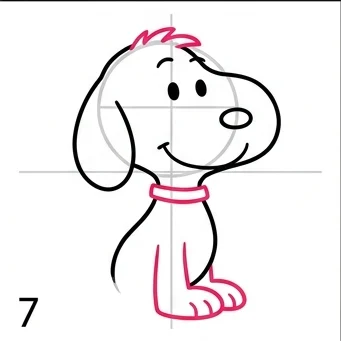
Thicken your final outlines and add any small finishing touches like toe lines on the feet.
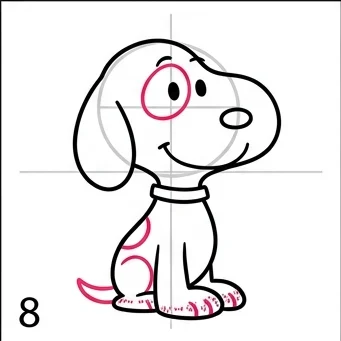
Leave his whole body white, color his ear and nose black, and color his collar bright red.
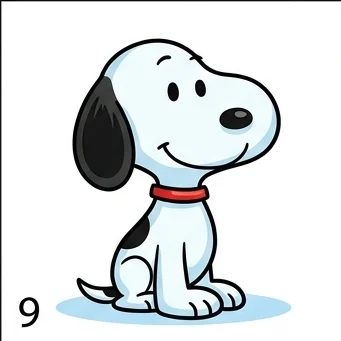
Keep It Simple: Snoopy’s charm is in his simplicity — don’t over-detail him!
The Ear: Snoopy’s big floppy black ear is his most recognizable feature — make it nice and large!
Love drawing characters? Try these next!
Frequently Asked Questions
People Also Ask
Yes! Snoopy has a very simple design with smooth curves, making him one of the easiest cartoon characters to draw.
Snoopy is a beagle! He first appeared in the Peanuts comic strip by Charles M. Schulz in 1950.
Almost none! Snoopy is mostly white with a black ear and nose, and a red collar. That’s it!