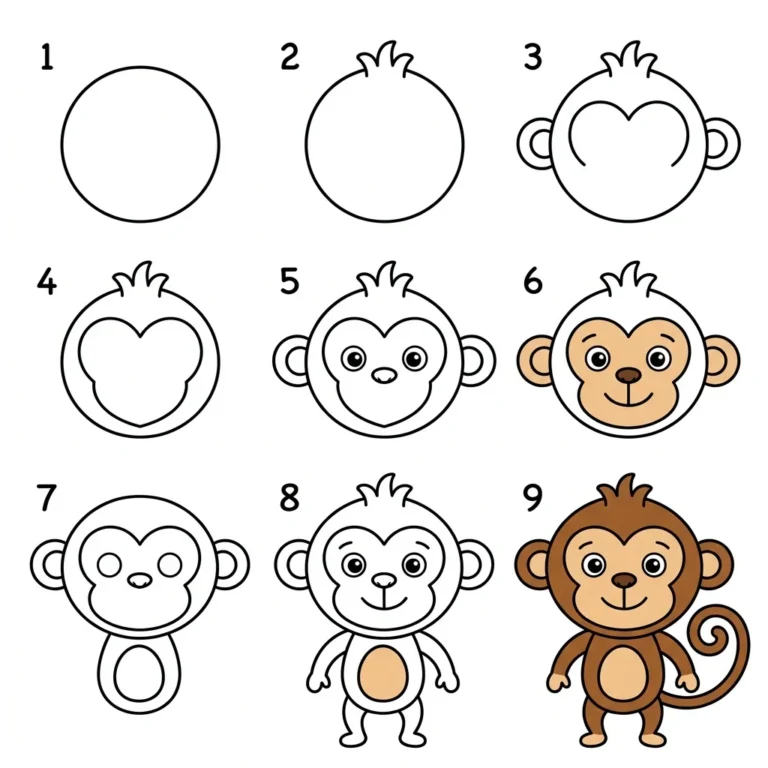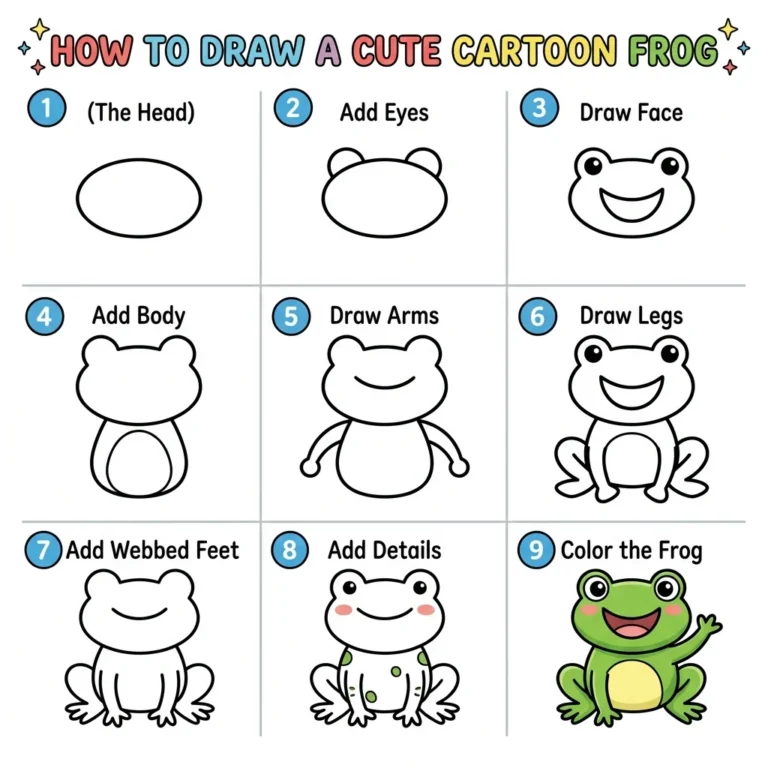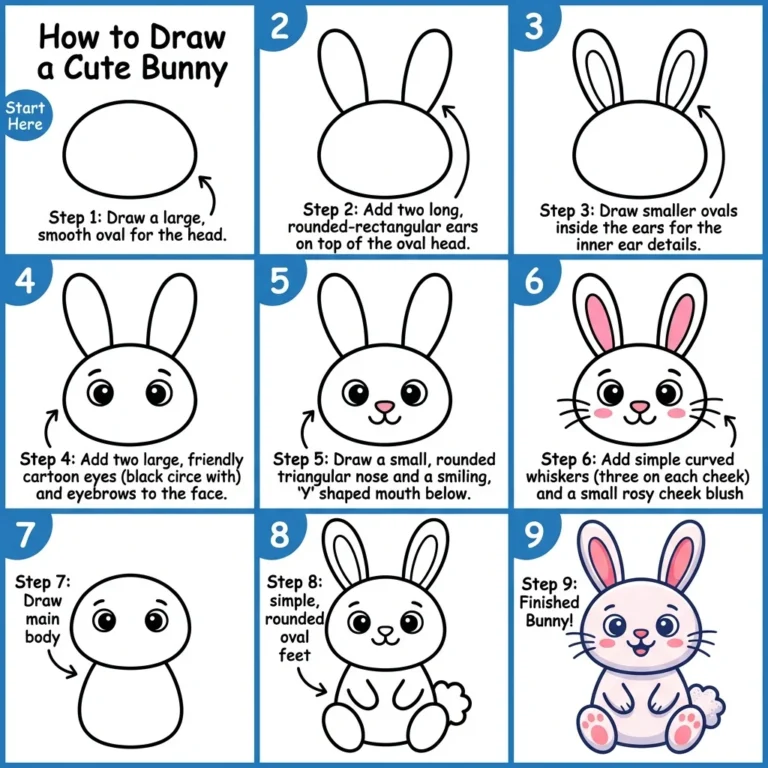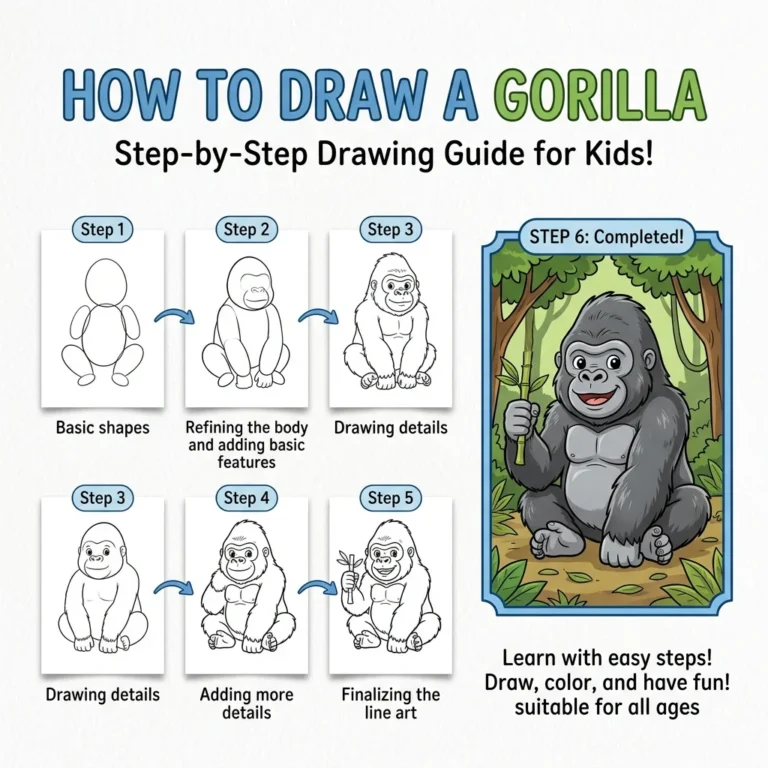
How to Draw a Mouse: Easy Step-by-Step Drawing Tutorial for Kids
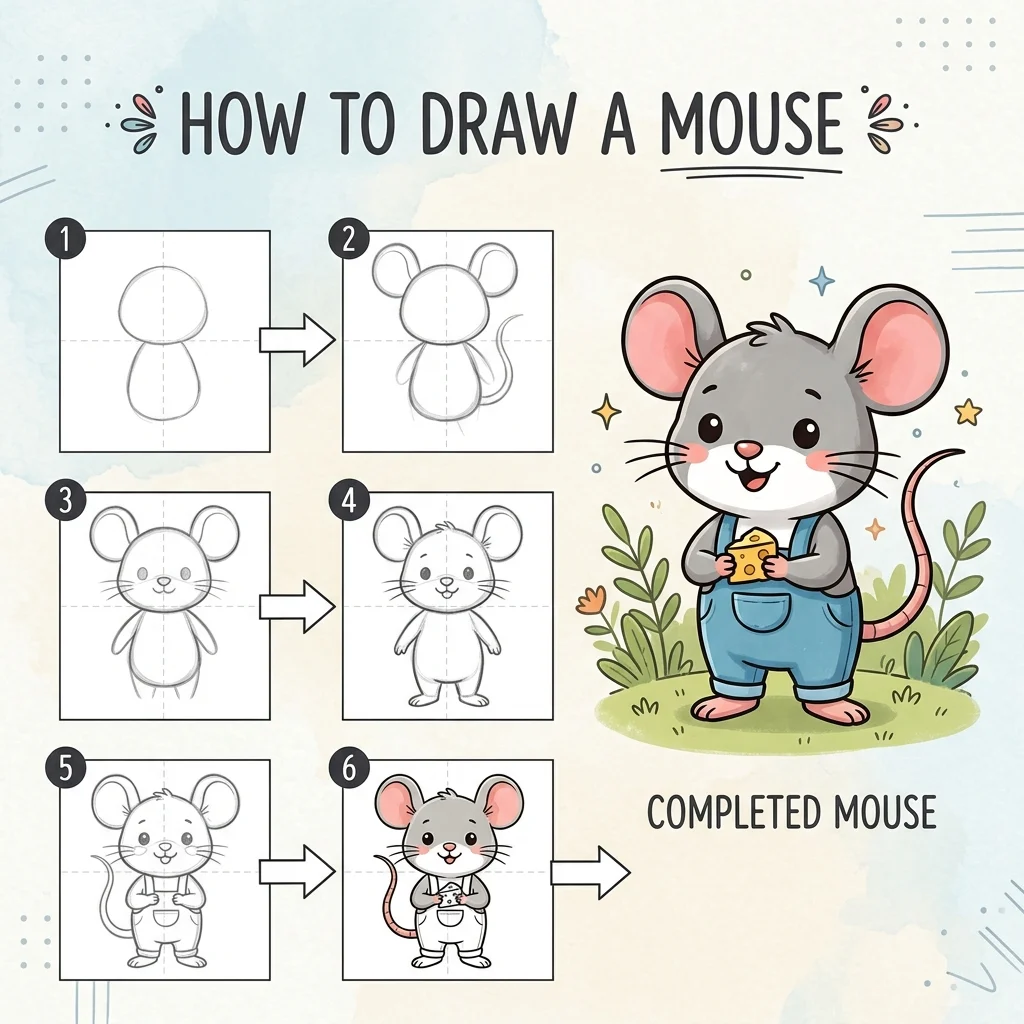
In this fun tutorial, we are going to learn how to draw an adorable mouse in 9 simple, easy-to-follow steps! Every new line is highlighted in red so you never get lost.
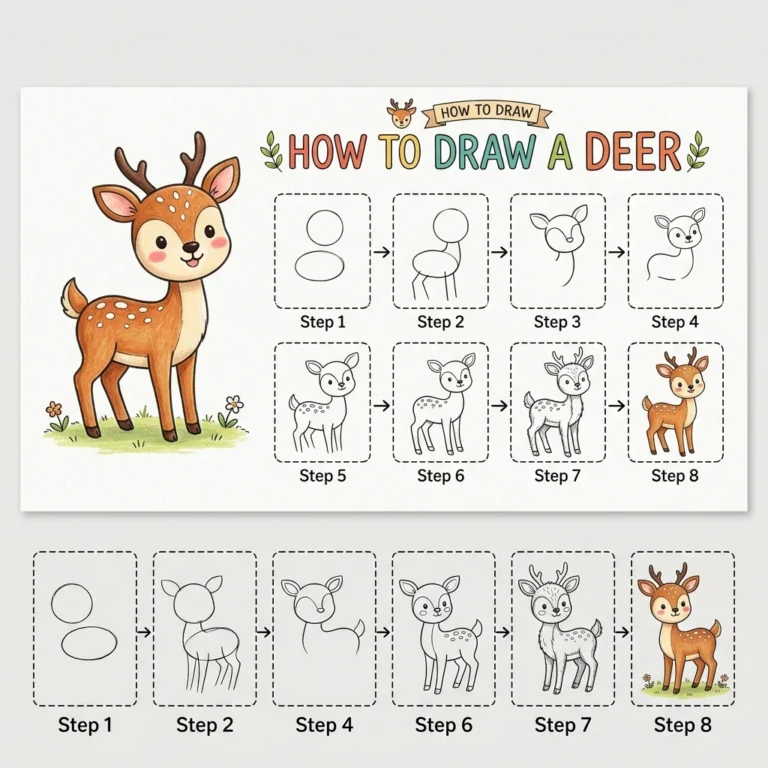
Grab your pencil and let’s create a cute little mouse together! Mice share the forest with much bigger creatures too — like the one in our Deer tutorial.
Materials You’ll Need
Step-by-Step Easy Mouse Tutorial
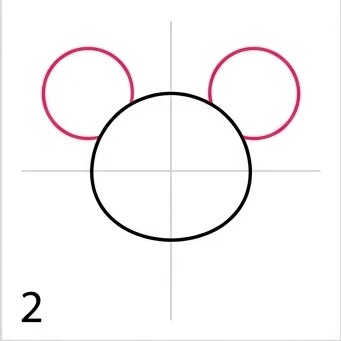
Start by drawing a large circle slightly above the center of your paper for the mouse’s head.

Draw two smaller circles on the top left and top right of the head for the ears.
Add two round eyes, a small oval nose, and a little curved mouth.
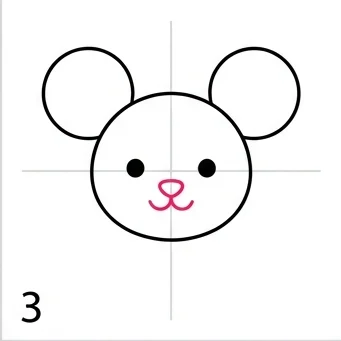
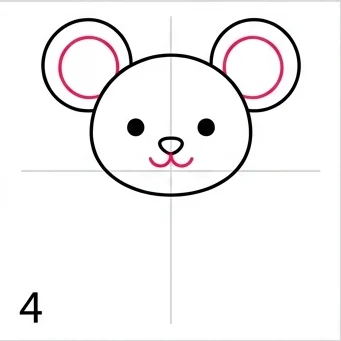
Draw a smaller circle inside each ear to create the inner ear detail.
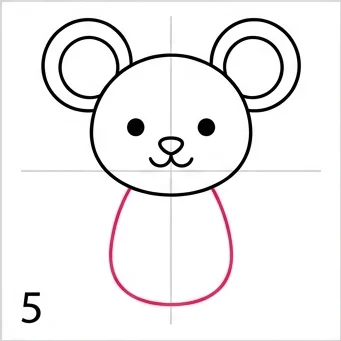
Draw a large U-shape or oval extending down from the head to form the body.
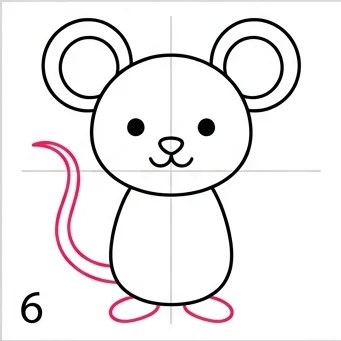
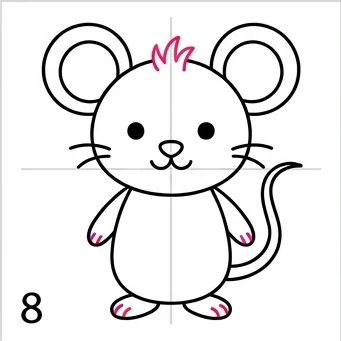
Draw a long, curving tail on one side, and two small oval feet at the bottom of the body.
Add two curved arms resting on the sides of the body, and draw straight whiskers coming from the cheeks.
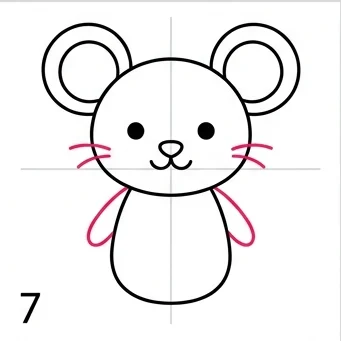
Draw a tiny tuft of hair on top of the head, and add little claw lines to the hands and feet.
Color your mouse gray or brown, and use a nice pink color for the inner ears, nose, and tail.
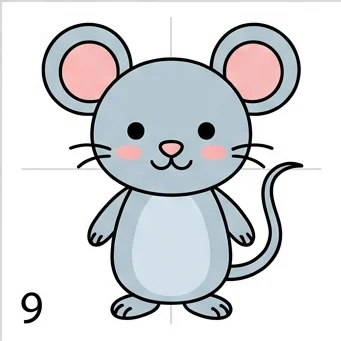
Whisker Placement: Draw whiskers coming from the cheeks in slightly different lengths for a natural look!
Tail Curve: A long, gently curving tail makes your mouse look like it’s scurrying along — have fun with the shape!
Love drawing animals? Try these next!
Frequently Asked Questions
People Also Ask
Yes! This is a Grade 2 level tutorial with simple shapes, perfect for kids ages 6 and up.
Gray or brown for the body, with pink for the inner ears, nose, and tail tip.
Absolutely! Try white for a cute pet mouse, or add a fun bow or hat for extra personality.