How to Draw a Snowman: Easy Step-by-Step Drawing Tutorial for Kids
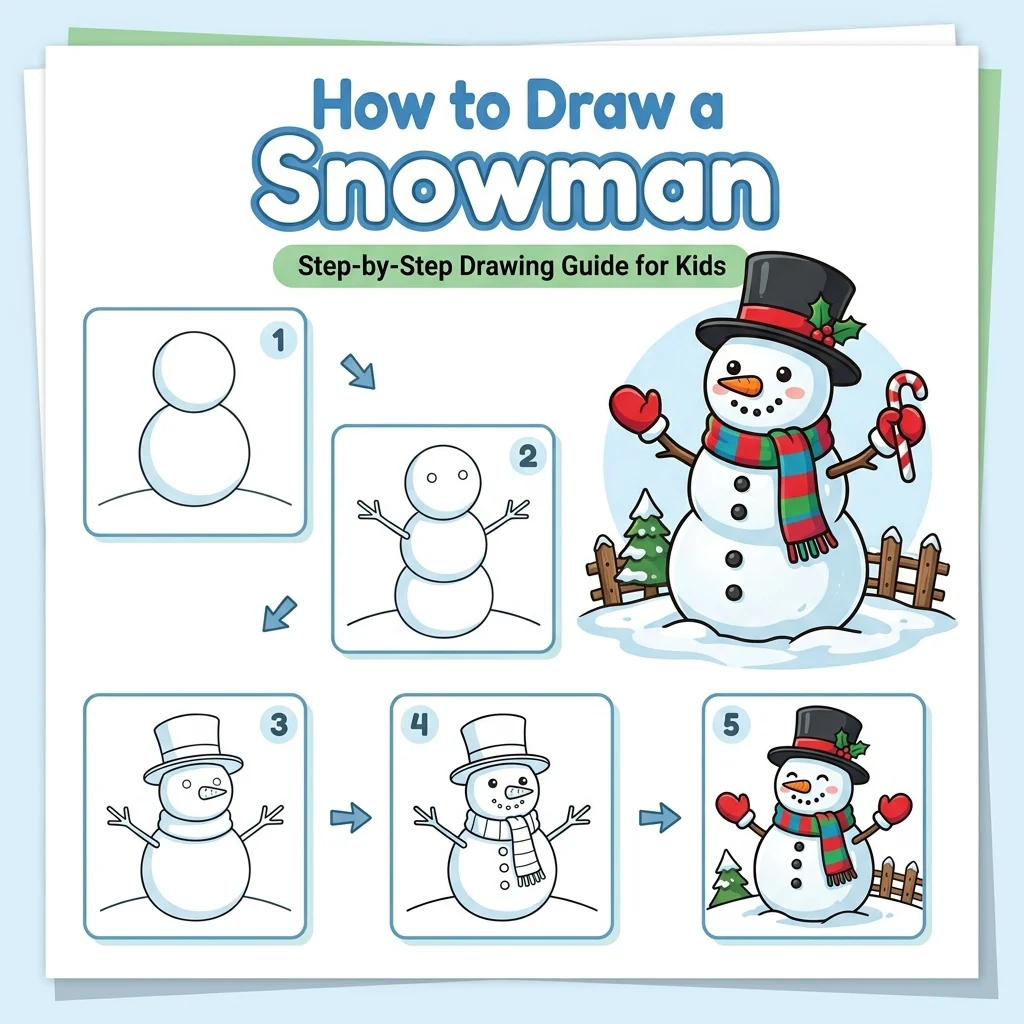
Let it snow! In this fun tutorial, we are going to learn how to draw a classic, frosty snowman in 9 simple, easy-to-follow steps.
Every new line is highlighted in pink so you never get lost. A perfect winter art project! For another icy character, our Polar Bear tutorial is just as frosty and fun.
Materials You’ll Need
Step-by-Step Easy Snowman Tutorial
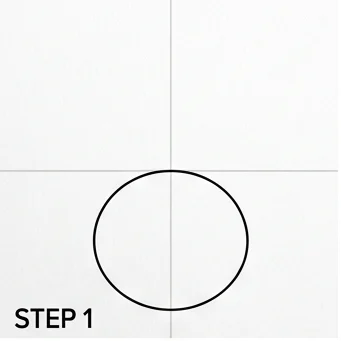
Start by drawing a large circle near the bottom of your paper. This is the biggest snowball for the base.
Draw a medium-sized circle resting right on top of the first one.
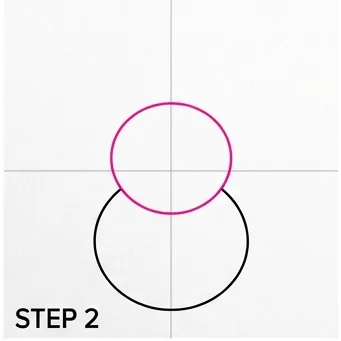
Draw the smallest circle on the very top to create the snowman’s head.
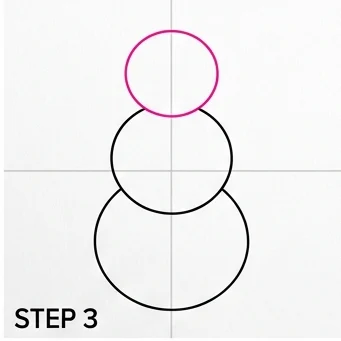
Draw a top hat sitting on the snowman’s head. Make sure it has a nice, wide brim!
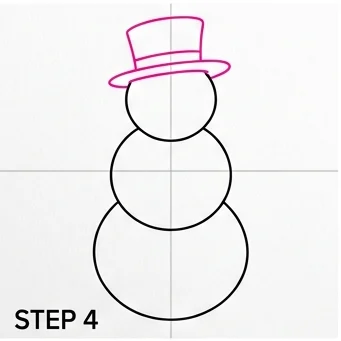
Draw a cozy, striped scarf wrapped around the snowman’s neck to keep him warm.
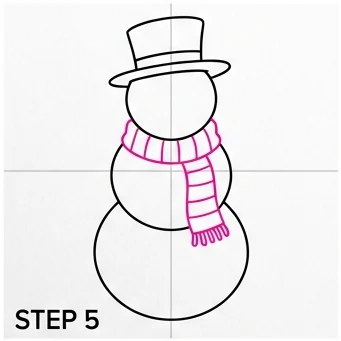
Draw a pointy carrot pointing out to the side for the nose, and two small round coal eyes above it.
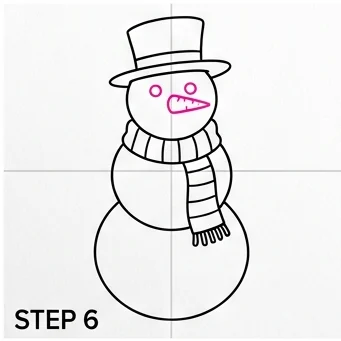
Draw a smiling mouth made of tiny coal dots. Then, draw two round buttons down the middle snowball.
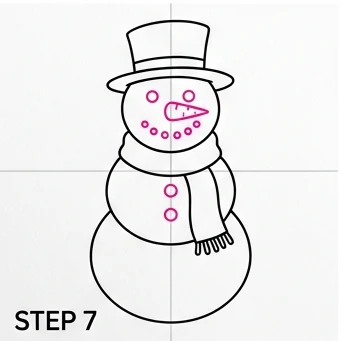
Draw two stick arms reaching outwards from the sides of the middle snowball, with little twig fingers at the ends.
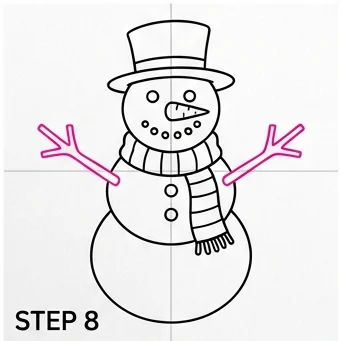
Keep the snowballs bright white with a hint of icy blue shadow. Color the hat black, the scarf red, the nose orange, and the stick arms brown.
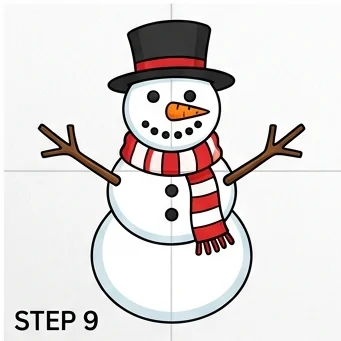
Stacking Circles: Make each snowball slightly smaller than the one below it for a classic, balanced snowman shape!
Icy Shadow: A light touch of pale blue on one side of each snowball makes the white snow look cold and three-dimensional.
Love drawing winter fun? Try these next!