How to Draw a Train: Easy Step-by-Step Drawing Tutorial for Kids
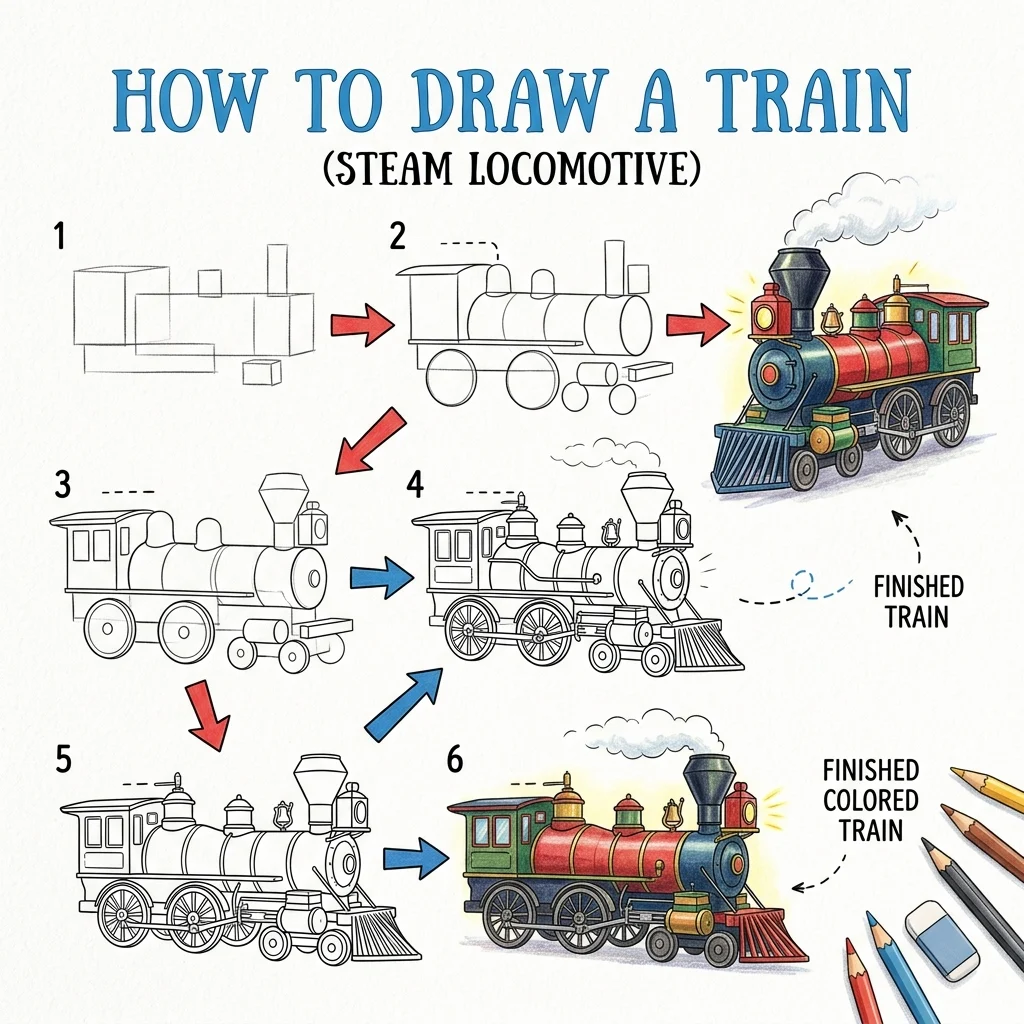
In this tutorial, we are going to learn how to draw a classic steam train engine using basic shapes in 9 simple, easy-to-follow steps.
Every new line is highlighted in pink so you never get lost. Choo choo, let’s get drawing!
Materials You’ll Need
Step-by-Step Easy Train Tutorial
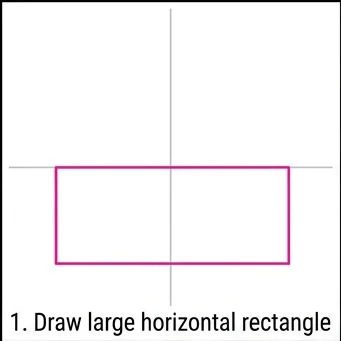
Start by drawing a large, long rectangle horizontally on your paper. This is the main boiler of the train engine.
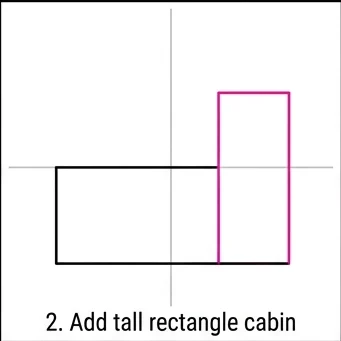
Draw a taller rectangle attached to the right side of the boiler. This is the cabin where the conductor sits.
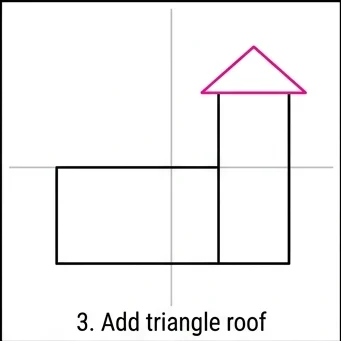
Draw a triangle right on top of the tall cabin to give the train a roof.
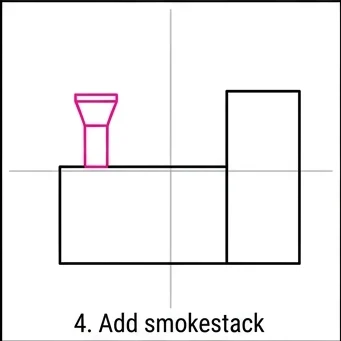
On the front (left) side of the boiler, draw a smokestack shape pointing up.
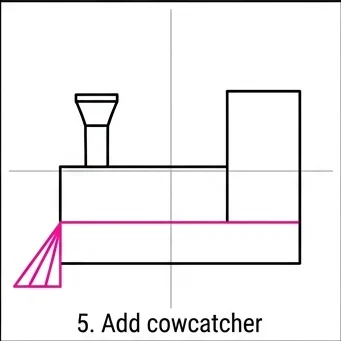
At the very front bottom edge of the boiler, draw a triangle shape with stripes. This is called a cowcatcher!
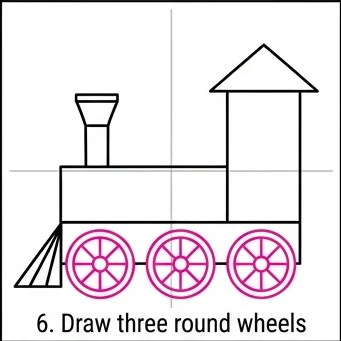
Draw three round wheels along the bottom of the train with spokes inside them. It’s okay if they overlap the bottom line of the boiler!
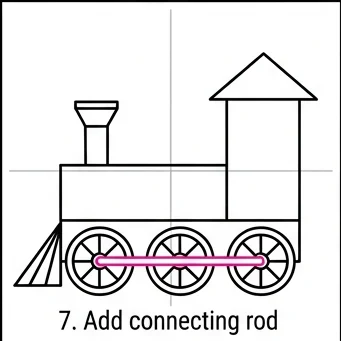
Draw a straight line right across the middle of the three wheels to connect them together.
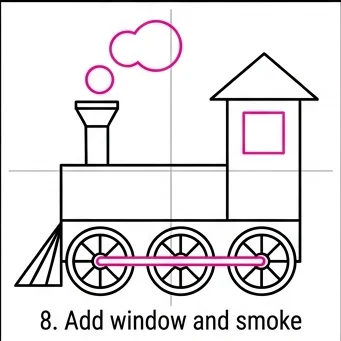
Draw a square window on the side of the cabin, and draw some puffy smoke clouds coming out of the smokestack.
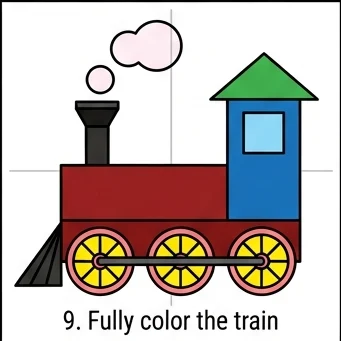
Color your train with bright, fun colors! Try making the boiler red, the cabin blue, the roof green, and the wheels yellow.
Straight Lines: Use a ruler for the boiler and cabin rectangles to give your train crisp, solid edges!
Puffy Smoke: Draw the smoke clouds getting bigger and puffier as they rise higher off the smokestack for a fun animated effect.
Love drawing fun objects? Try these next!