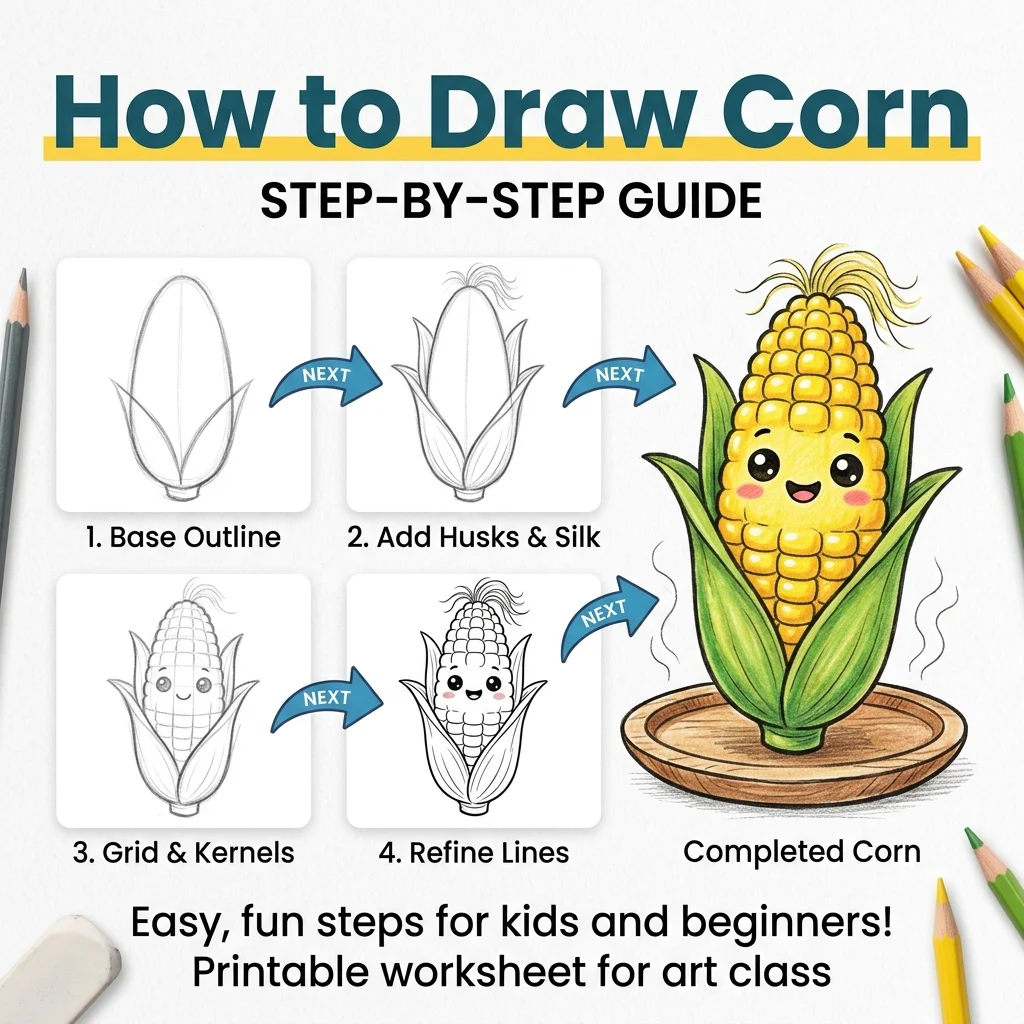
How to Draw Corn: Easy Step-by-Step Drawing Tutorial for Kids
Let’s draw a cute veggie! In this tutorial, we are going to learn how to draw a cute, kawaii-style corn on the cob in 9 simple, easy-to-follow steps.
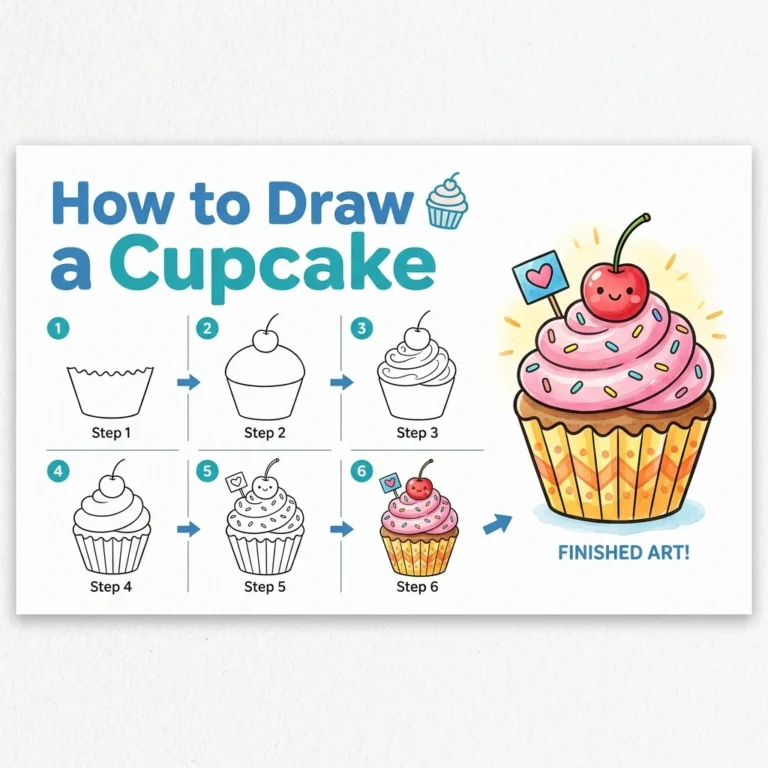
Every new line is highlighted in pink so you never get lost. Remember to let your shapes overlap without erasing! Once your veggies are done, treat yourself to something sweet with our Cupcake tutorial.
Materials You’ll Need
Step-by-Step Easy Corn Tutorial
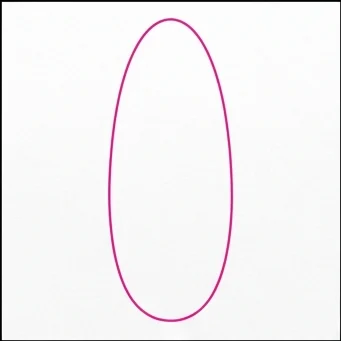
Start by drawing a tall oval shape right in the middle of your page. Make the top a little pointier than the bottom.
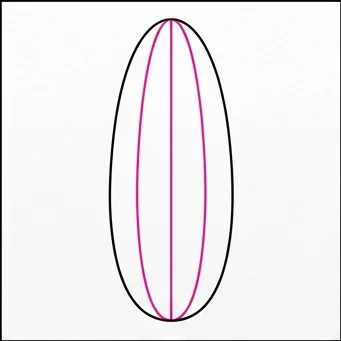
Draw three long lines running straight down the middle of the cob, curving slightly with the shape of the oval.
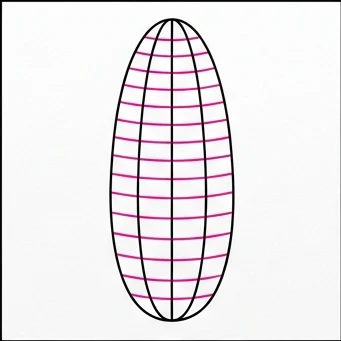
Draw many small horizontal lines crossing the vertical lines all the way down. Look at that perfect grid of corn kernels!
Draw a big, pointy leaf shape attached to the bottom left side of the cob. Don’t erase the cob line underneath it!
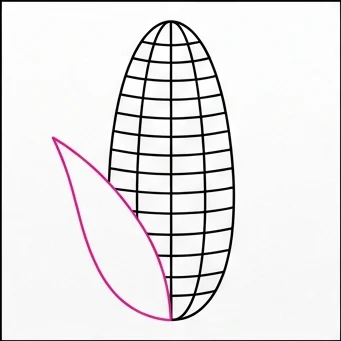
Draw another pointy leaf on the bottom right side to wrap the corn up nicely in its husk.
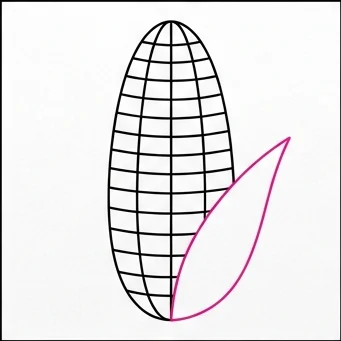
Draw a straight line down the middle of each leaf, and add little v-shaped veins pointing upwards.
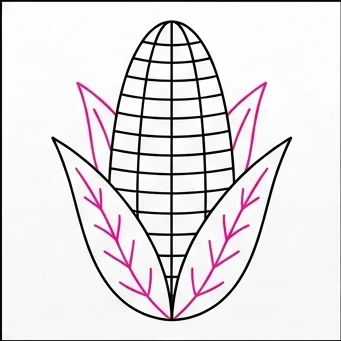
Draw a small rectangle at the very bottom where the two leaves meet. This is the stalk!
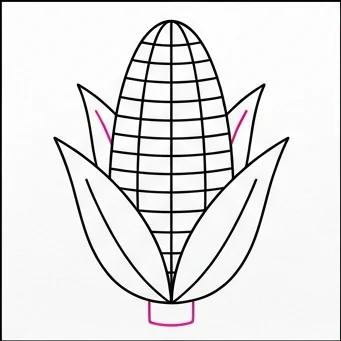
Draw two cute circle eyes and a small smiling mouth right in the middle of the kernels.
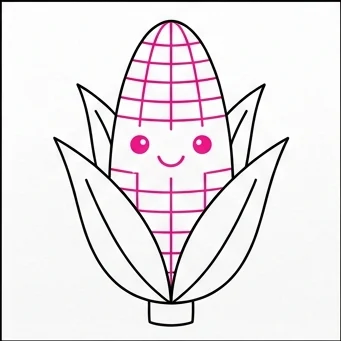
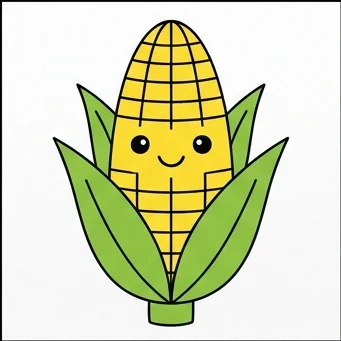
Color the kernels bright yellow and the husks a nice leafy green.
Kernel Grid: Keep the horizontal lines evenly spaced across the vertical lines for a neat, realistic kernel pattern!
Husk Wrap: Let the two leaves overlap the bottom of the cob slightly, just like a real corn husk wrapping around the cob.
Love drawing cute food? Try these next!