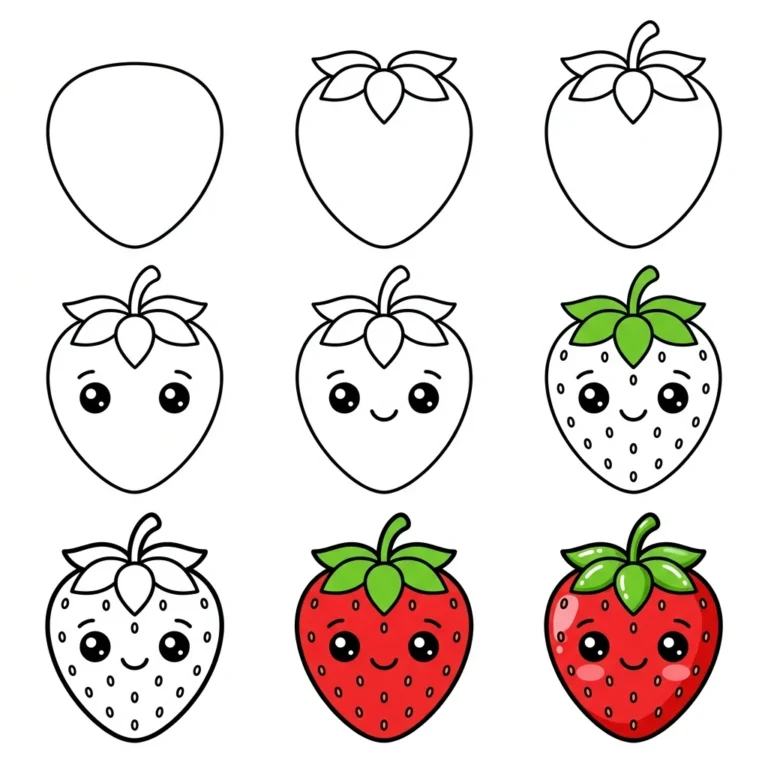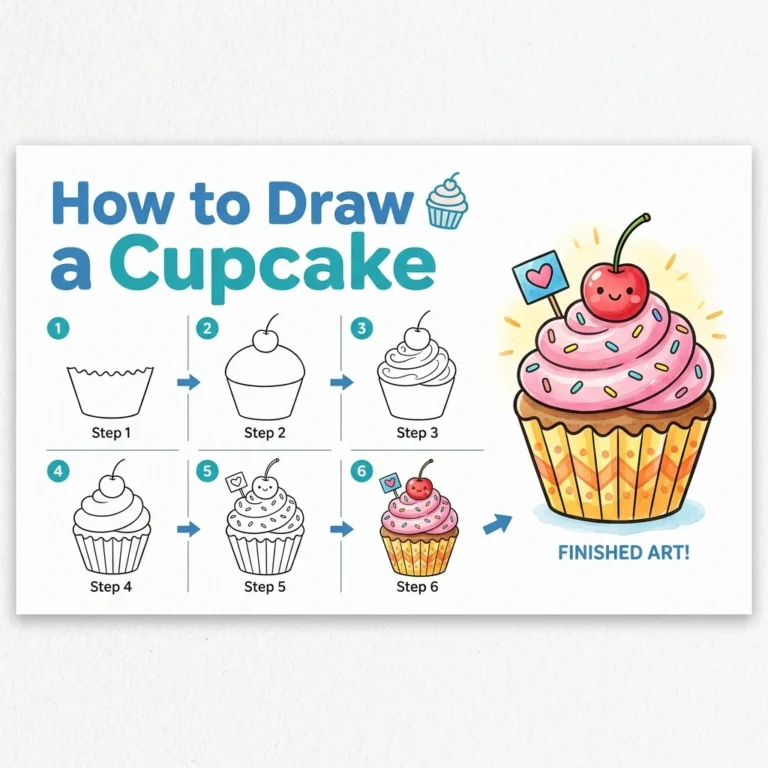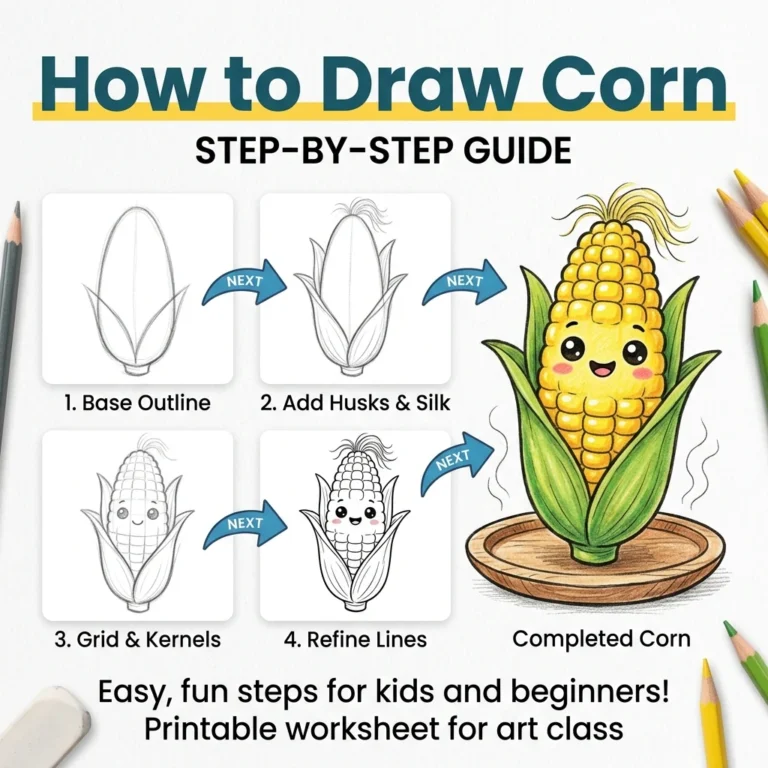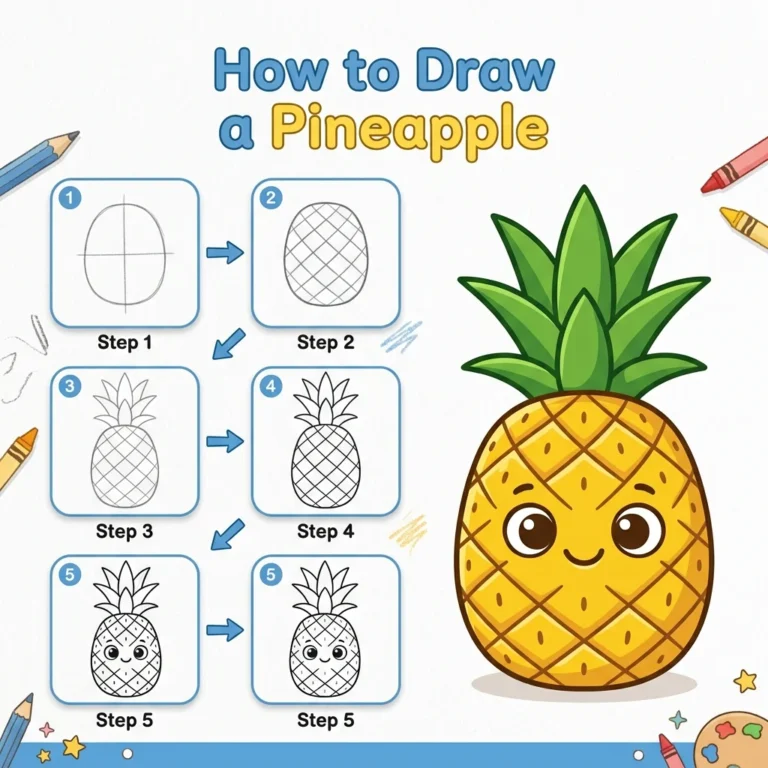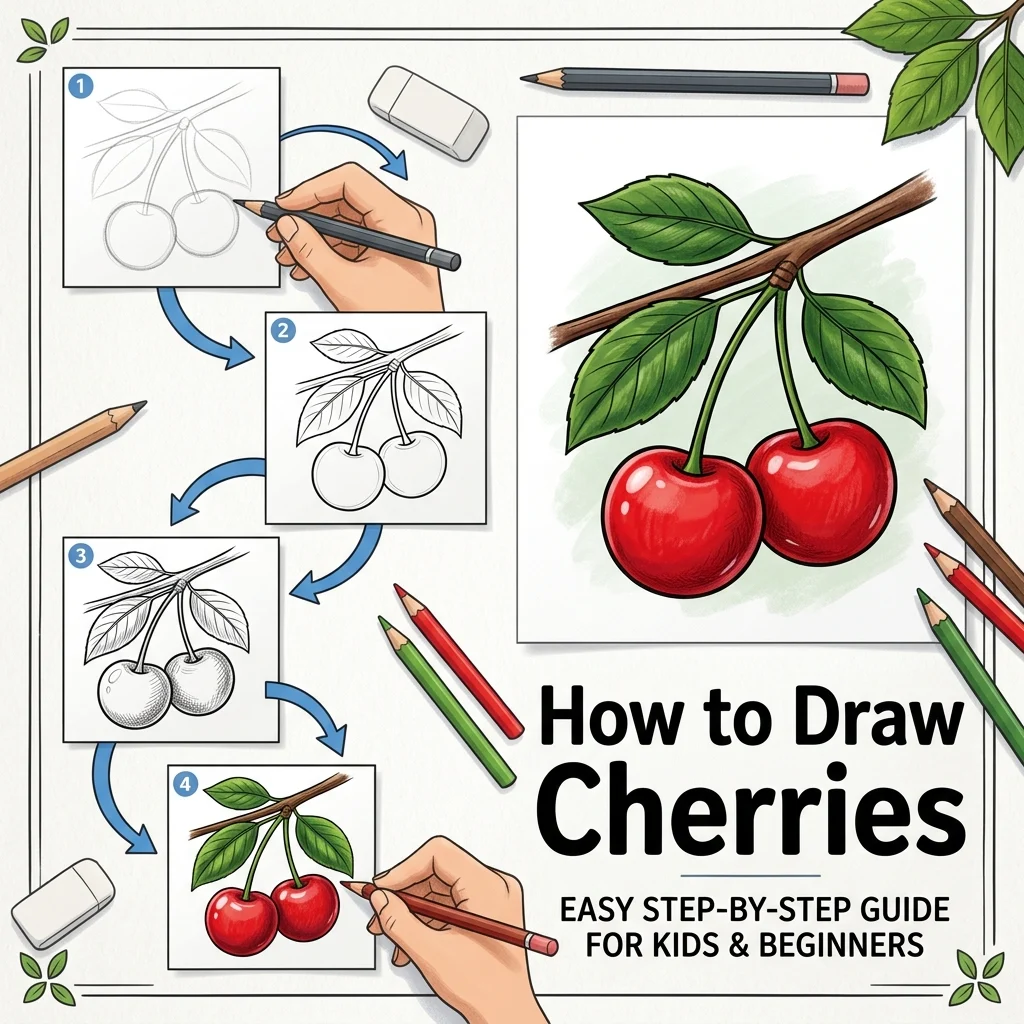
How to Draw Cherries: Easy Step-by-Step Drawing Tutorial for Kids
Let’s draw something sweet! In this tutorial, we are going to learn how to draw a sweet pair of cherries in 9 simple, easy-to-follow steps.
Every new line is highlighted in pink so you never get lost. Notice how we use overlapping shapes to build the cherries!
Materials You’ll Need
Step-by-Step Easy Cherries Tutorial
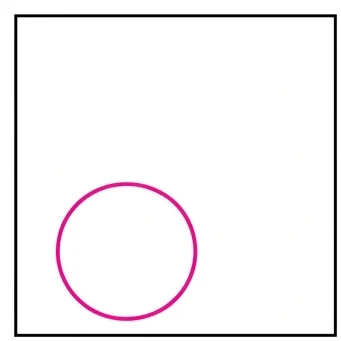
Start by drawing a large circle on the left side of your paper. This is our first cherry!
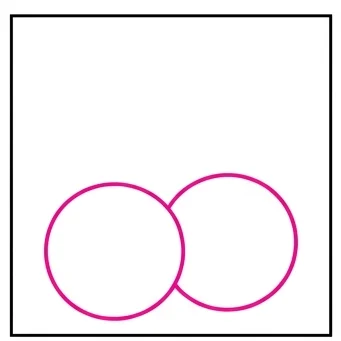
Draw a second large circle right next to the first one. Let it overlap slightly, but don’t erase the first circle!
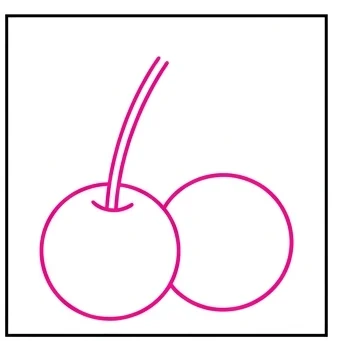
Draw a long, curving line (or two parallel lines) going up from the top of the left cherry.
Draw another curving stem going up from the right cherry so that it meets the first stem at the top.
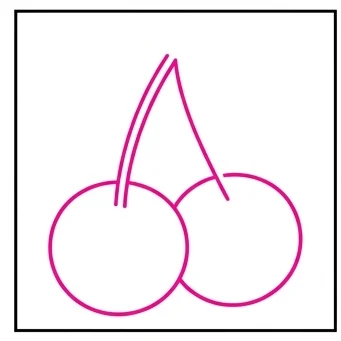
Draw a tiny rectangle right where the two stems meet at the very top. This is the knot that holds them together!
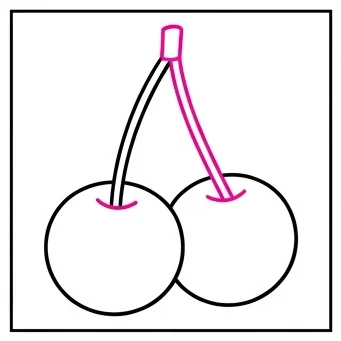
Draw a large, pointy leaf sticking out to the right from the top knot.
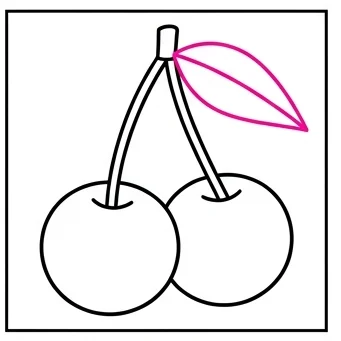
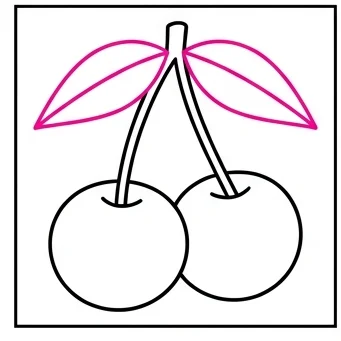
Draw a second pointy leaf sticking out to the left side.
Draw a small, curved highlight shape near the top edge of each cherry to make them look round and shiny.
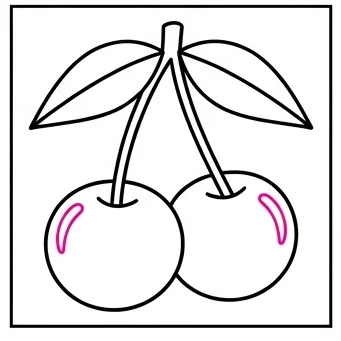
Color your cherries bright red, the stems dark green, and the leaves bright green. Leave the shiny highlight white.
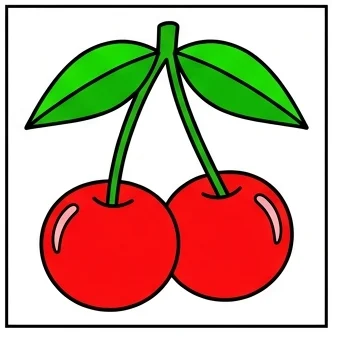
Shiny Highlights: Leaving a small white curved highlight unshaded on each cherry instantly makes them look round and glossy!
Matching Leaves: Draw the two leaves as mirror images of each other for a neat, balanced look.
Love drawing cute food? Try these next!