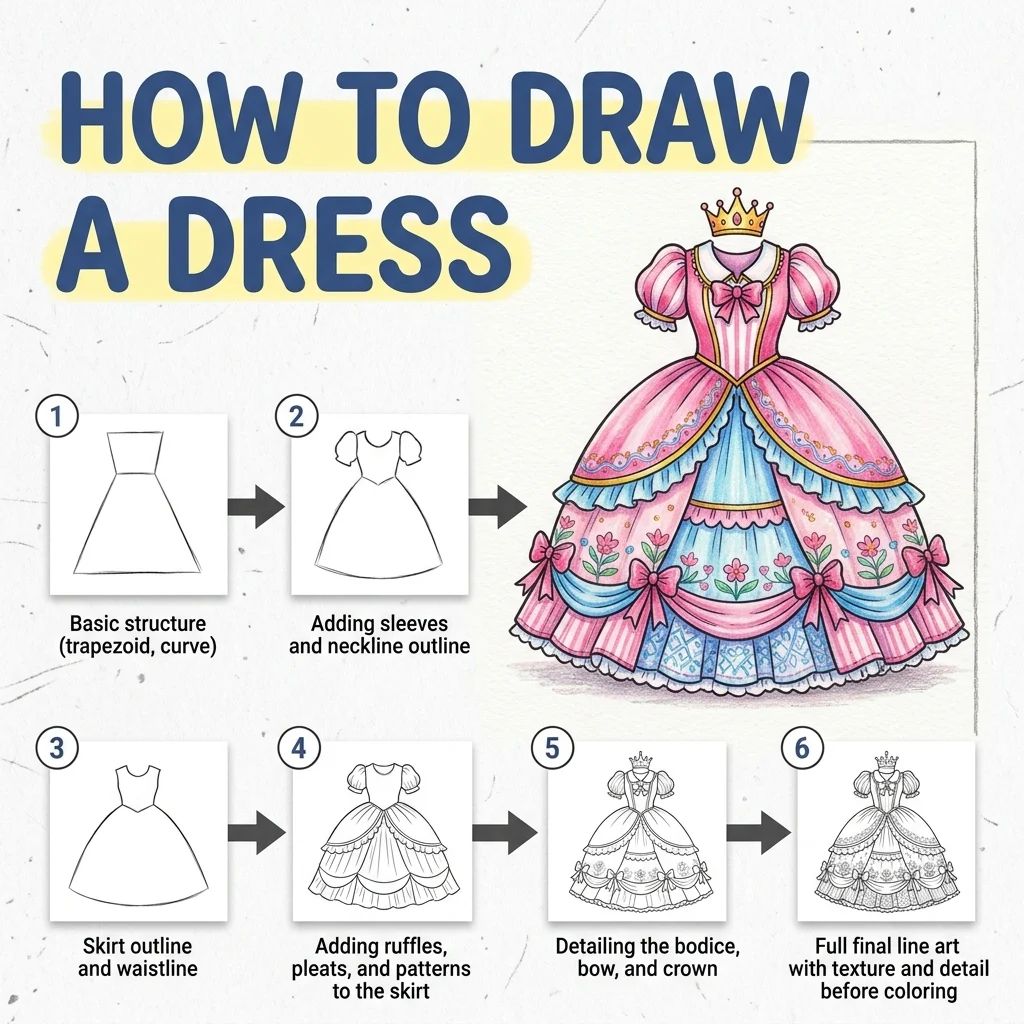
How to Draw a Princess Dress: Easy Step-by-Step Drawing Tutorial for Kids
Let’s draw something elegant! In this tutorial, we are going to learn how to draw a beautiful, flowing princess dress with a big skirt and bow in 9 simple, easy-to-follow steps.
Every new line is highlighted in pink so you never get lost. Notice how we use a piece-by-piece drawing method so there are no messy lines crossing through the middle of our dress! For something just as colorful and eye-catching, check out our Parrot tutorial.
Materials You’ll Need
Step-by-Step Easy Princess Dress Tutorial
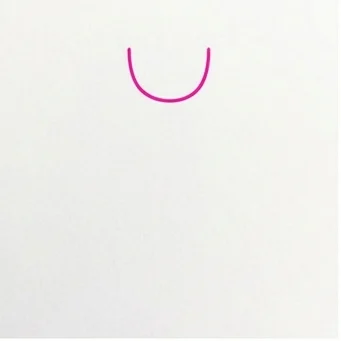
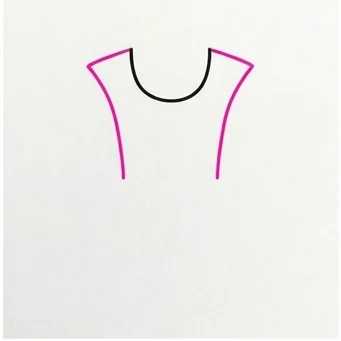
Start by drawing a simple U-shape near the top of your page to form the neckline of the dress.
Draw two short lines sloping down and outwards for the shoulders, and two lines straight down for the sides of the bodice.
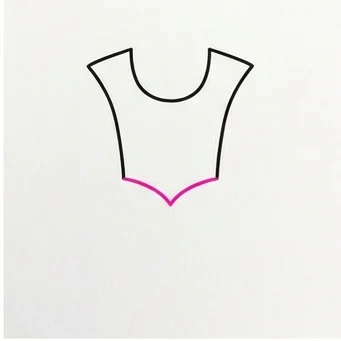
Connect the bottom of the bodice with a curved, downward-pointing line to create a pretty, fitted waistline.
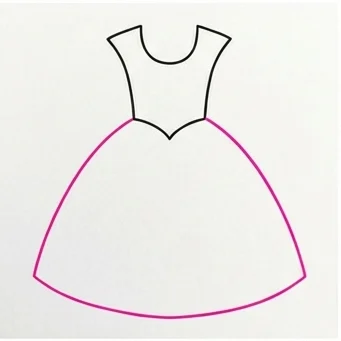
Draw two large sweeping lines curving out and down from the waist to form the big bell-shaped skirt.
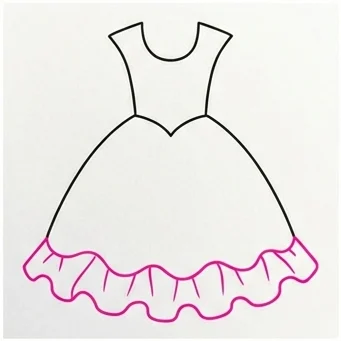
Connect the bottom edges of the skirt with a long, wavy line to show the pretty ruffles at the hem.
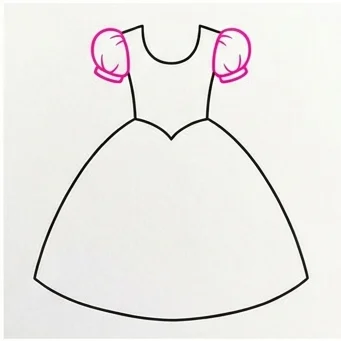
Draw two short, round, puffy sleeves attached to the tops of the shoulders.
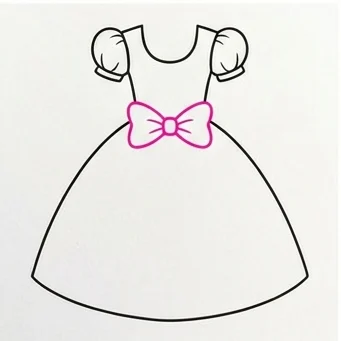
Draw a beautiful bow sitting perfectly centered on the waistline.
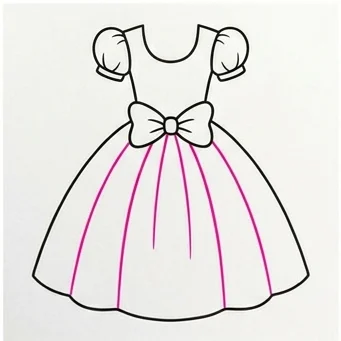
Draw several vertical lines dropping down from the waist to add folds and volume to the fabric.
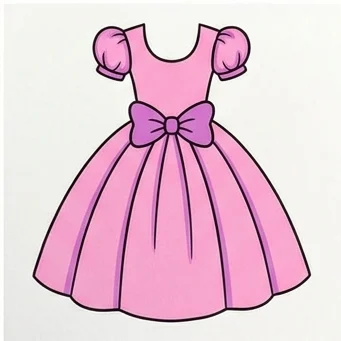
Color your beautiful dress pink and purple, or choose your own favorite colors!
Bell Shape: Make the skirt lines sweep out wide before curving back in for that classic princess silhouette!
Fold Lines: Space the vertical fold lines unevenly rather than perfectly straight for a more flowing, fabric-like look.
Love drawing fun characters and items? Try these next!