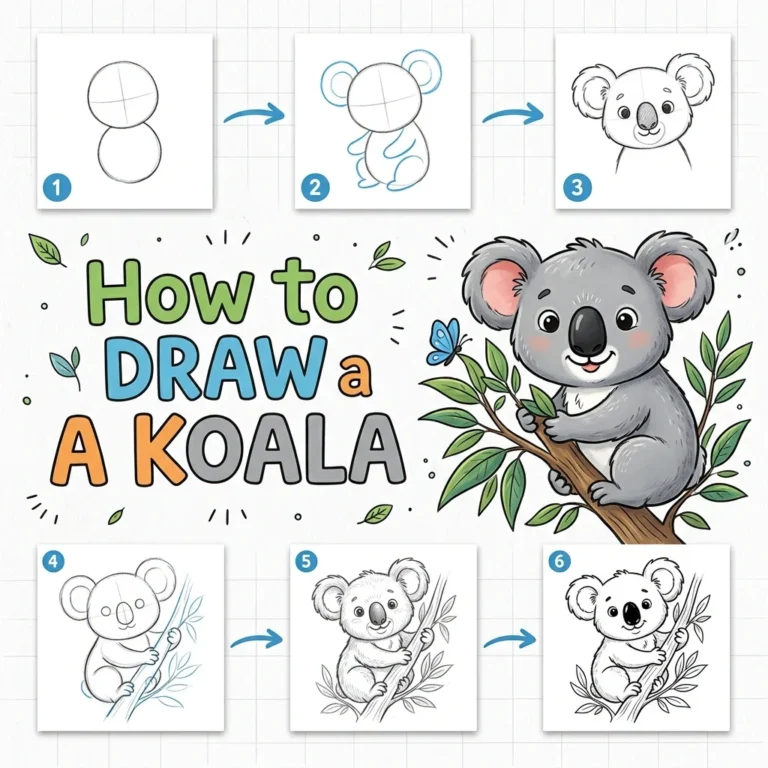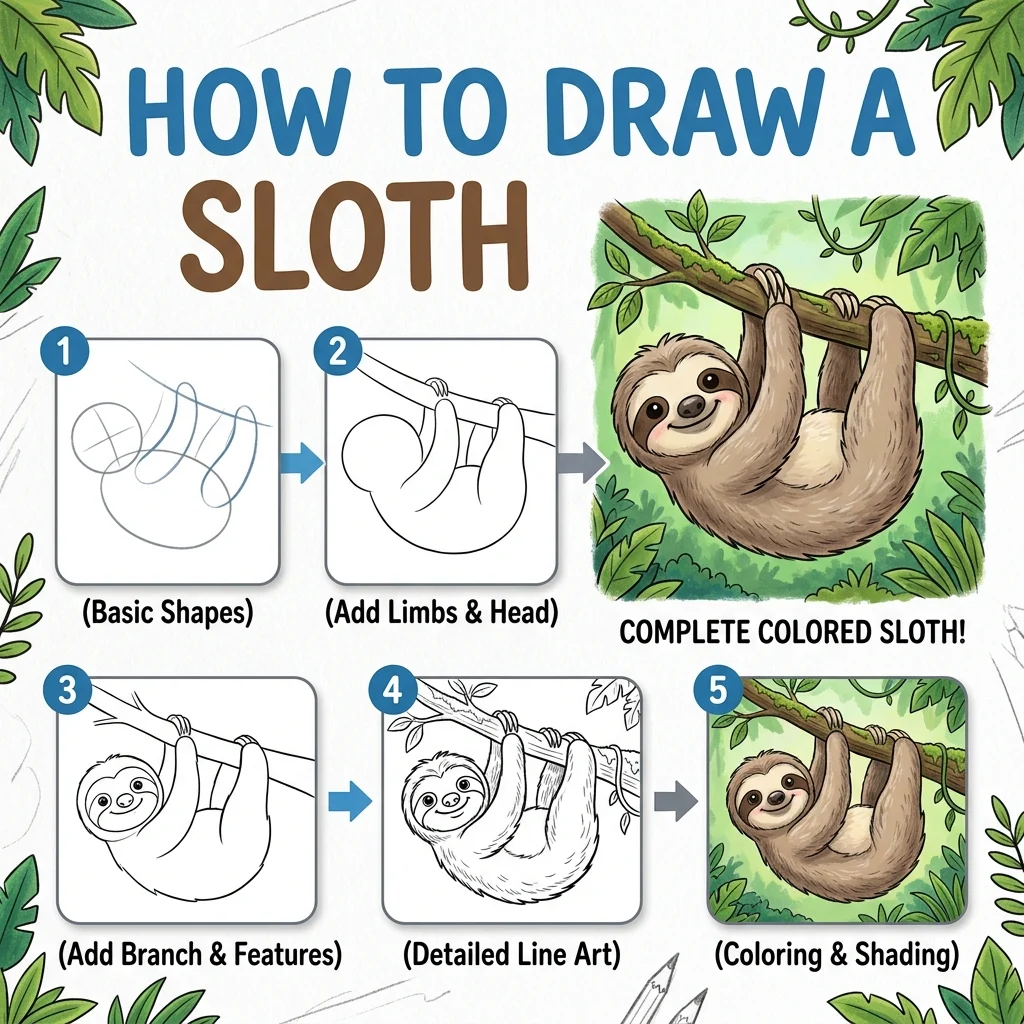
How to Draw a Sloth: Easy Step-by-Step Drawing Tutorial for Kids
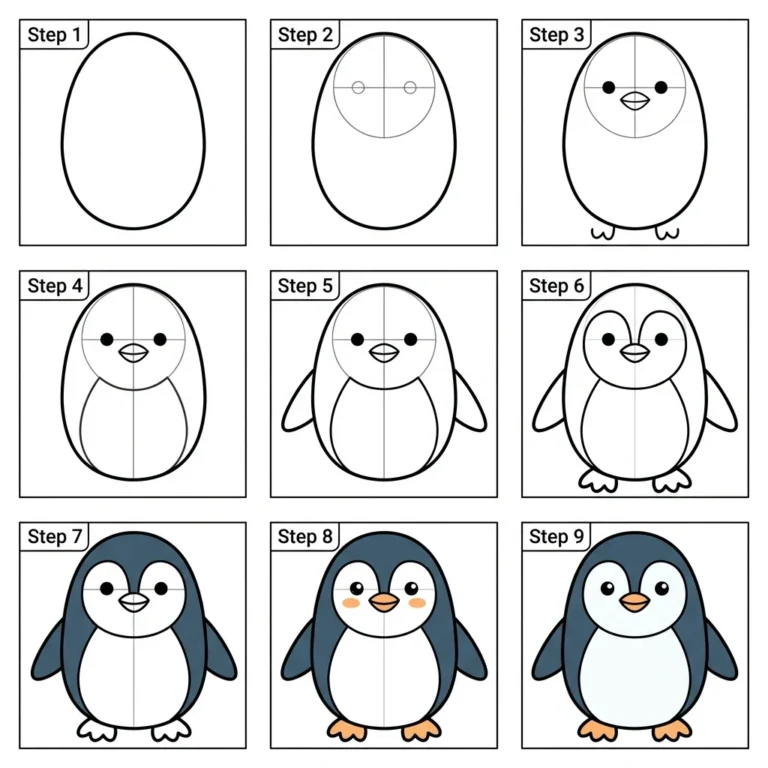
Let’s draw one of the world’s sleepiest animals! In this tutorial, we are going to learn how to draw a cute sloth hanging from a branch step-by-step in 9 simple, easy-to-follow steps.
Notice how we draw the sloth by adding pieces onto the face and body, so you never have to erase any messy construction shapes!
Materials You’ll Need
Step-by-Step Easy Sloth Tutorial
Start by drawing a large oval for the sloth’s round face.
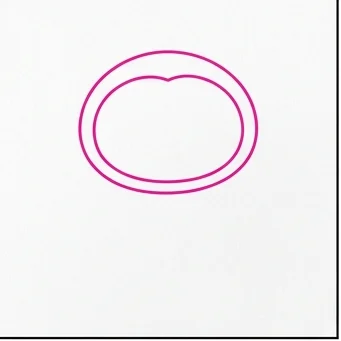
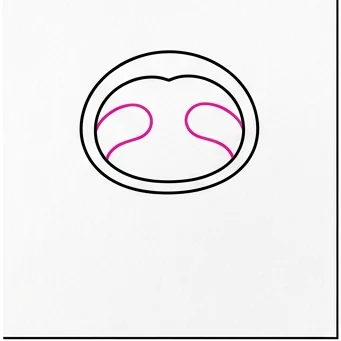
Draw two smaller ovals inside the face for the sloth’s distinctive dark eye patches.
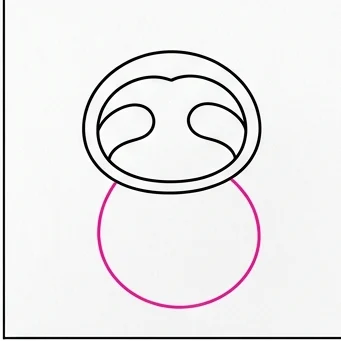
Draw a large, round body hanging directly below the face.
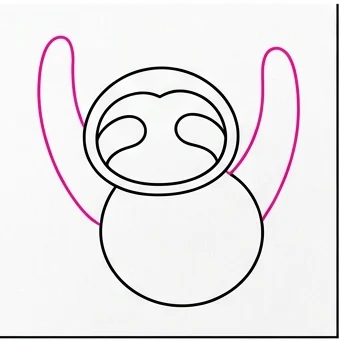
Draw two long, curved arms stretching upwards from the body — ready to grab a branch!
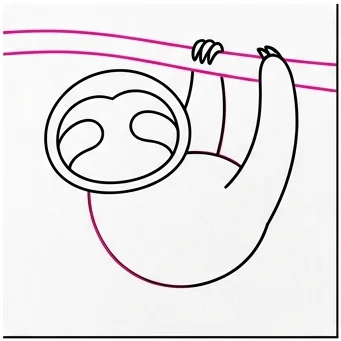
Draw a thick, straight tree branch running horizontally across the top, with the sloth’s hands gripping it tightly.
Draw two short, dangling legs hanging from the bottom of the body. Sloths like to just hang around!
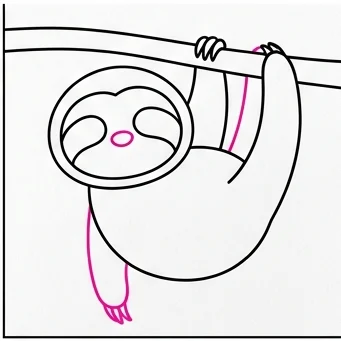
Draw three curved claws at the end of each hand gripping the branch.
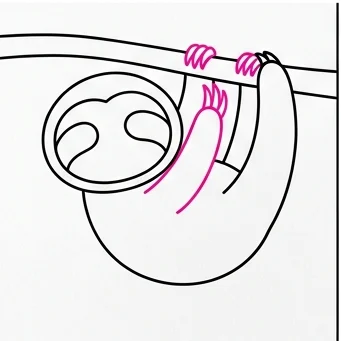
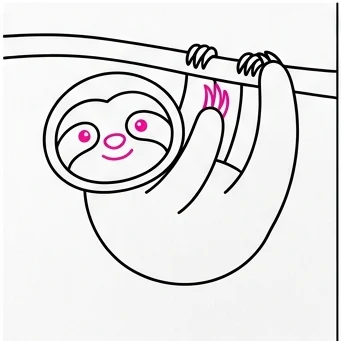
Draw small dot eyes inside the eye patches, a little oval nose, and a cute curved smile!
Color your sloth light brown with a tan belly and a darker brown face mask. Don’t forget the brown branch! Excellent work!
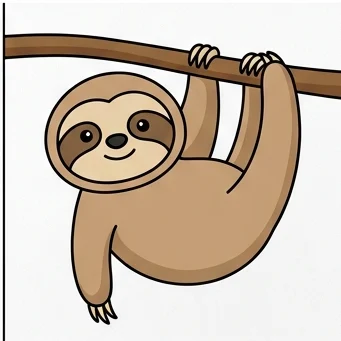
Hanging Pose: Keep the arms curved and the branch perfectly horizontal — this is what makes the sloth look like it’s really hanging in place.
Face Mask: The darker eye patches are what make a sloth instantly recognizable, so don’t skip them even though they’re small.
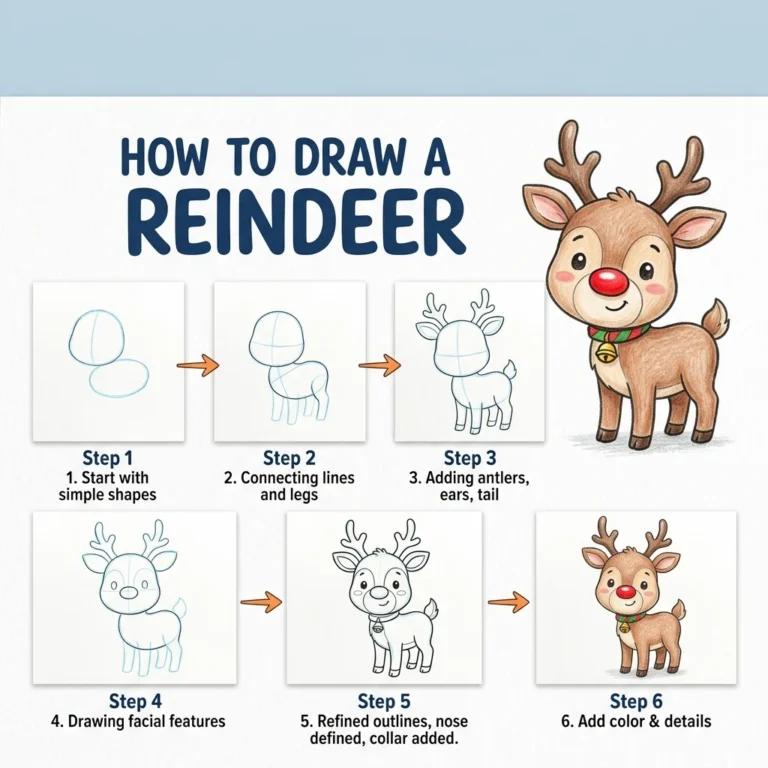
Love drawing cute animals? Try these next!