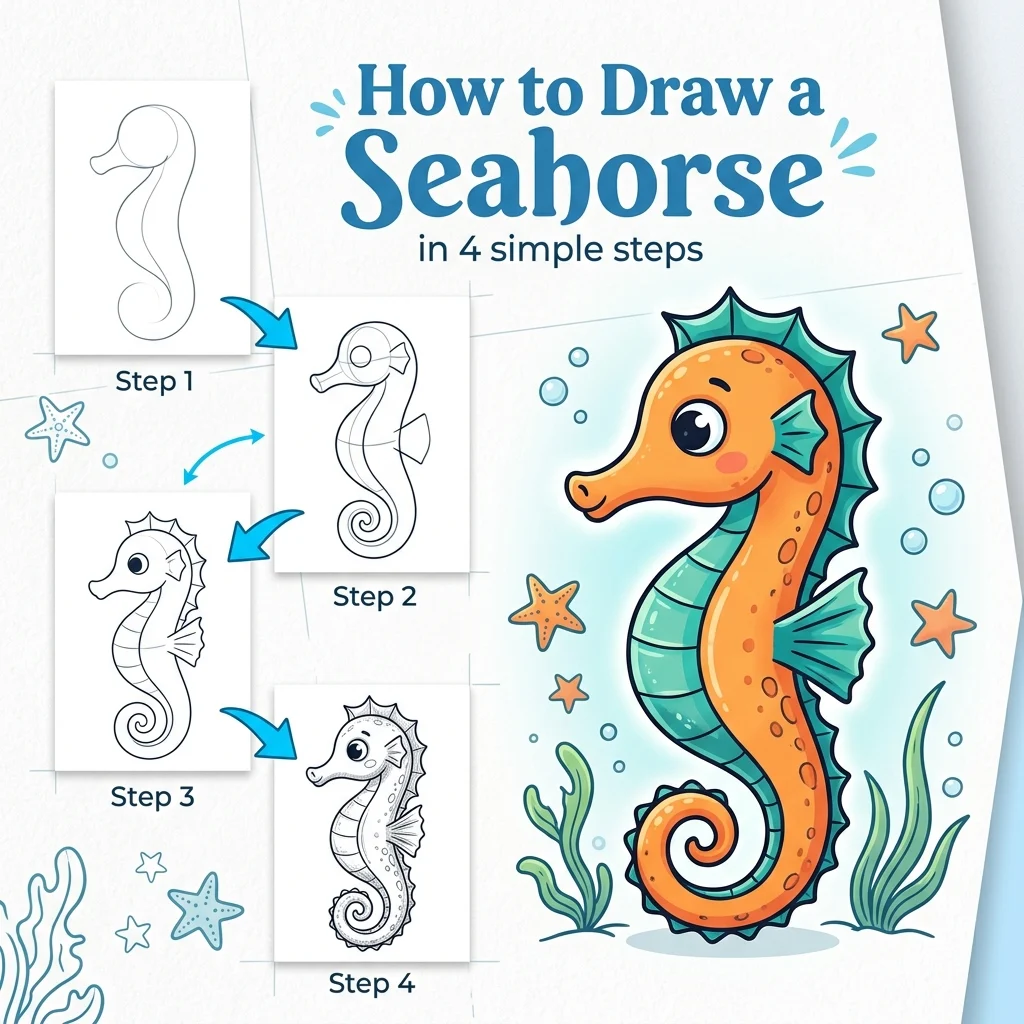
How to Draw a Seahorse: Easy Step-by-Step Drawing Tutorial for Kids
Let’s draw one of the ocean’s curliest creatures! In this tutorial, we are going to learn how to draw an adorable seahorse step-by-step in 9 simple, easy-to-follow steps.
Notice how we draw the seahorse piece by piece along the outside edges, so you never have to erase any messy shapes!
Materials You’ll Need
Step-by-Step Easy Seahorse Tutorial
Start by drawing a curved line for the top of the head that dips down to create a tiny tube snout.
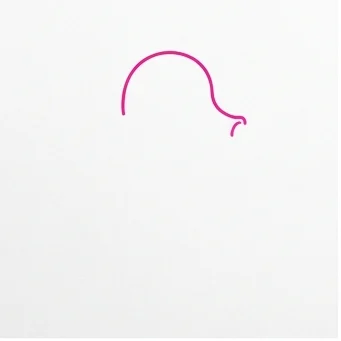
Draw a curved line under the snout, then drop it straight down to form the front of the slender neck.
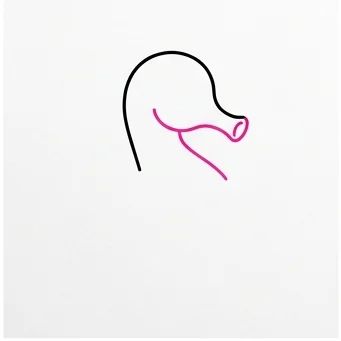
Draw a big, round curved line looping outwards and downwards from the neck to form the belly.
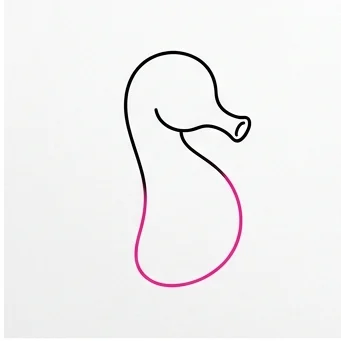
Draw a long line sweeping down from the belly, looping around to curl up in a tight spiral tail.
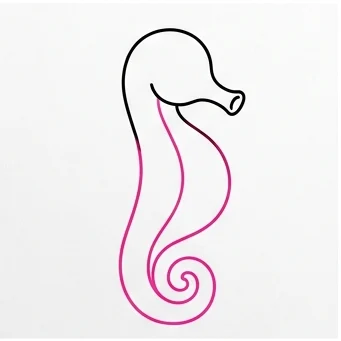
Draw a long line starting from the back of the head, tracing all the way down the back, and connecting to the inner curl of the tail.
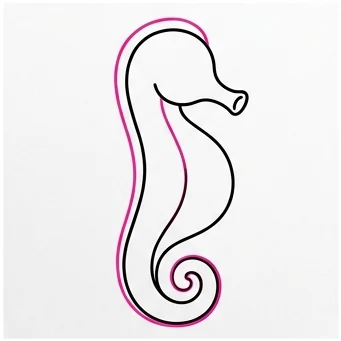
Draw a small, delicate spiky fin sticking straight out from the middle of the back.
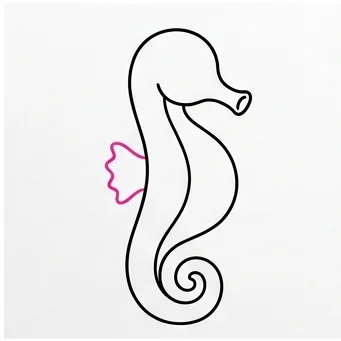
Draw a row of small triangle spikes along the back of the head and all the way down the spine.
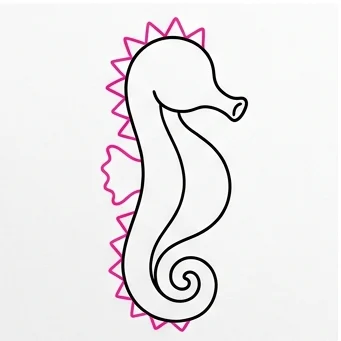
Draw a small dot eye, a tiny smile, and horizontal stripe lines curving across the round belly.
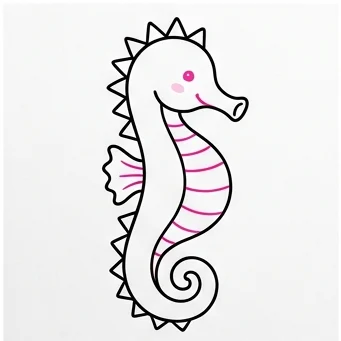
Color your seahorse bright yellow and orange! Great job!
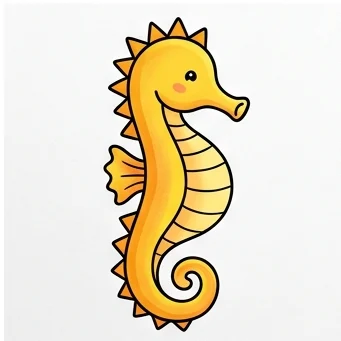
Spiral Tail: Draw the tail curl slowly in one continuous motion — rushing it is the easiest way to end up with a wobbly spiral.
Tiny Spikes: Keep the spine spikes small and evenly spaced; too big and they’ll overpower the seahorse’s delicate shape.
Love drawing cute animals? Try these next!