How to Draw an Easy Car: Easy Step-by-Step Drawing Tutorial for Kids
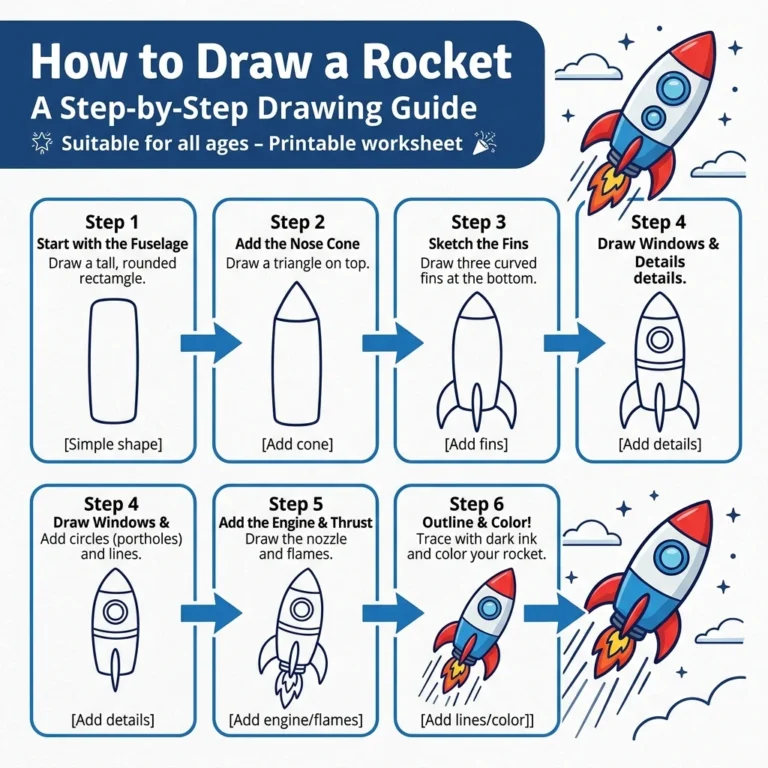
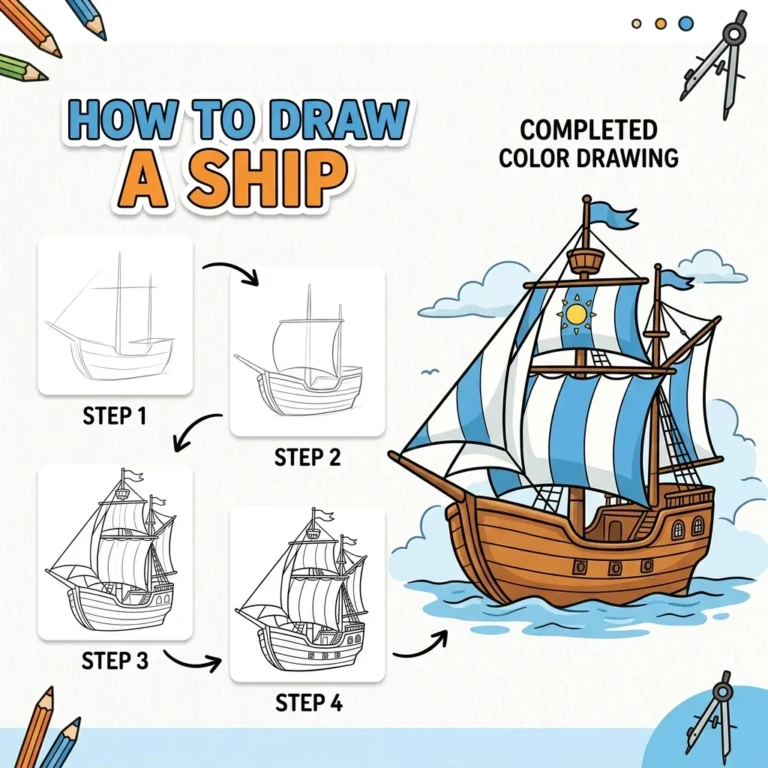
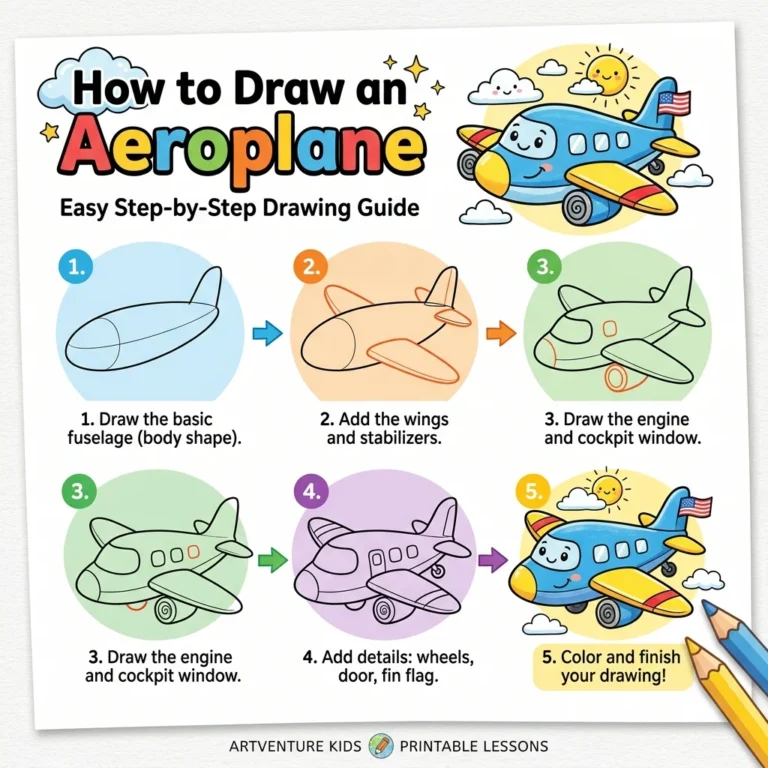
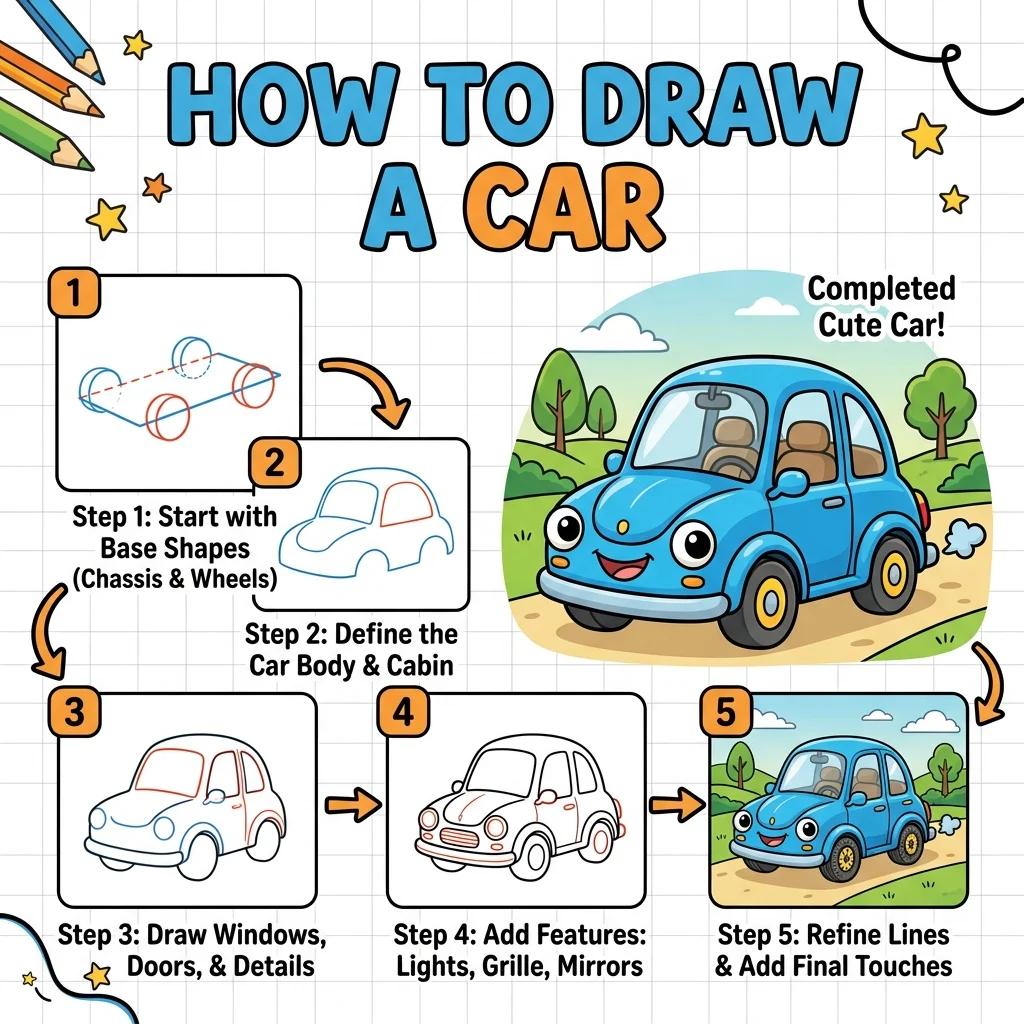
Let’s draw something that drives down the road! In this tutorial, we are going to learn how to draw an easy, cute cartoon Car step-by-step in 9 simple, easy-to-follow steps.
Notice how we use simple rectangles for the body and circles for the wheels!
Materials You’ll Need
Step-by-Step Easy Car Tutorial
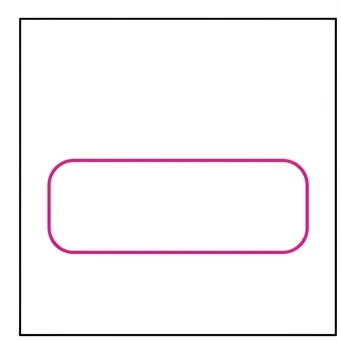
Start by drawing a large rectangle with rounded corners for the bottom half of the car.
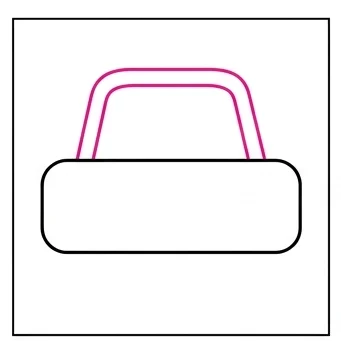
Draw a smaller rectangle with angled sides resting right on top for the car’s roof and windows.
Draw two large circles touching the bottom rectangle for the tires.
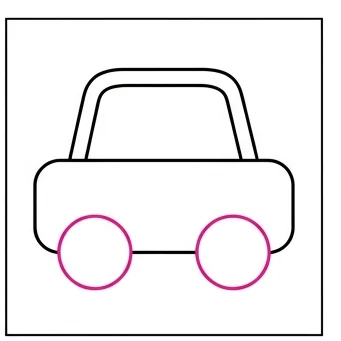
Draw two smaller circles inside the wheels for the hubcaps.
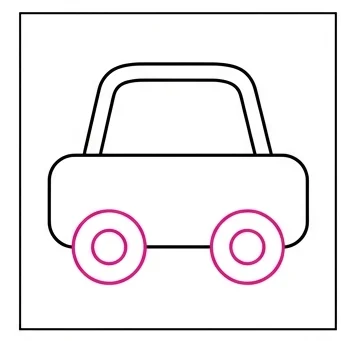
Draw a vertical line down the middle of the top roof rectangle to split it into two windows.
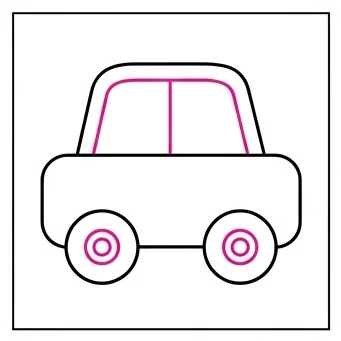
Draw a small rectangle at the front for the headlight, and another at the back for the taillight.
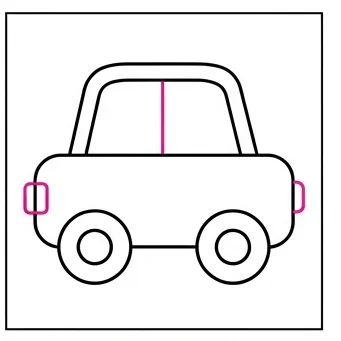
Draw a curved line above each wheel inside the body to create the wheel wells.
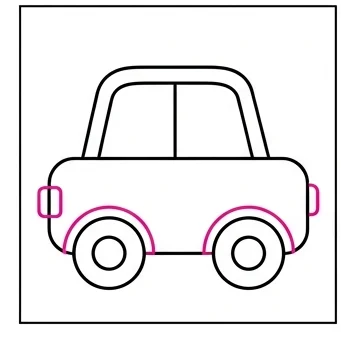
Draw a small door handle on the side of the car, and fill in the tires black.
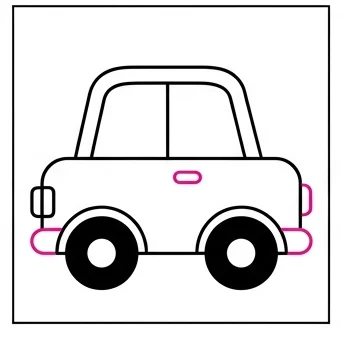
Color the car body bright red, the windows light blue, and make sure the tires are black with grey hubcaps!
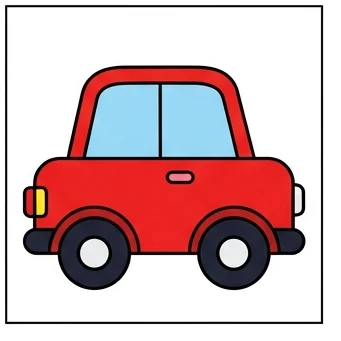
Rounded Corners: Slightly rounding the body rectangle corners makes the car look friendlier and more cartoon-like.
Matching Wheels: Draw one wheel and hubcap first, then copy the size exactly for the second wheel.
Love drawing vehicles? Try these next!