How to Draw an Otter: Easy Step-by-Step Drawing Tutorial for Kids
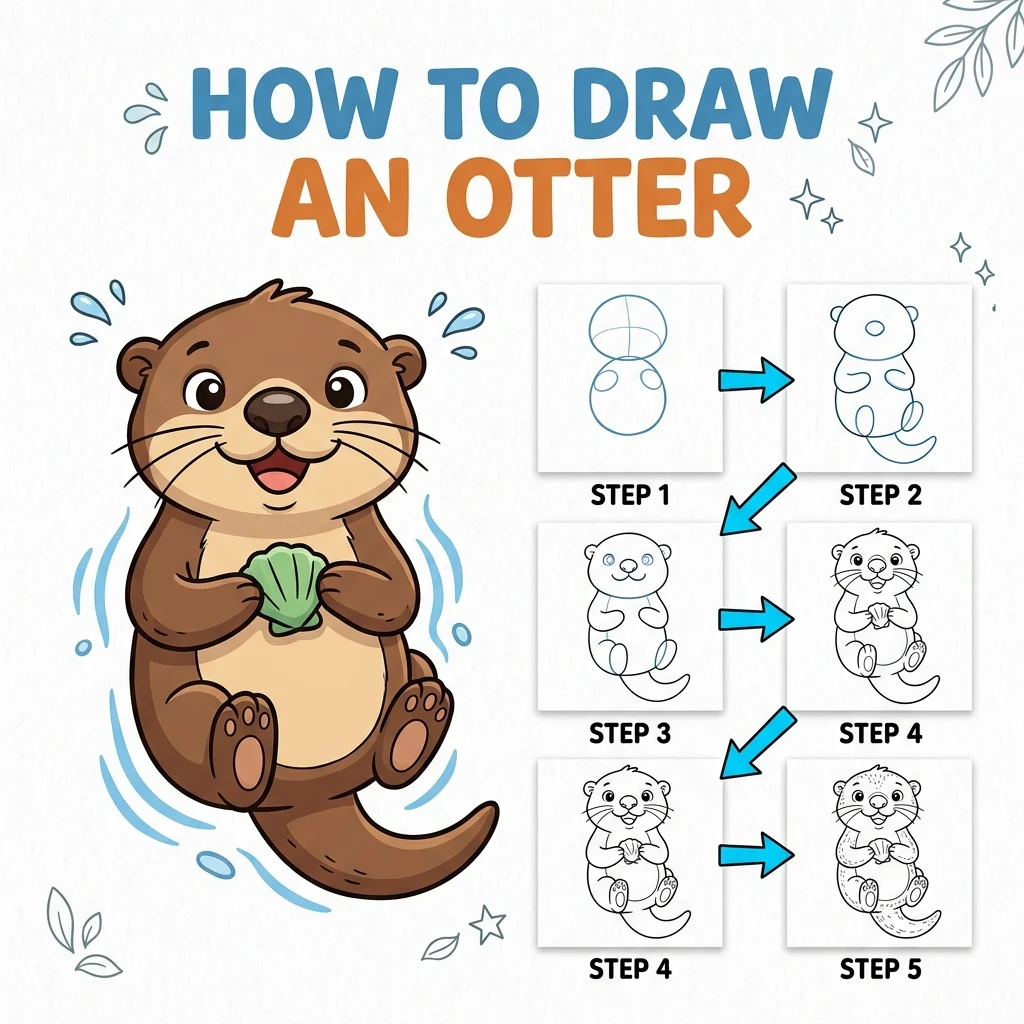
In this tutorial, we are going to learn how to draw an adorable swimming otter in 9 simple, easy-to-follow steps.
Every new line is highlighted in pink so you never get lost. Notice how we use overlapping shapes to build the otter’s body! For another laid-back critter, our Sloth tutorial is just as relaxed and cute.
Materials You’ll Need
Step-by-Step Easy Otter Tutorial
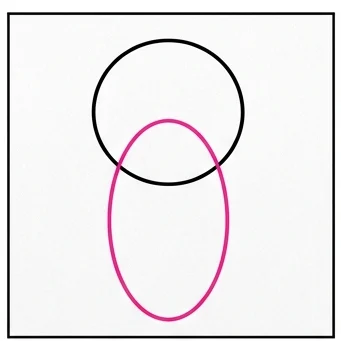
Start by drawing a medium-sized circle near the top of your paper for the otter’s head.
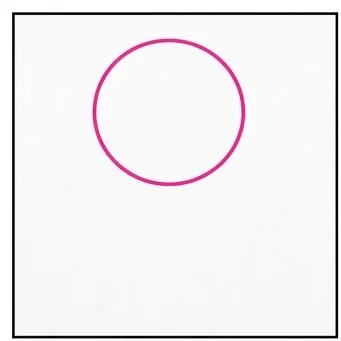
Draw a long oval attached to the bottom of the head for the otter’s sleek body. Let the head overlap the body!
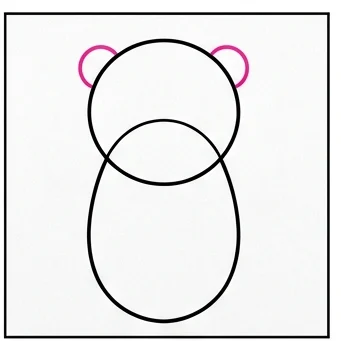
Draw two small half-circles right on top of the head for the little otter ears.
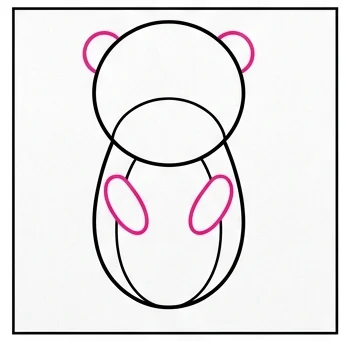
Draw two small ovals tucked inside the body on the left and right sides. These are the front paws.
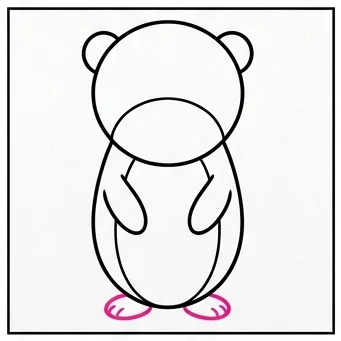
Draw two small paws at the very bottom edge of the body. Notice how the body line cuts through them.
Draw a thick, curvy tail swooshing out from the bottom right side of the body.
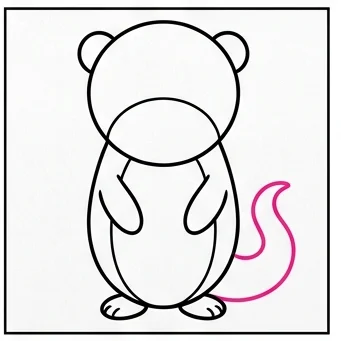
Draw a wide oval inside the lower part of the head, and add a small curved nose in the middle.
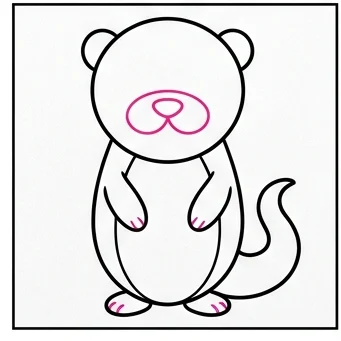
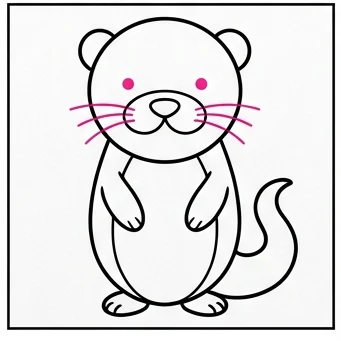
Draw two small dot eyes above the snout, and add three long whiskers sticking out of each side of the snout.
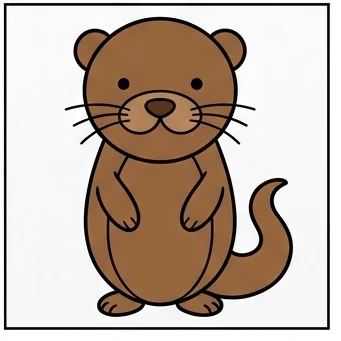
They are usually a dark, warm brown with a lighter tan belly and face.
Sleek Body: Keep the body oval long and narrow rather than round — that streamlined shape is what makes otters such great swimmers!
Whisker Detail: Long, thin whiskers on both sides of the snout add a lot of charm and realism to your otter.
Love drawing animals? Try these next!