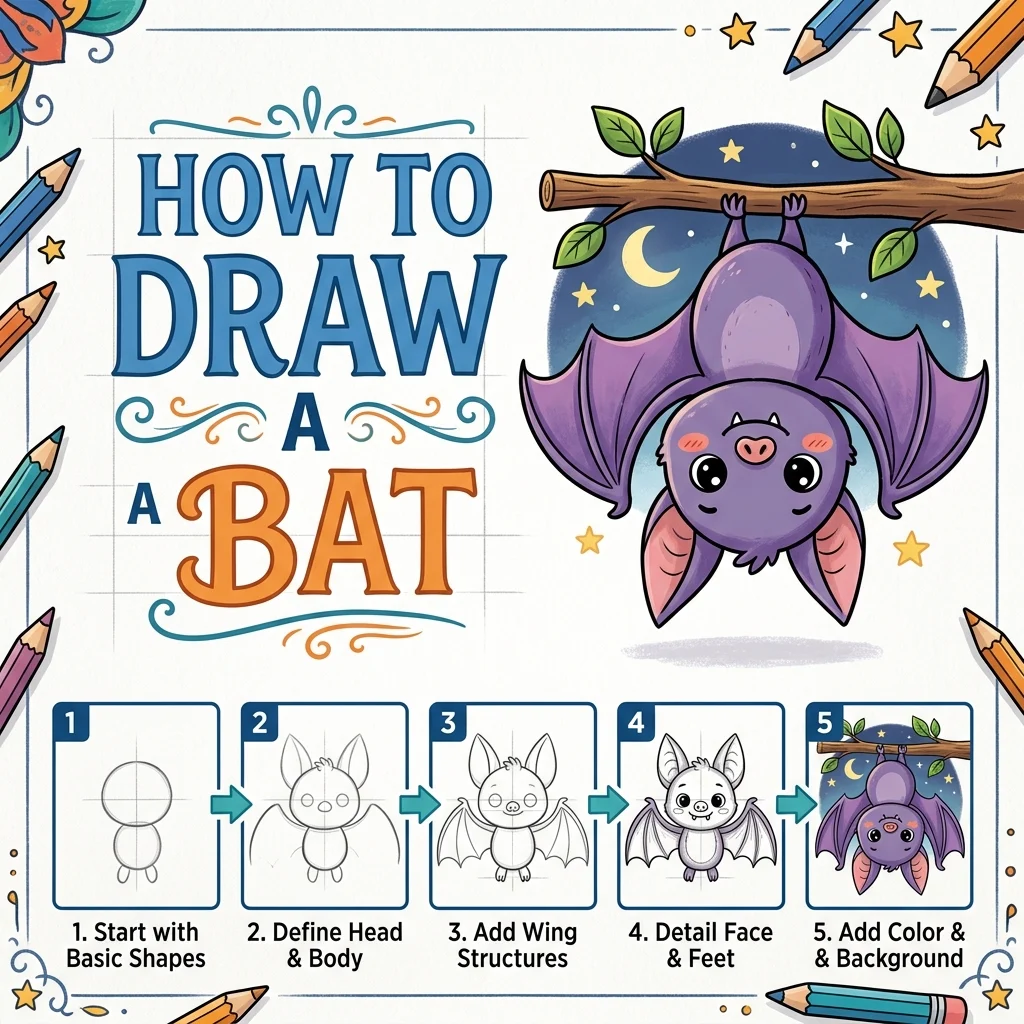
How to Draw a Bat: Easy Step-by-Step Drawing Tutorial for Kids
Let’s draw something spooky-cute! In this tutorial, we are going to learn how to draw an adorable bat in 9 simple, easy-to-follow steps.
Every new line is highlighted in pink so you never get lost. Notice how we use overlapping shapes to build the bat’s body! For another creature with a spooky reputation (that’s actually quite friendly), try our Snake tutorial.
Materials You’ll Need
Step-by-Step Easy Bat Tutorial
Start by drawing a medium-sized circle right in the upper middle of your paper. This is the bat’s head.
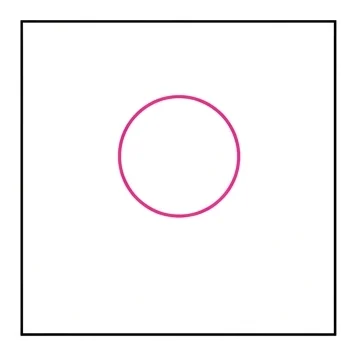
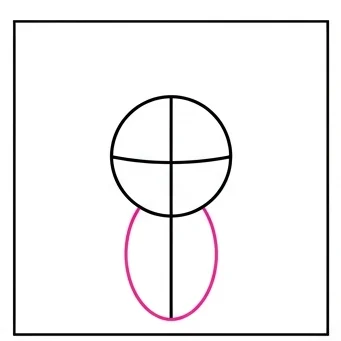
Draw an oval attached below the head. You can also draw a straight line down the middle of both shapes to help keep things centered!
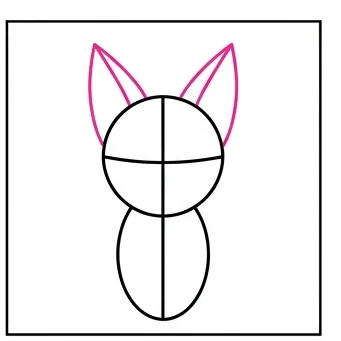
Draw two large, pointy triangles sticking up from the top of the head for his ears.
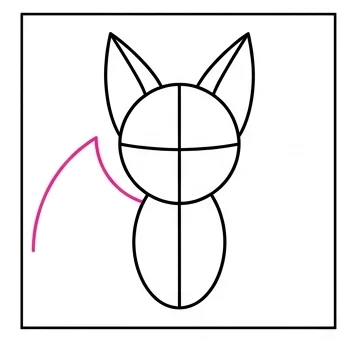
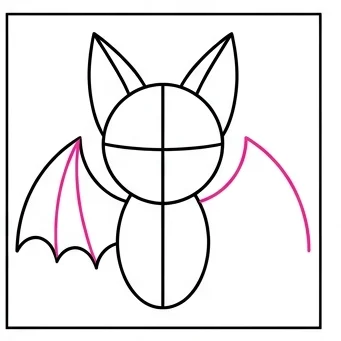
Draw a single long line curving outwards and downwards from the left side of the neck. This is the top edge of the wing.
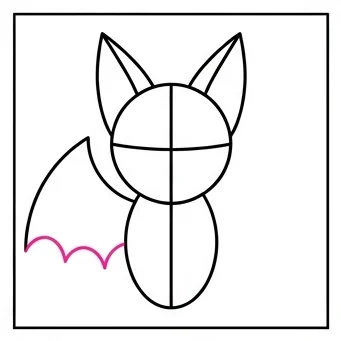
Draw scalloped, bumpy curves connecting the end of the wing back to the bottom of the body oval.
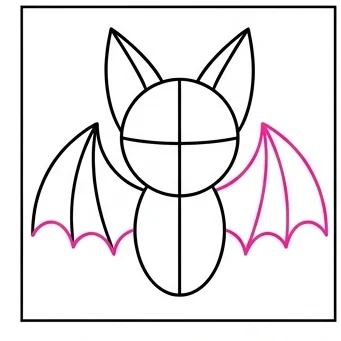
Draw another long line curving outwards on the right side. Try to make it match the left side!
Draw scalloped curves connecting the right wing back to the bottom of the body. You can draw lines from the points of the wings connecting to the body too.
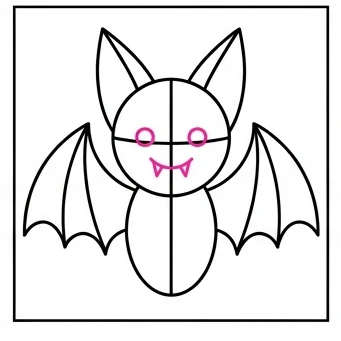
Draw two small circle eyes, a tiny smile, and two little triangle fangs inside the head circle.
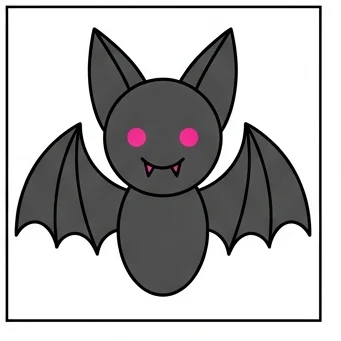
Dark gray or black works perfectly. You can erase the guidelines from Step 2 if you’d like.
Scalloped Wings: Keep the wing edges bumpy and curved rather than smooth — that’s what gives bat wings their distinctive membrane look!
Symmetry Trick: Draw a light center guideline first so both wings and ears come out even on each side.
Love drawing animals? Try these next!