How to Draw a Flamingo: Easy Step-by-Step Drawing Tutorial for Kids
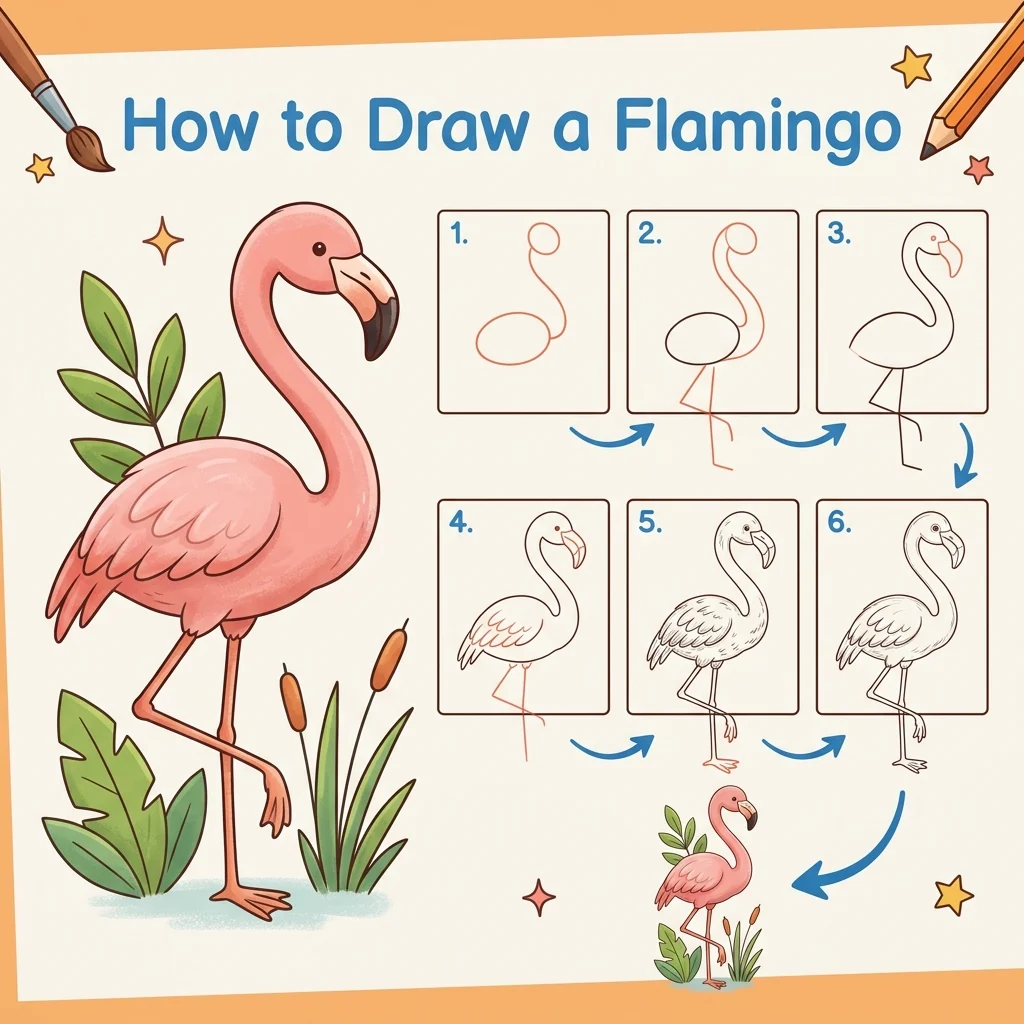
Let’s draw something elegant! In this tutorial, we are going to learn how to draw a tall, elegant pink flamingo using a very clean contour drawing method in 9 simple, easy-to-follow steps.
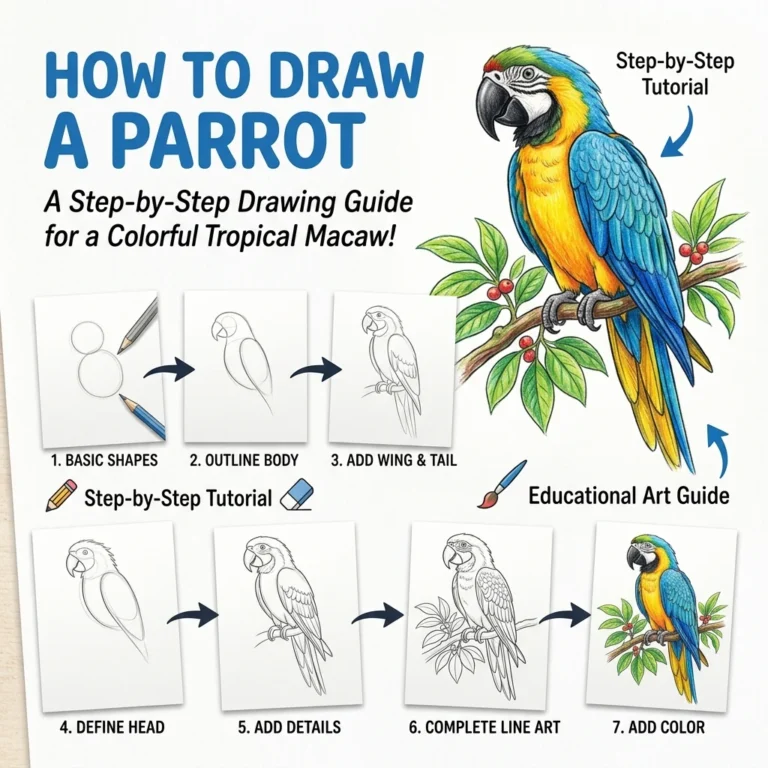
Every new line is highlighted in pink so you never get lost. Notice how we draw the outside lines of the bird piece by piece so we never have to erase any messy construction shapes! For another burst of tropical color, check out our Parrot tutorial.
Materials You’ll Need
Step-by-Step Easy Flamingo Tutorial
Start by drawing a circle with a small gap on the bottom-left side for the head.

Draw a large, thick beak pointing sharply downwards right out from the gap in the head.

Draw two long, sweeping lines dropping down from the head to start forming the beautiful, curvy neck.
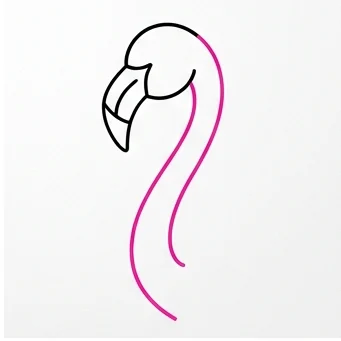
Continue extending the back line of the neck with a smooth curve curving outwards to begin forming the body.

Connect the neck into a large oval shape to finish the main body of the bird.
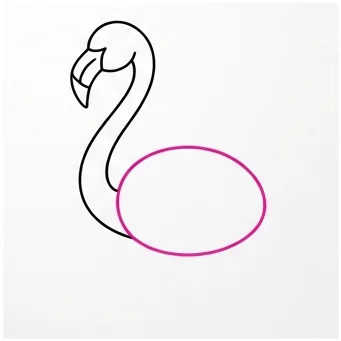
Draw a small, curved folded wing resting right inside the middle of the body.
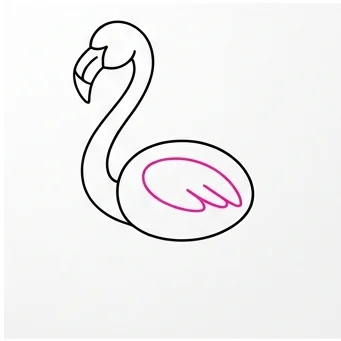
Draw one very long, thin, straight leg standing perfectly straight down from the body.
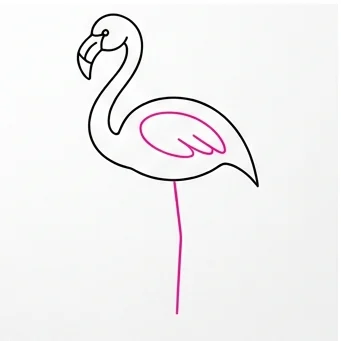
Draw the second long leg right next to the first one, and add simple webbed feet at the bottom.
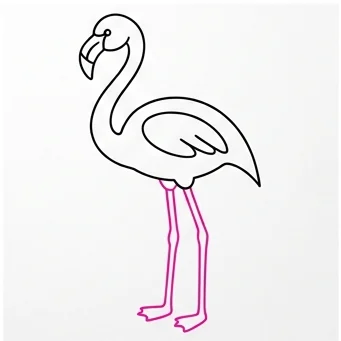
Color your flamingo a bright, tropical pink, and remember to color the tip of the beak black!
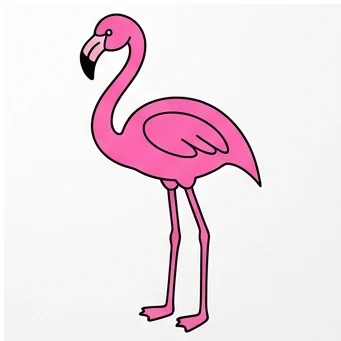
Curvy Neck: Make the neck extra long and curvy — that graceful S-curve is what makes a flamingo instantly recognizable!
Balance Trick: Drawing both thin legs close together helps the flamingo look like it’s balancing, just like the real bird does!
Love drawing birds and animals? Try these next!